HOW TO MAKE YOUR OWN CAKE STAND: WOODLAND STYLE
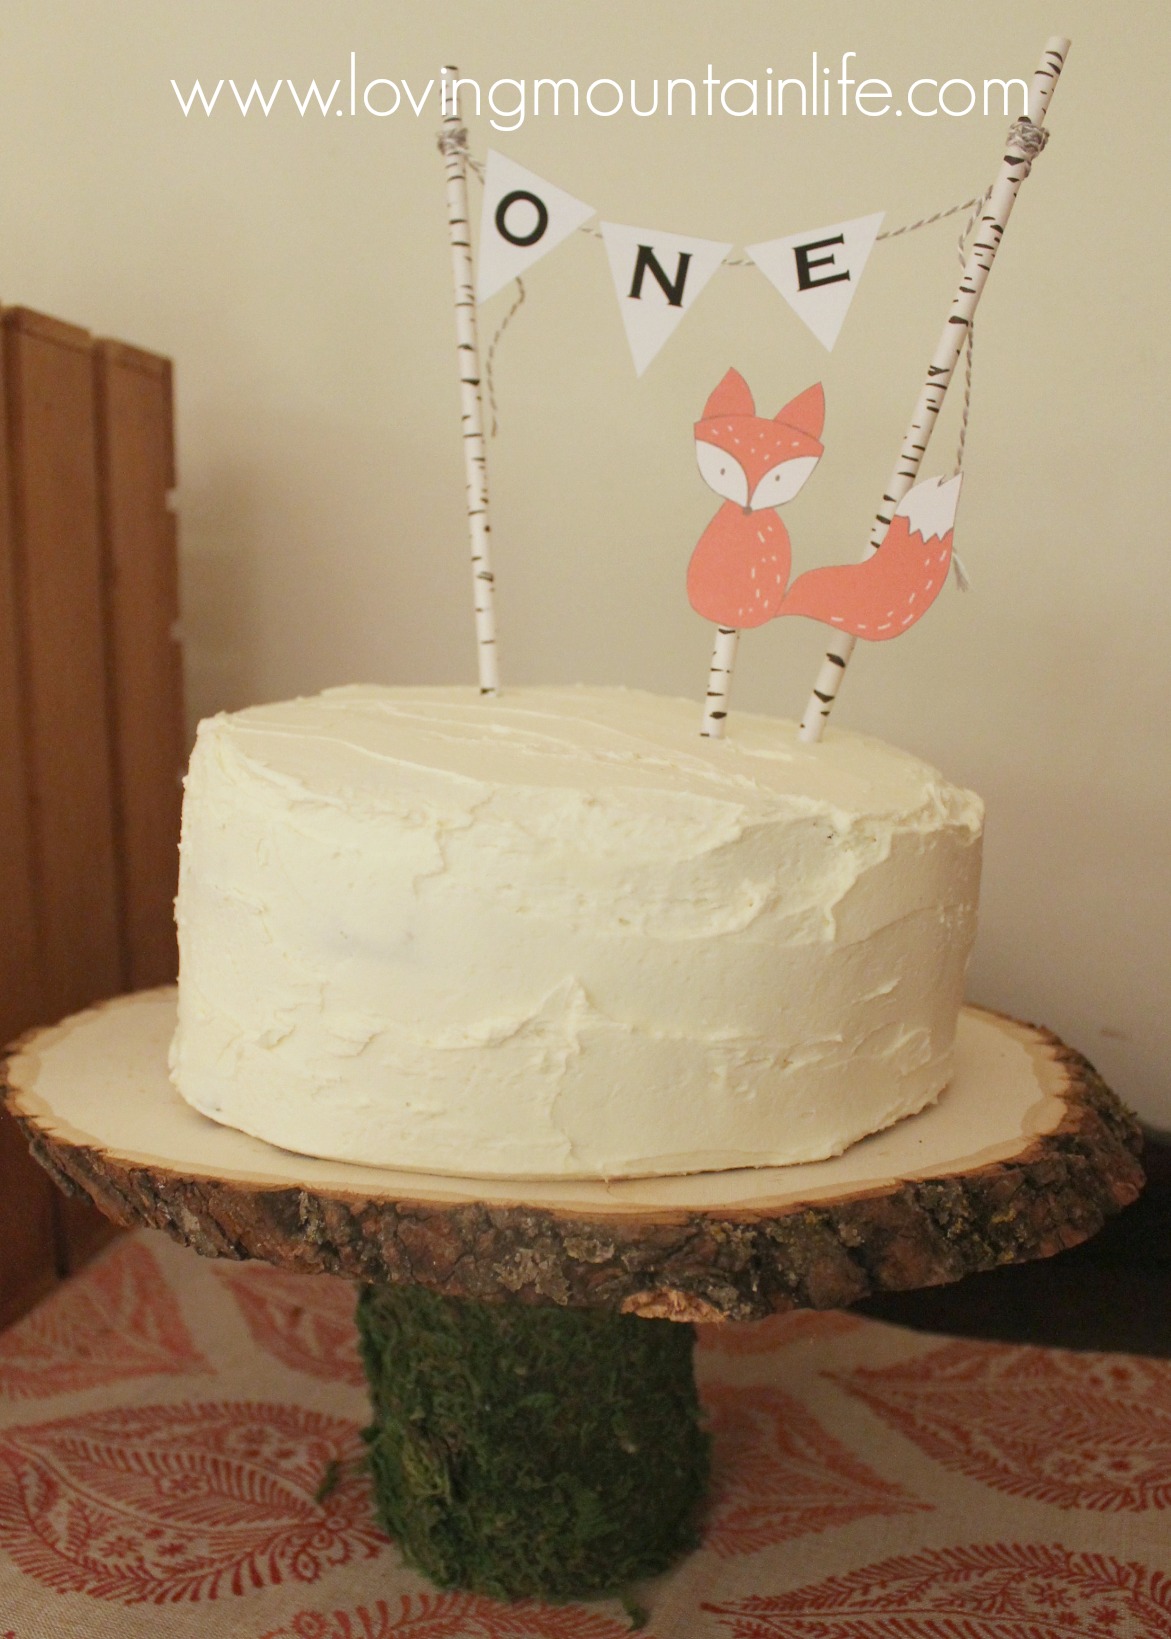
Over the weekend we celebrated our last baby’s first birthday. It was one-derful! Get it?! 🙂 For many reasons (the main one being because it’s FABULOUS) we went with a “Woodland One-derland” theme. One of my favorite DIY projects from this party was the cake stand. Is it not to die for?!
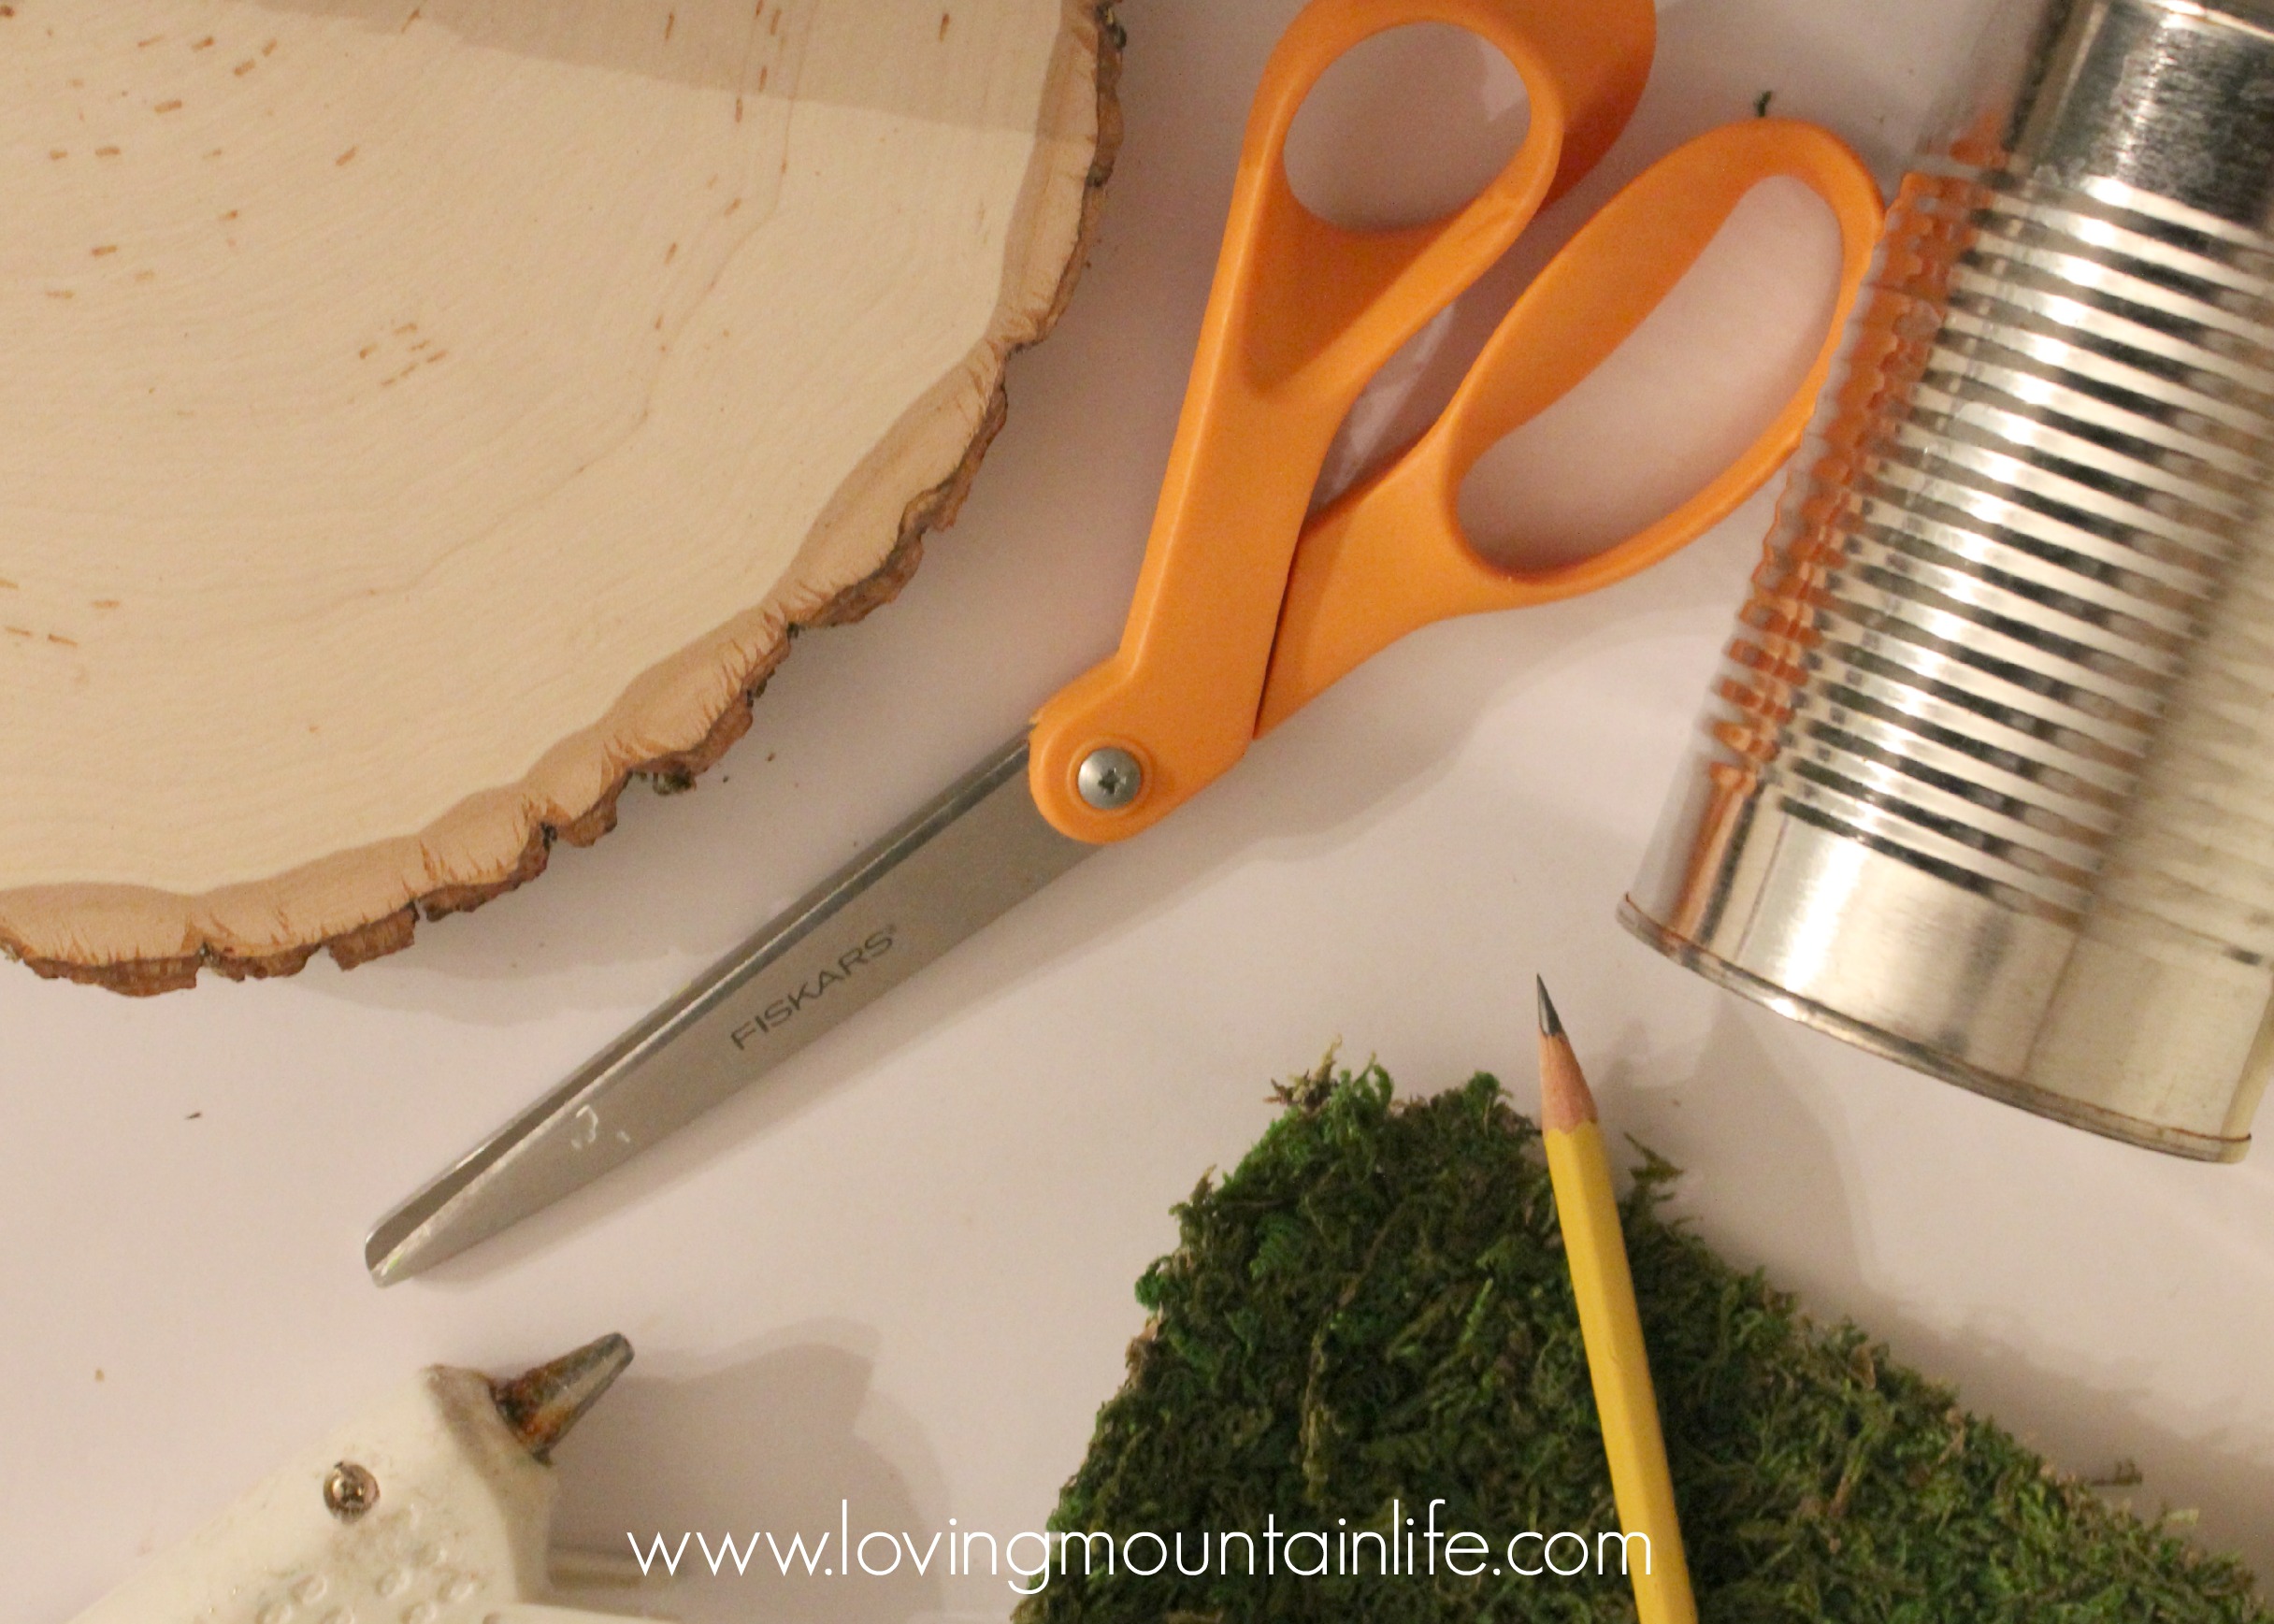
It was also super easy (and cheap!) to make so plug in your hot glue gun and get ready to DIY! Here’s what you’ll need:
– Moss mat/runner (Note: I ordered a 48″ runner since I was using it for tablescaping as well. If all you’re doing is making this cakestand you can get away with ordering the smaller version.)
– Round of wood
– 15 oz can, washed with wrapper removed
– Hot glue gun
– Scissors
– Pencil
– Ruler
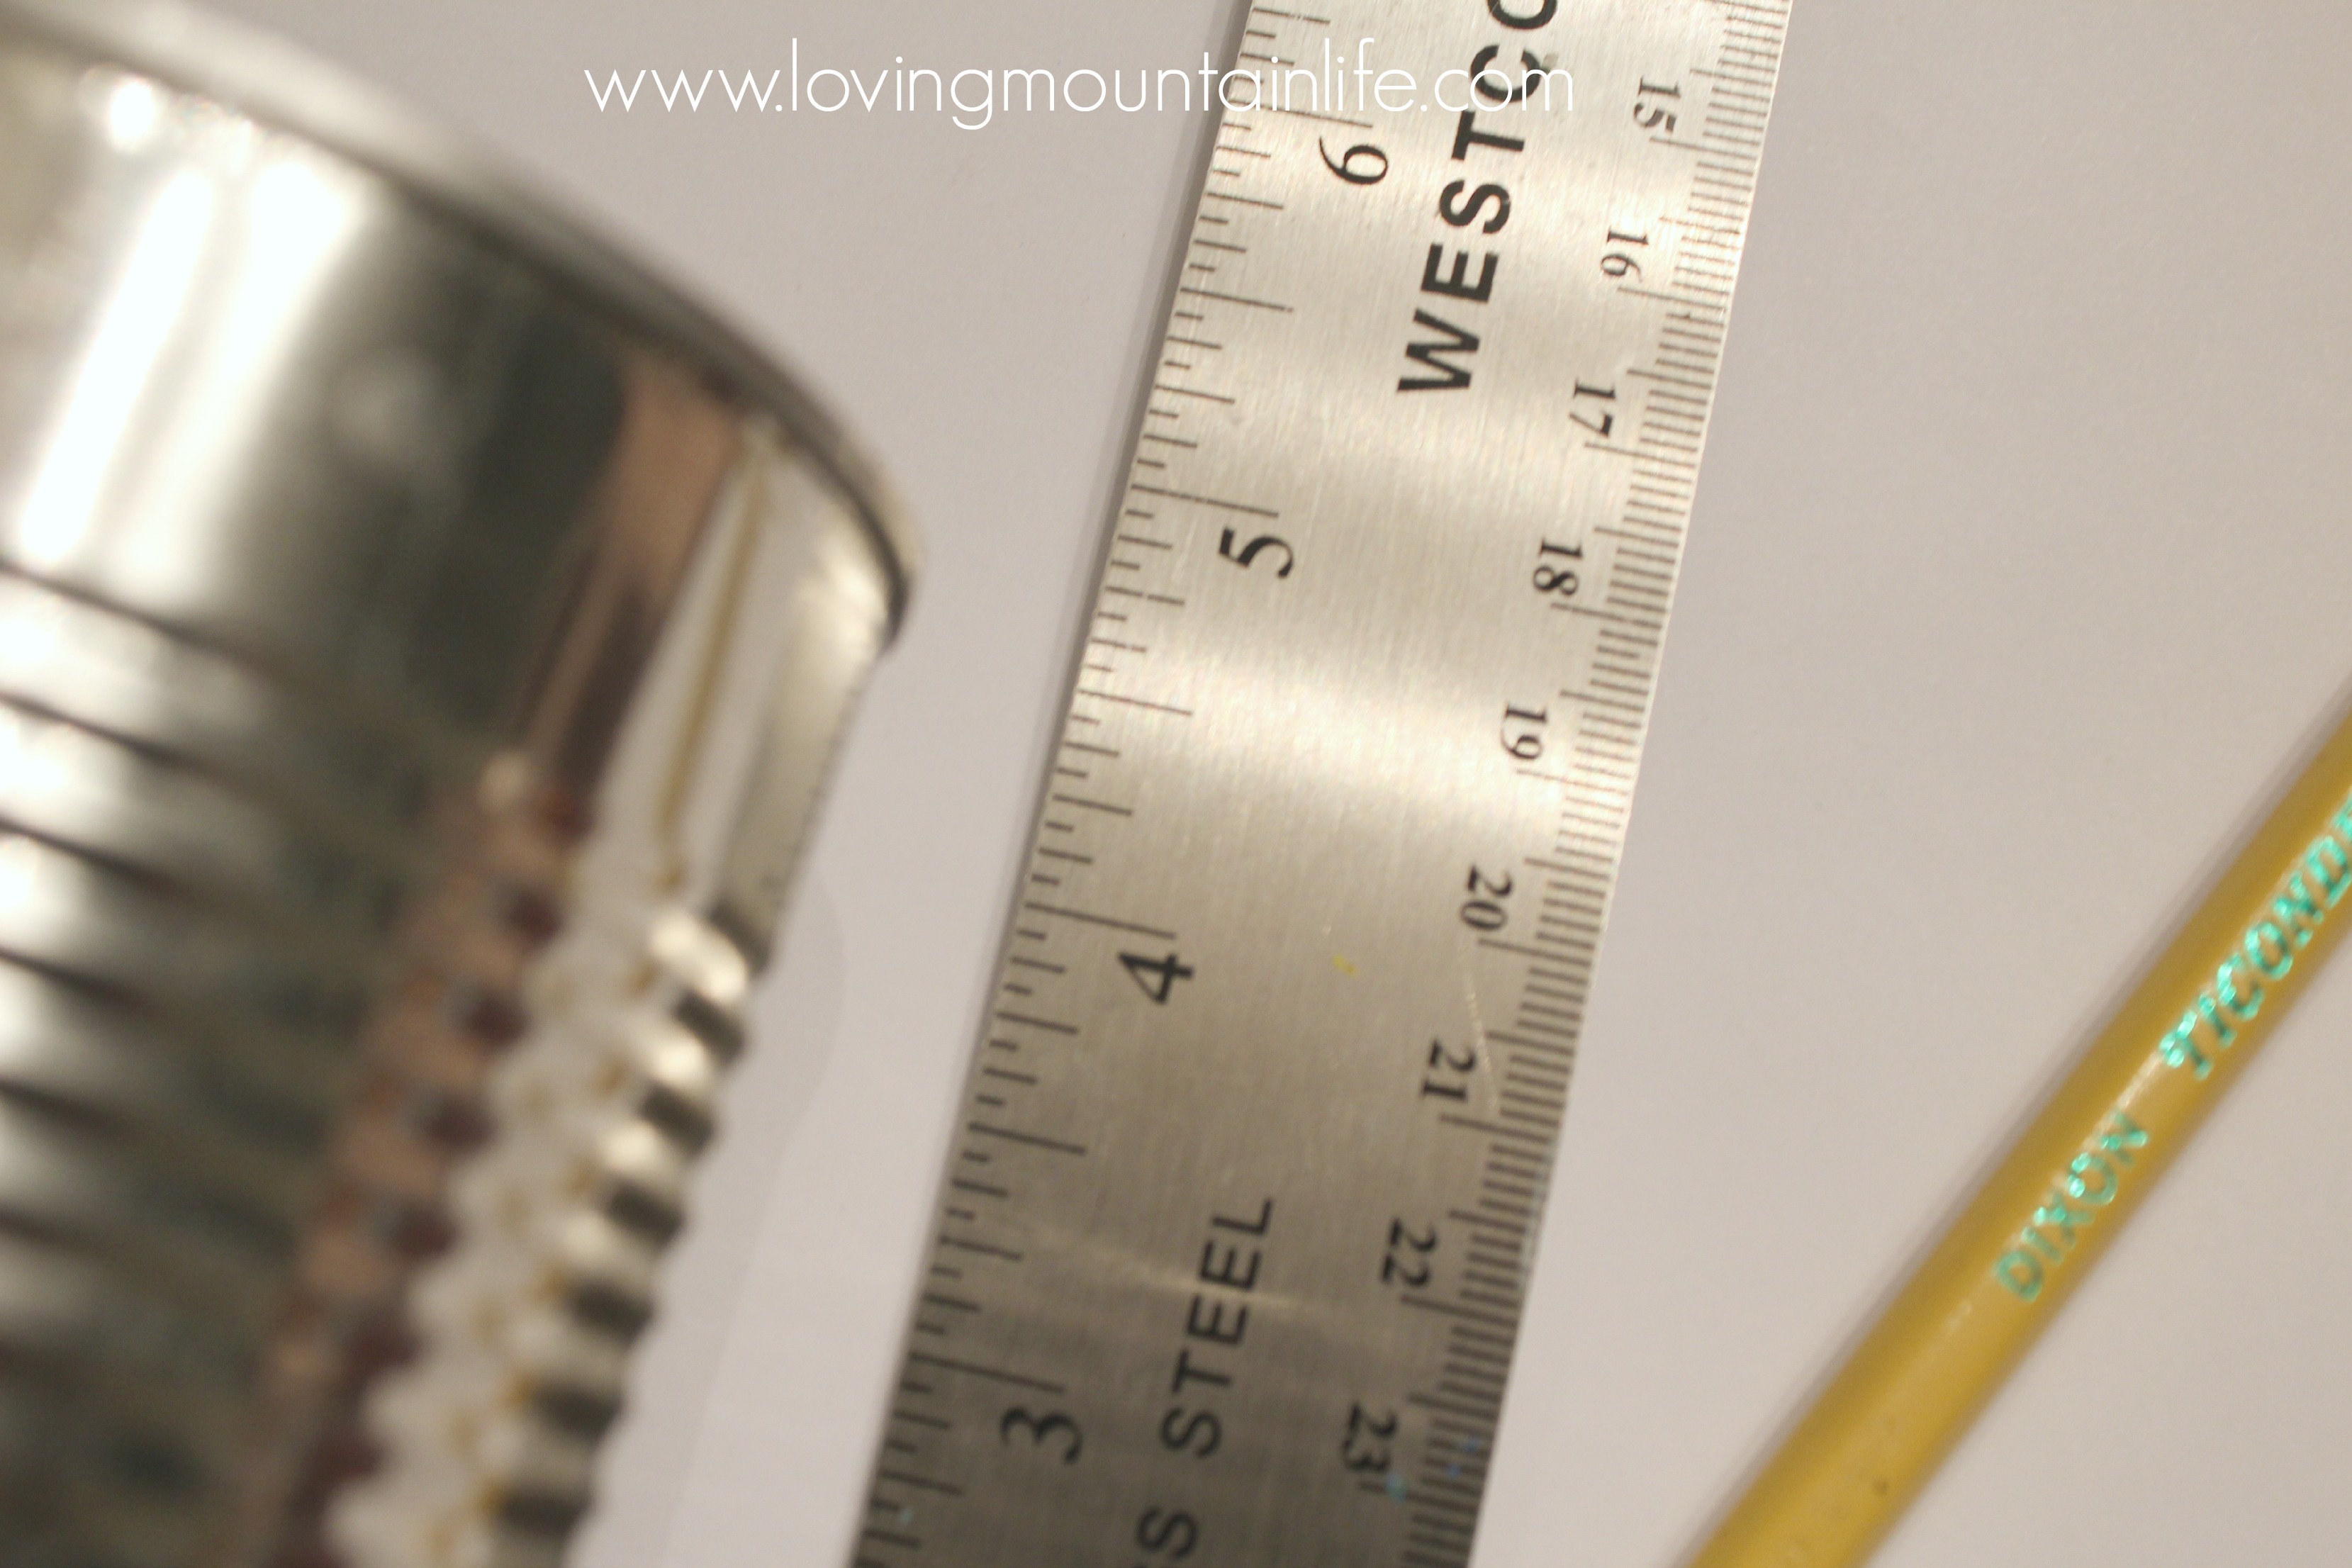
- First, measure the height and circumference of your can. Mine measured 4.5″ tall with a 9″ circumference.
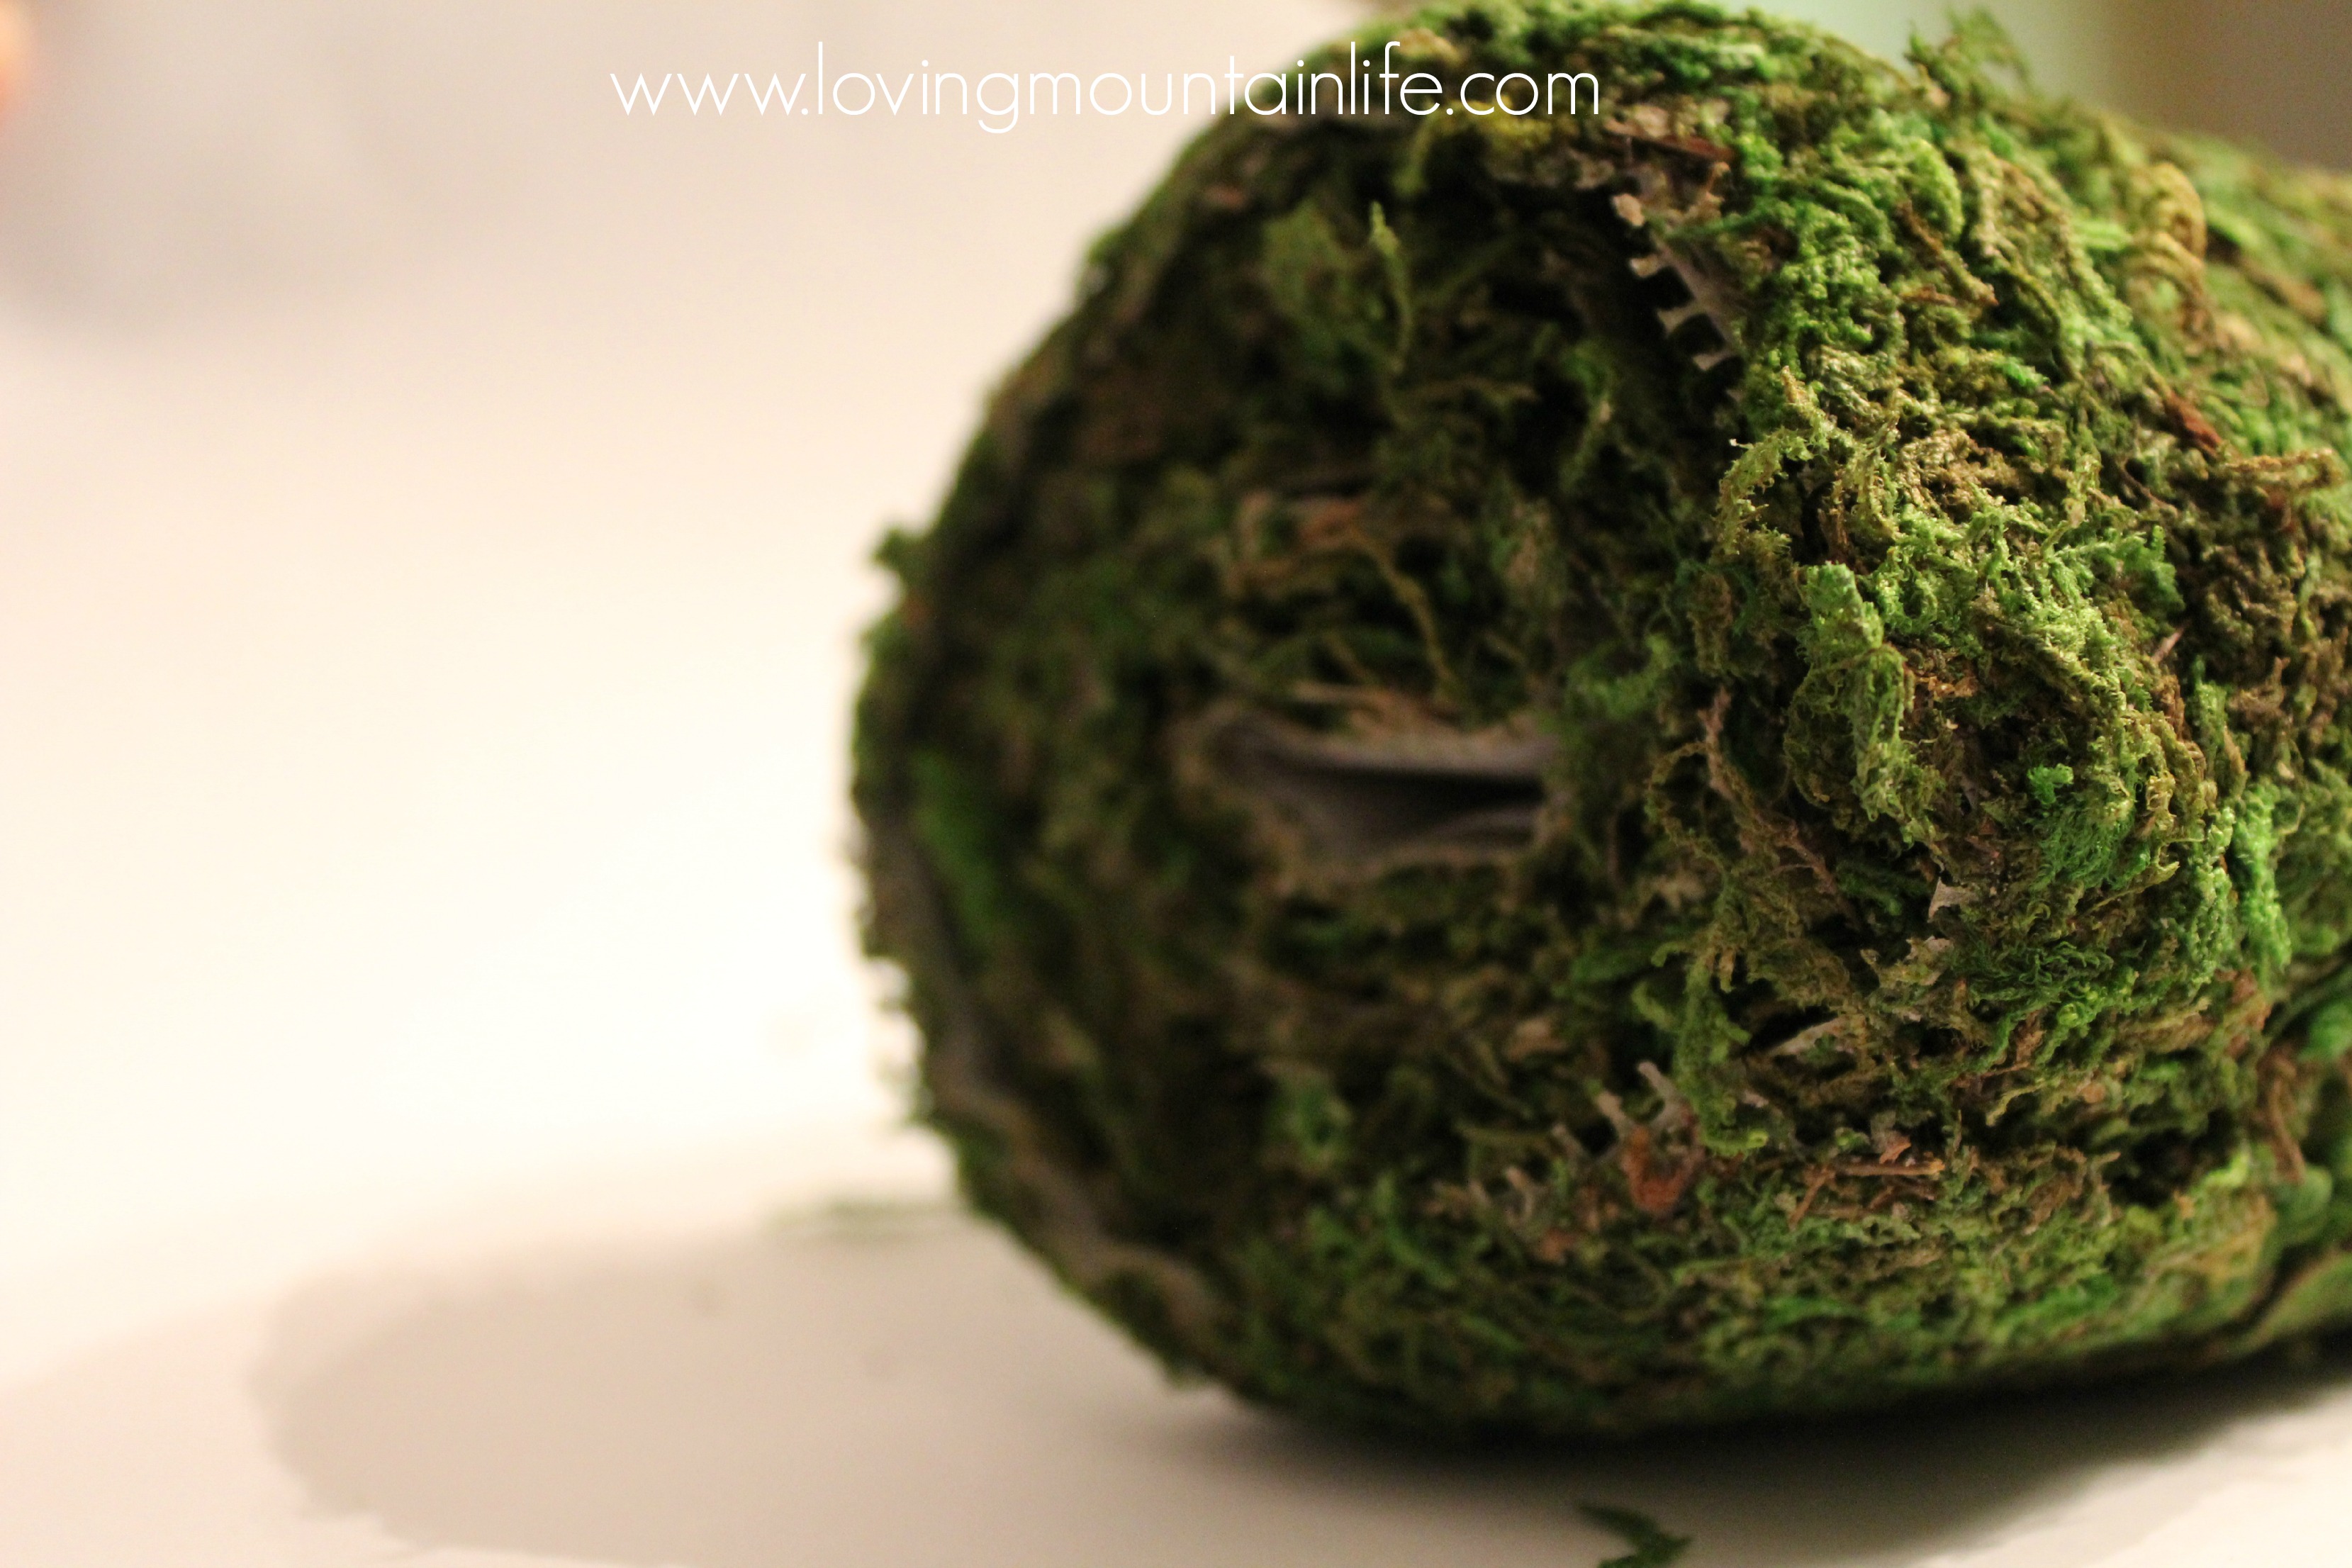
- Next, unroll the moss mat (it has beautiful texture, doesn’t it?) and mark those measurements on the backside. It should look like a rectangle.
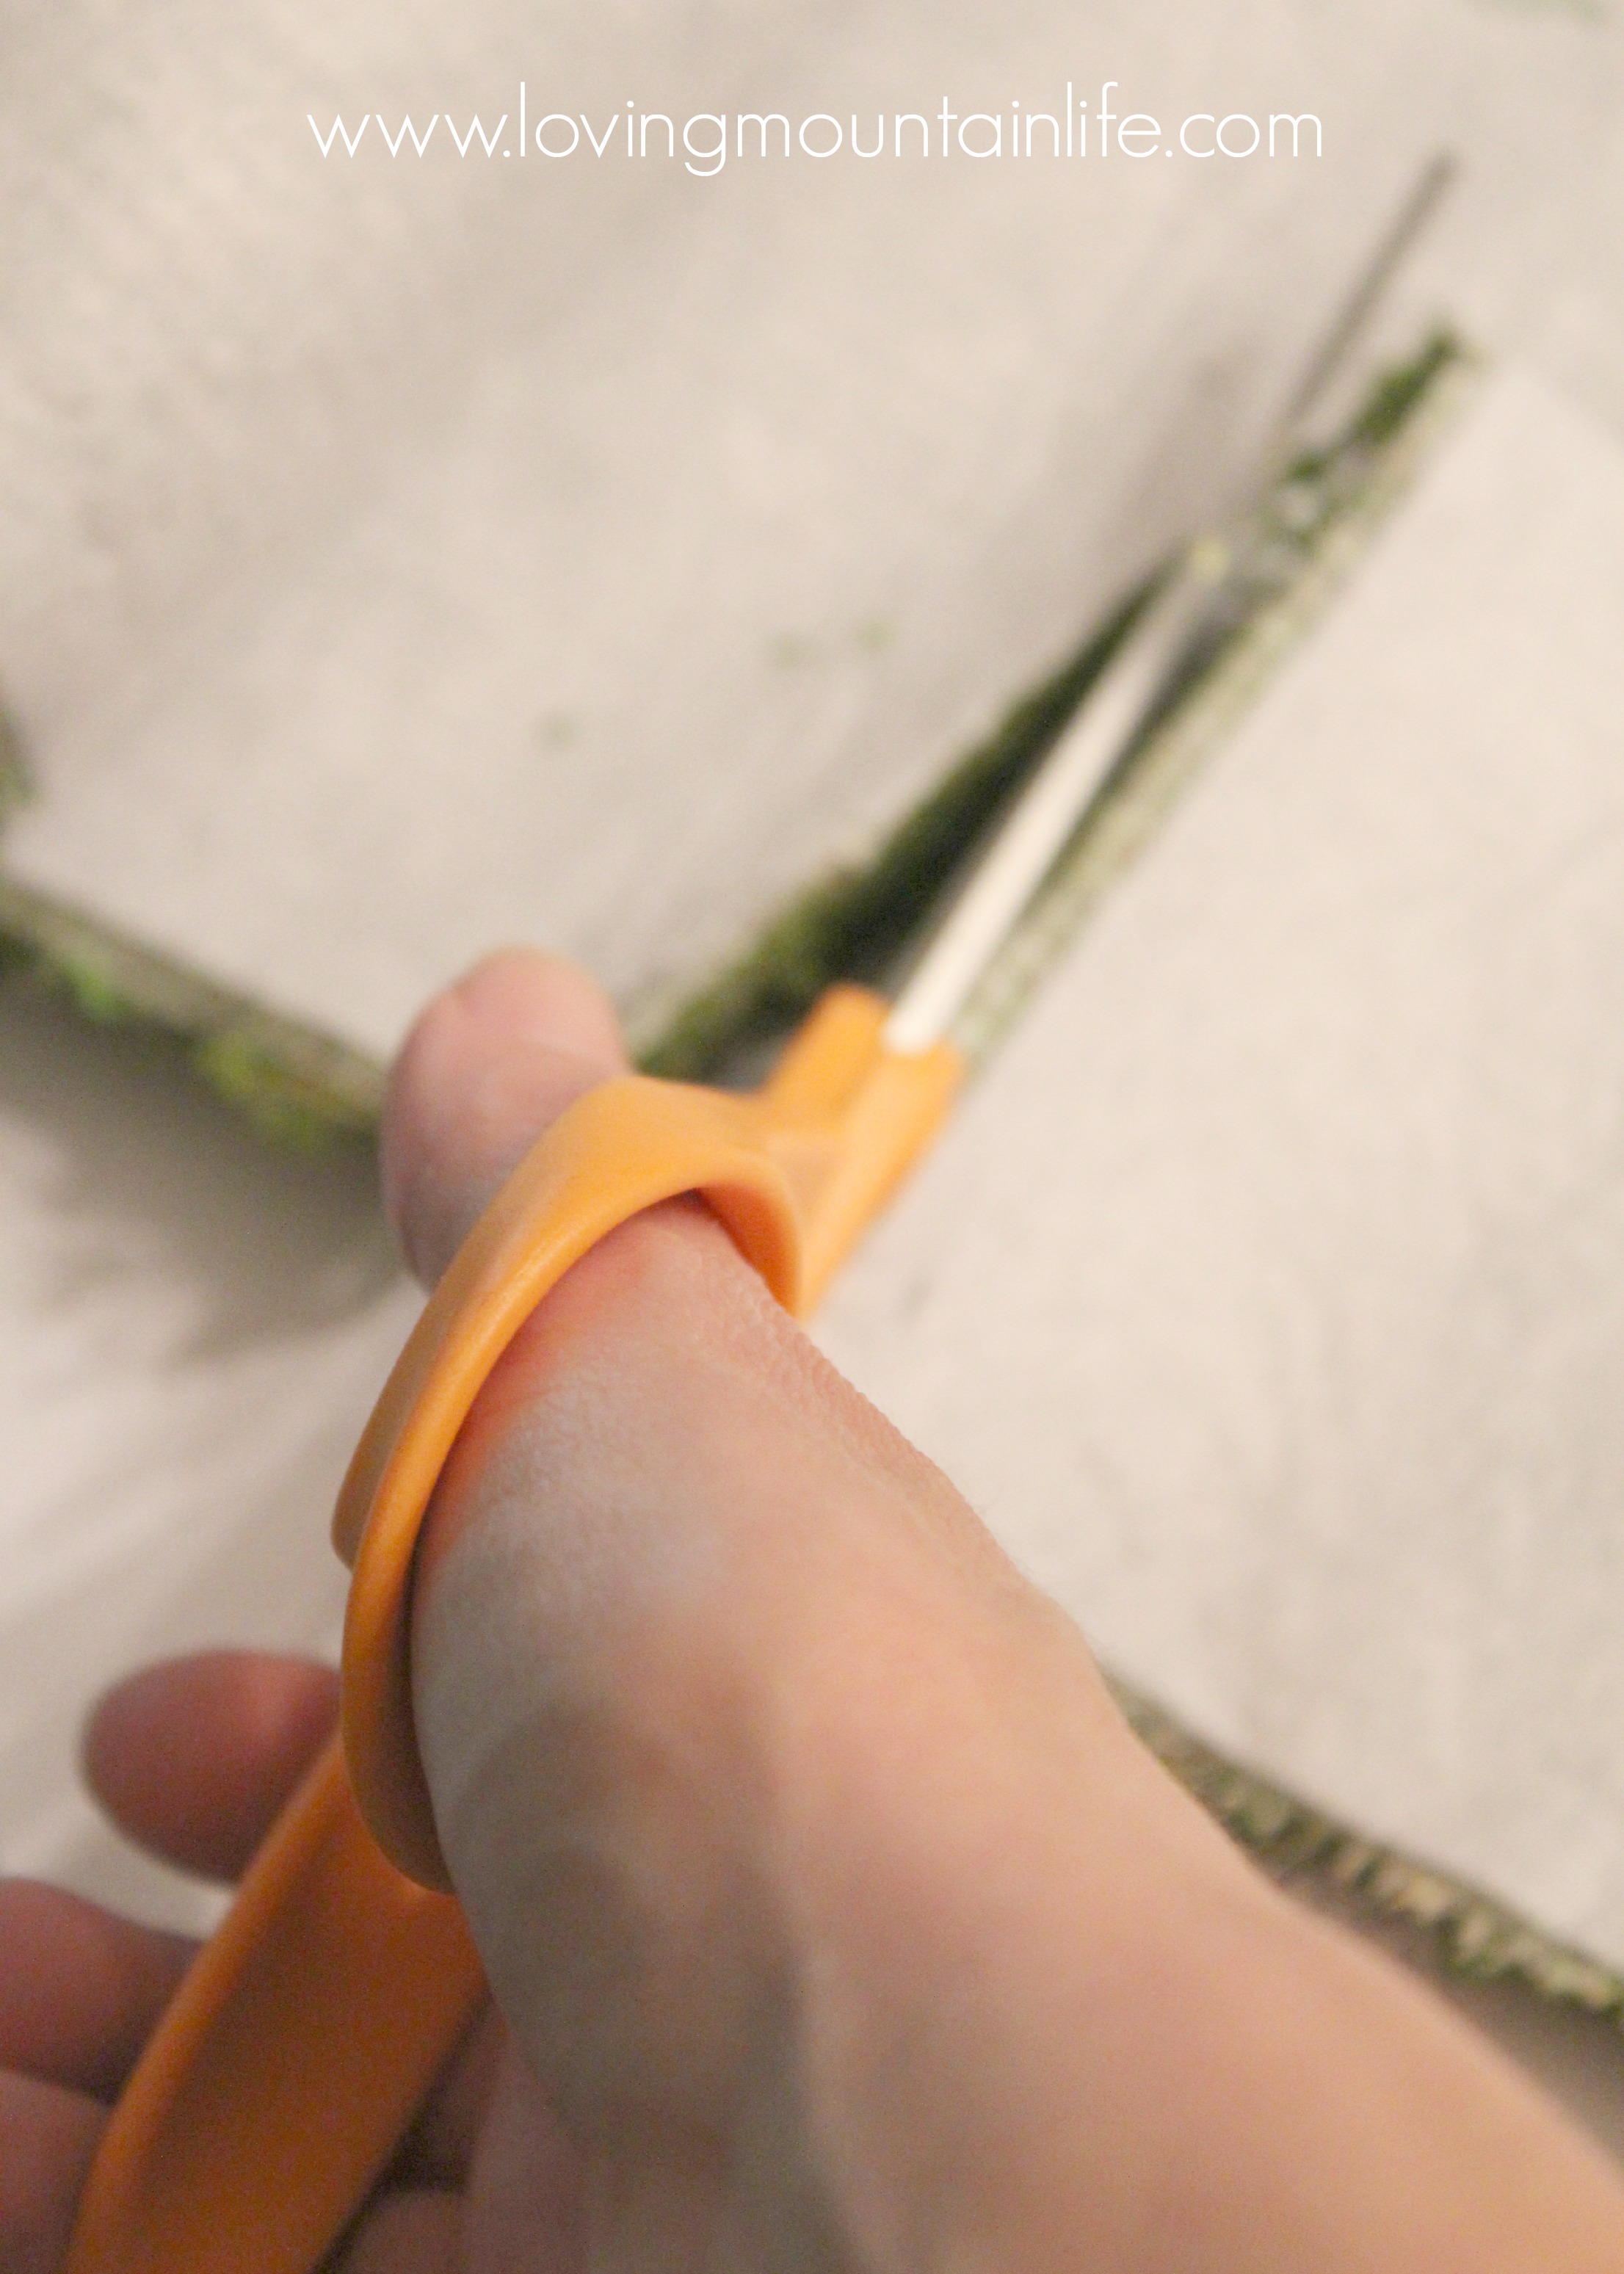
- Snip, snip! Cut out the moss rectangle! This whole process doesn’t have to be precise – the moss covers a multitude of sins. 🙂 After I cut out my moss piece I did a quick double-check to make sure the moss covered the whole can. It did!
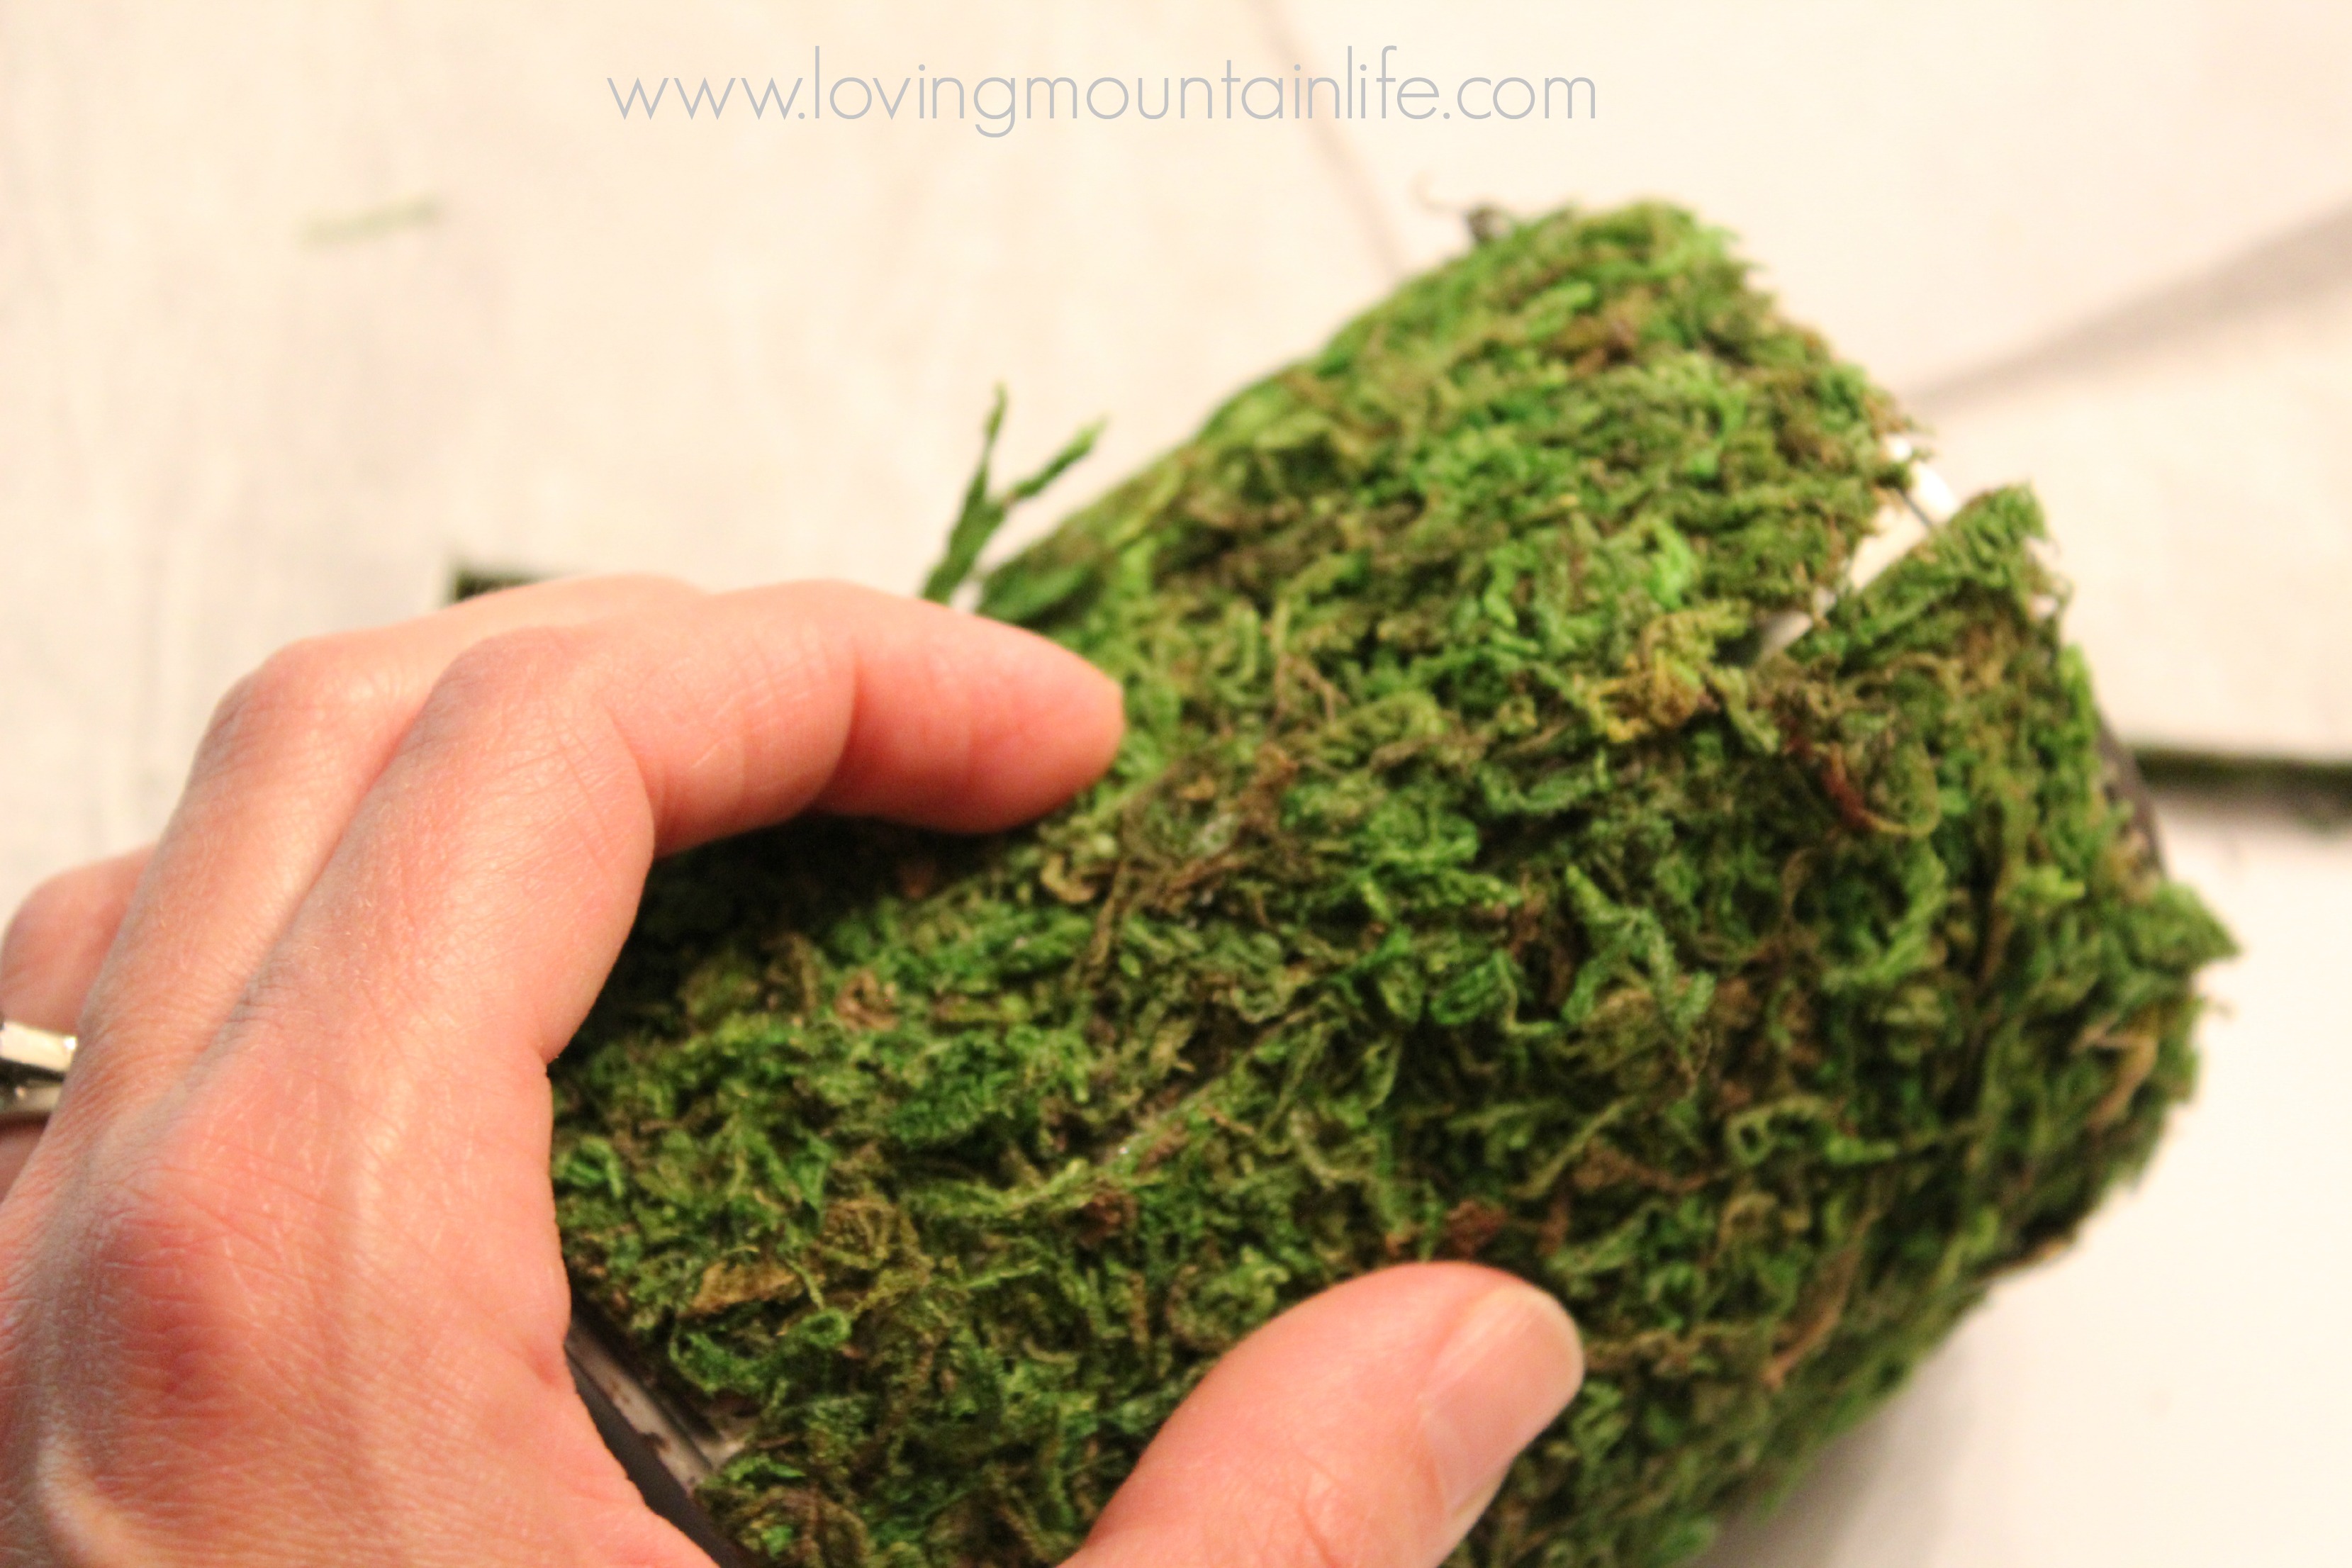
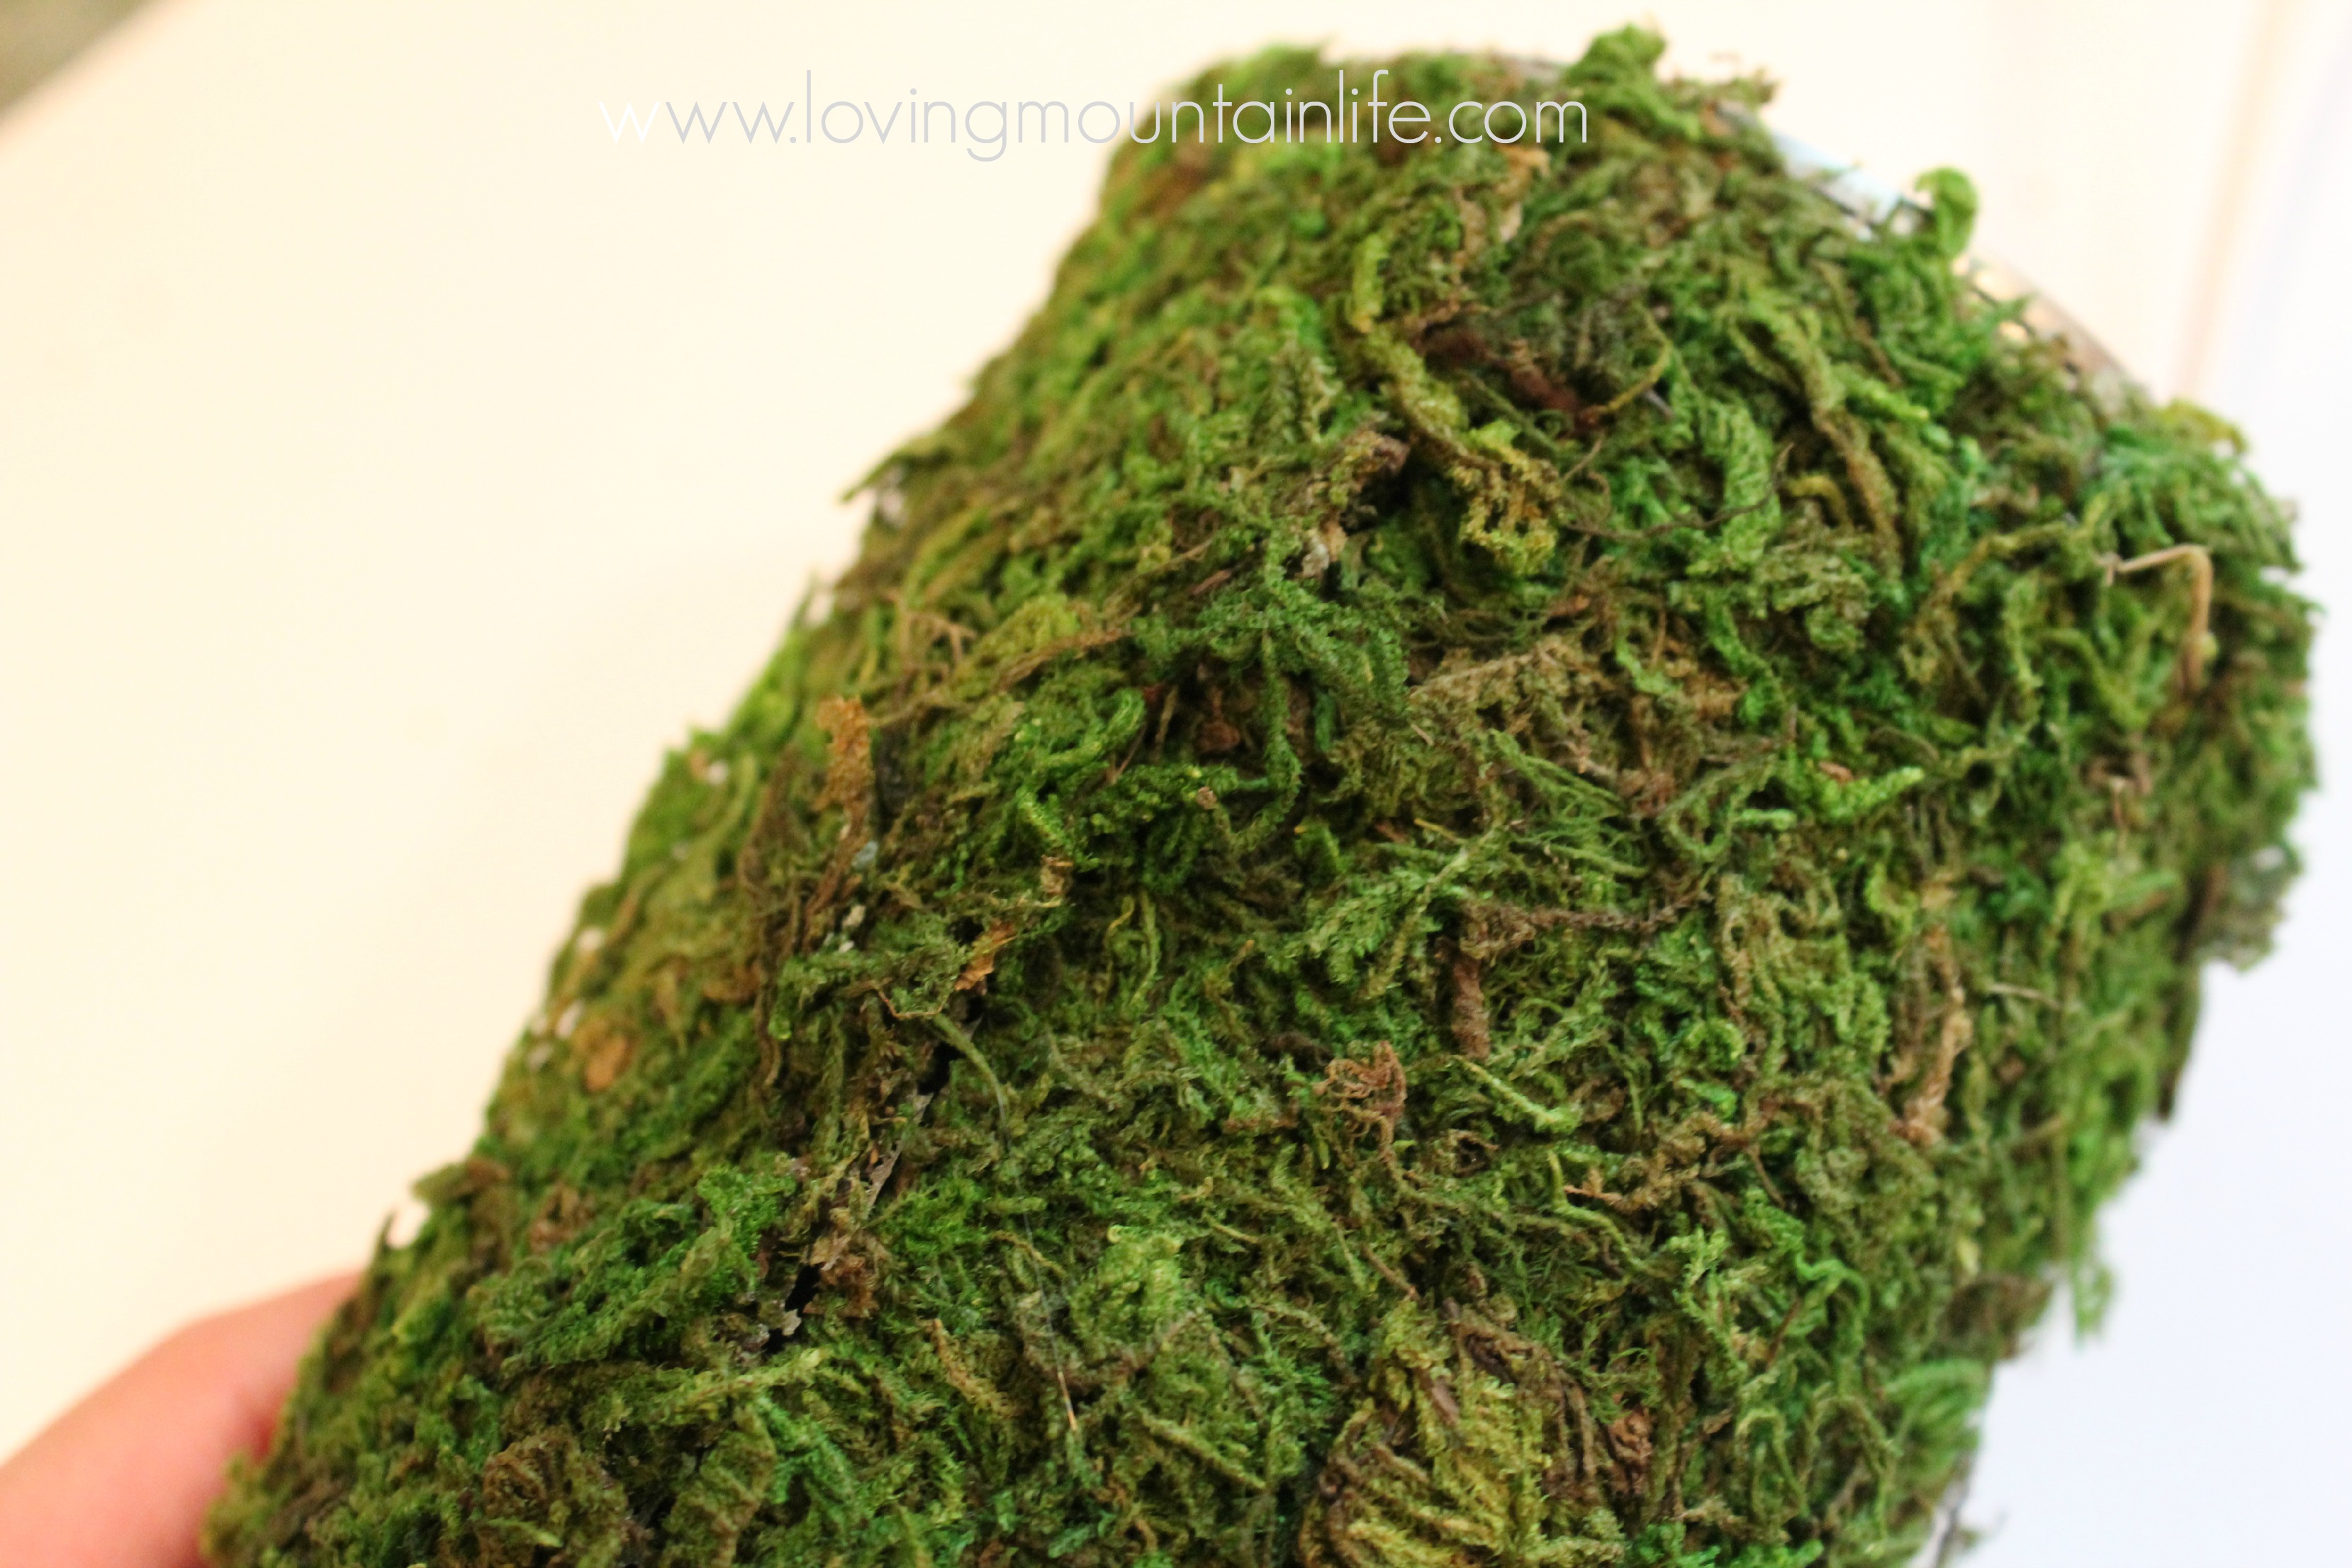
- Working quickly, start at one end of the moss rectangle and hot glue it around the can.
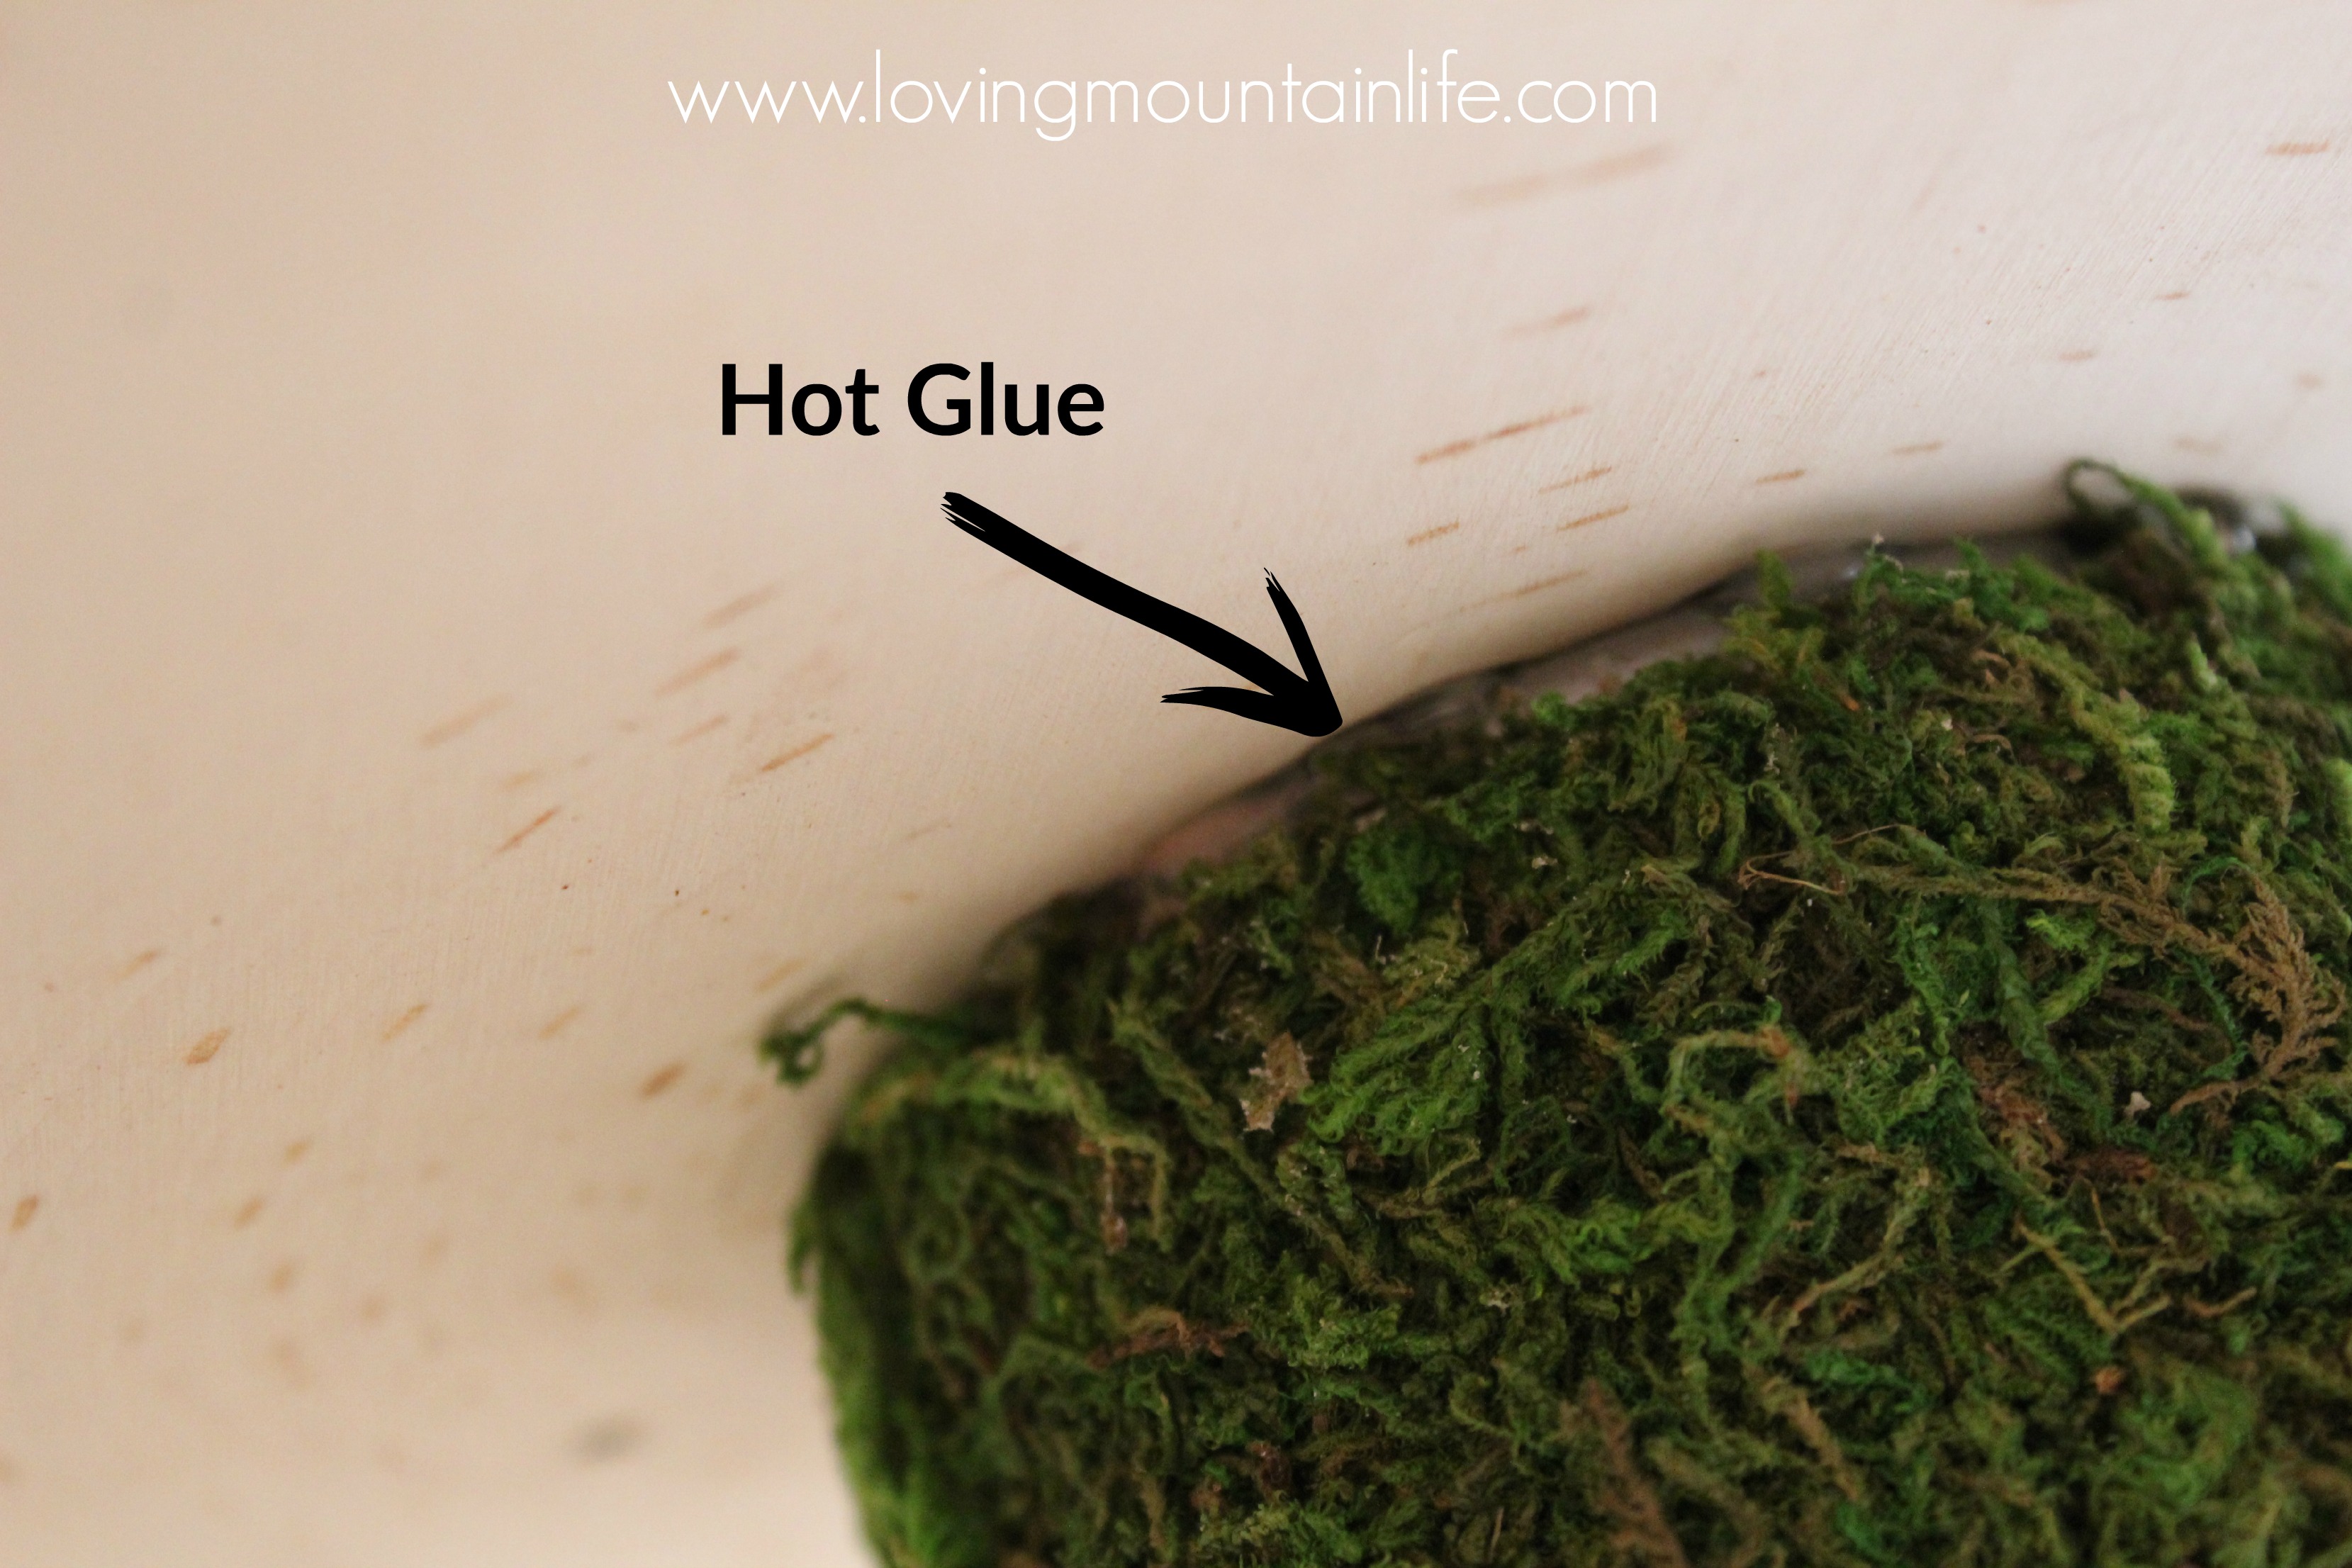
- Keep that hot glue gun plugged in, you’re almost done! Now run a bead of hot glue around the top of your can and center the wood round over it, pressing firmly. I just eye-balled as I “centered” the wood because my wood round was more of a wood wonky-oval. I’m sure there’s a scientific way to figure out the exact center of your wood round but I’m not the girl to ask about that. 🙂
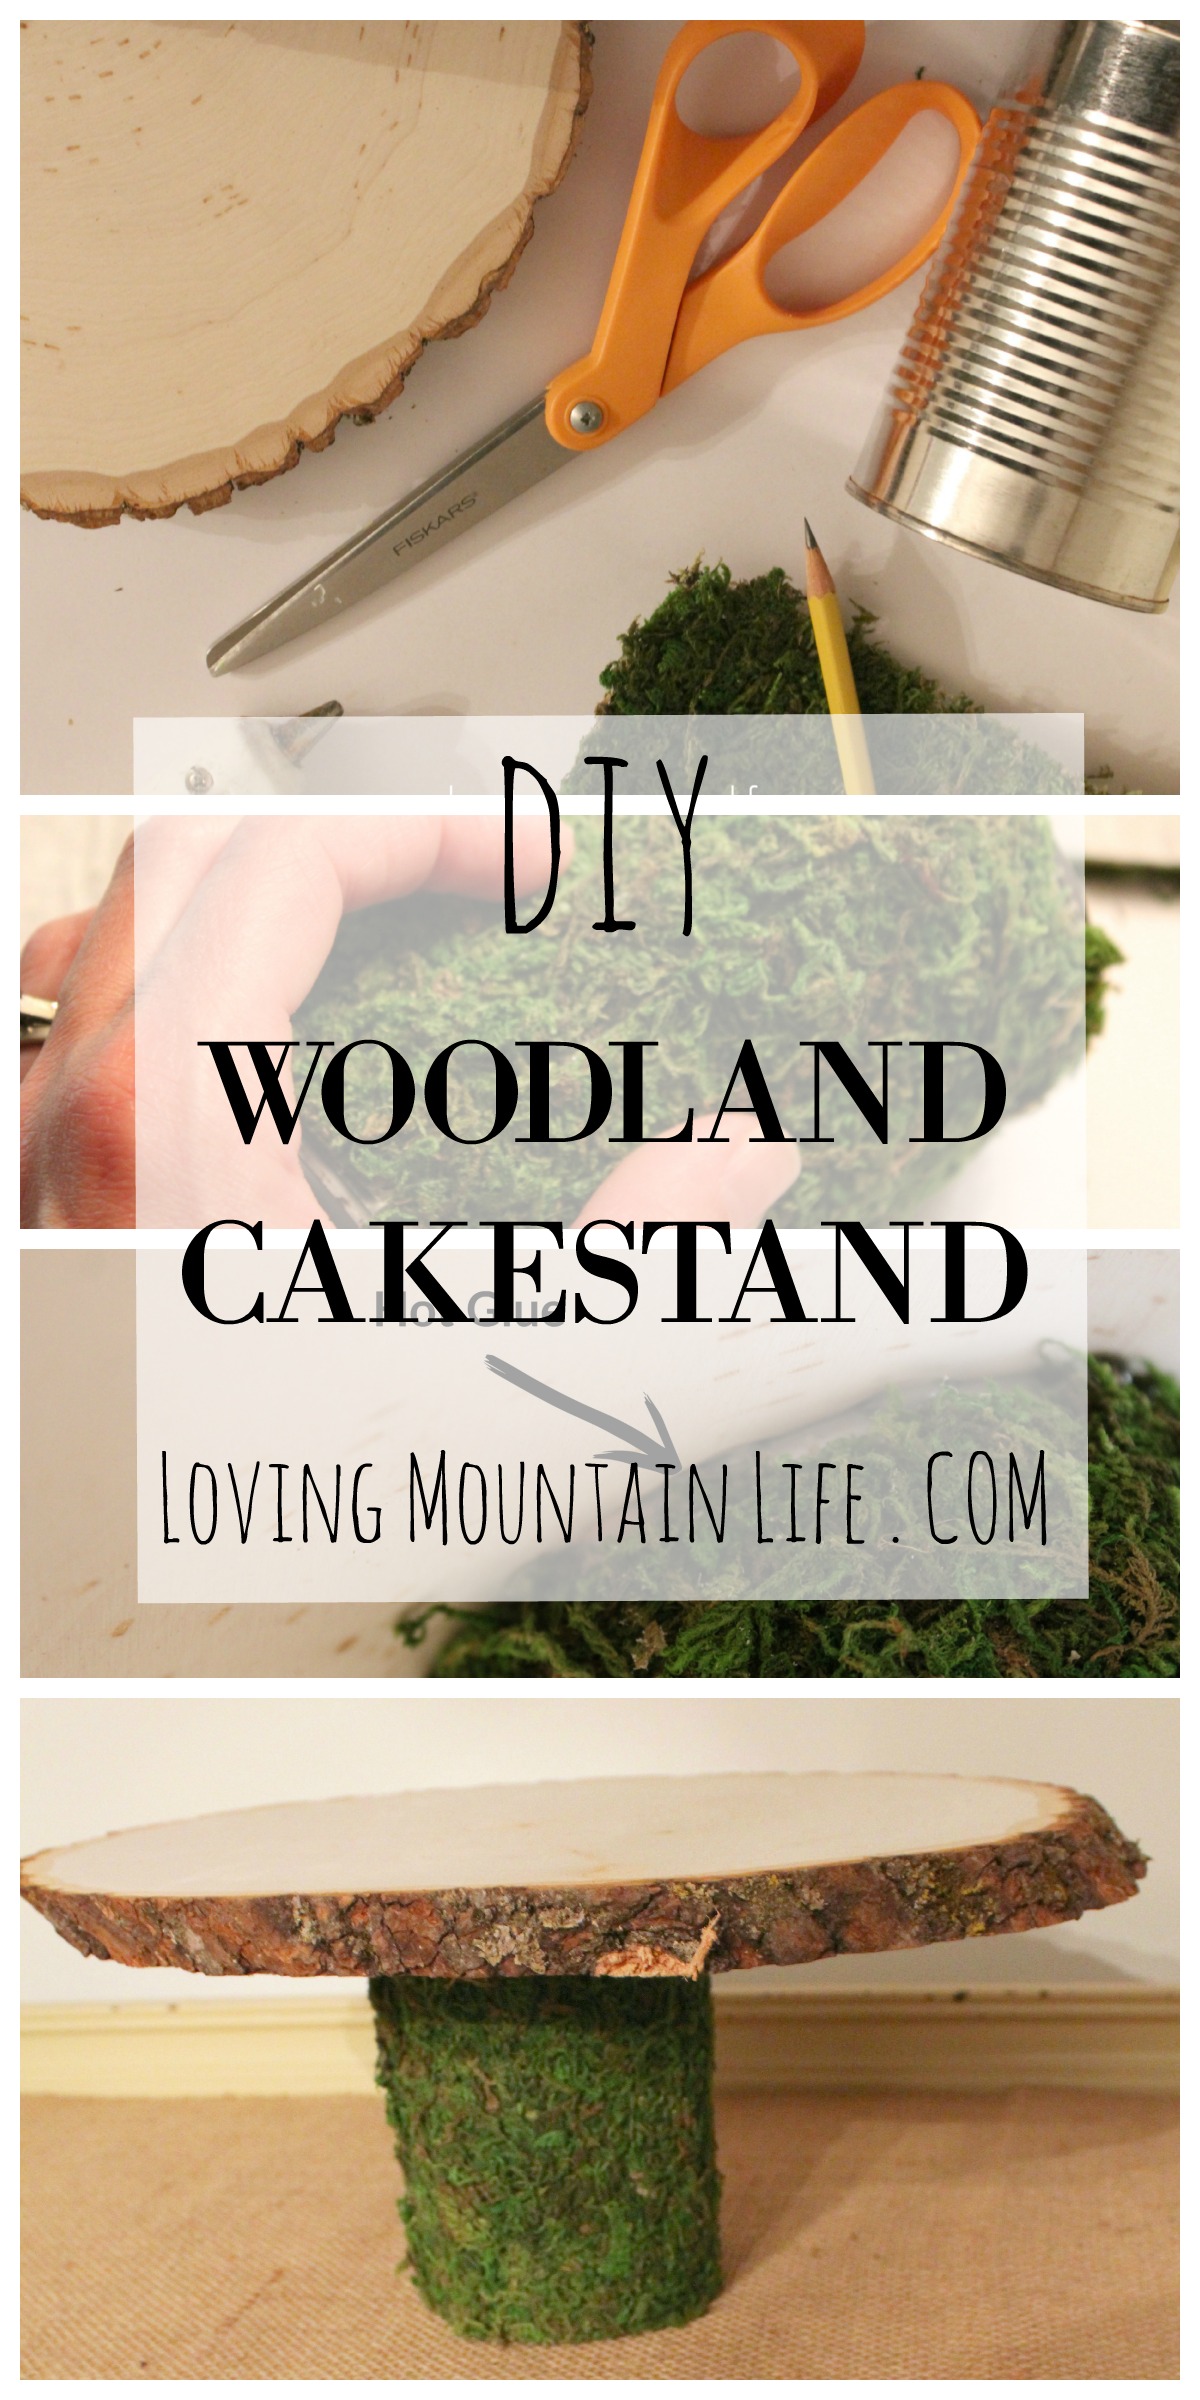
- TADA! It’s brilliant, no?!
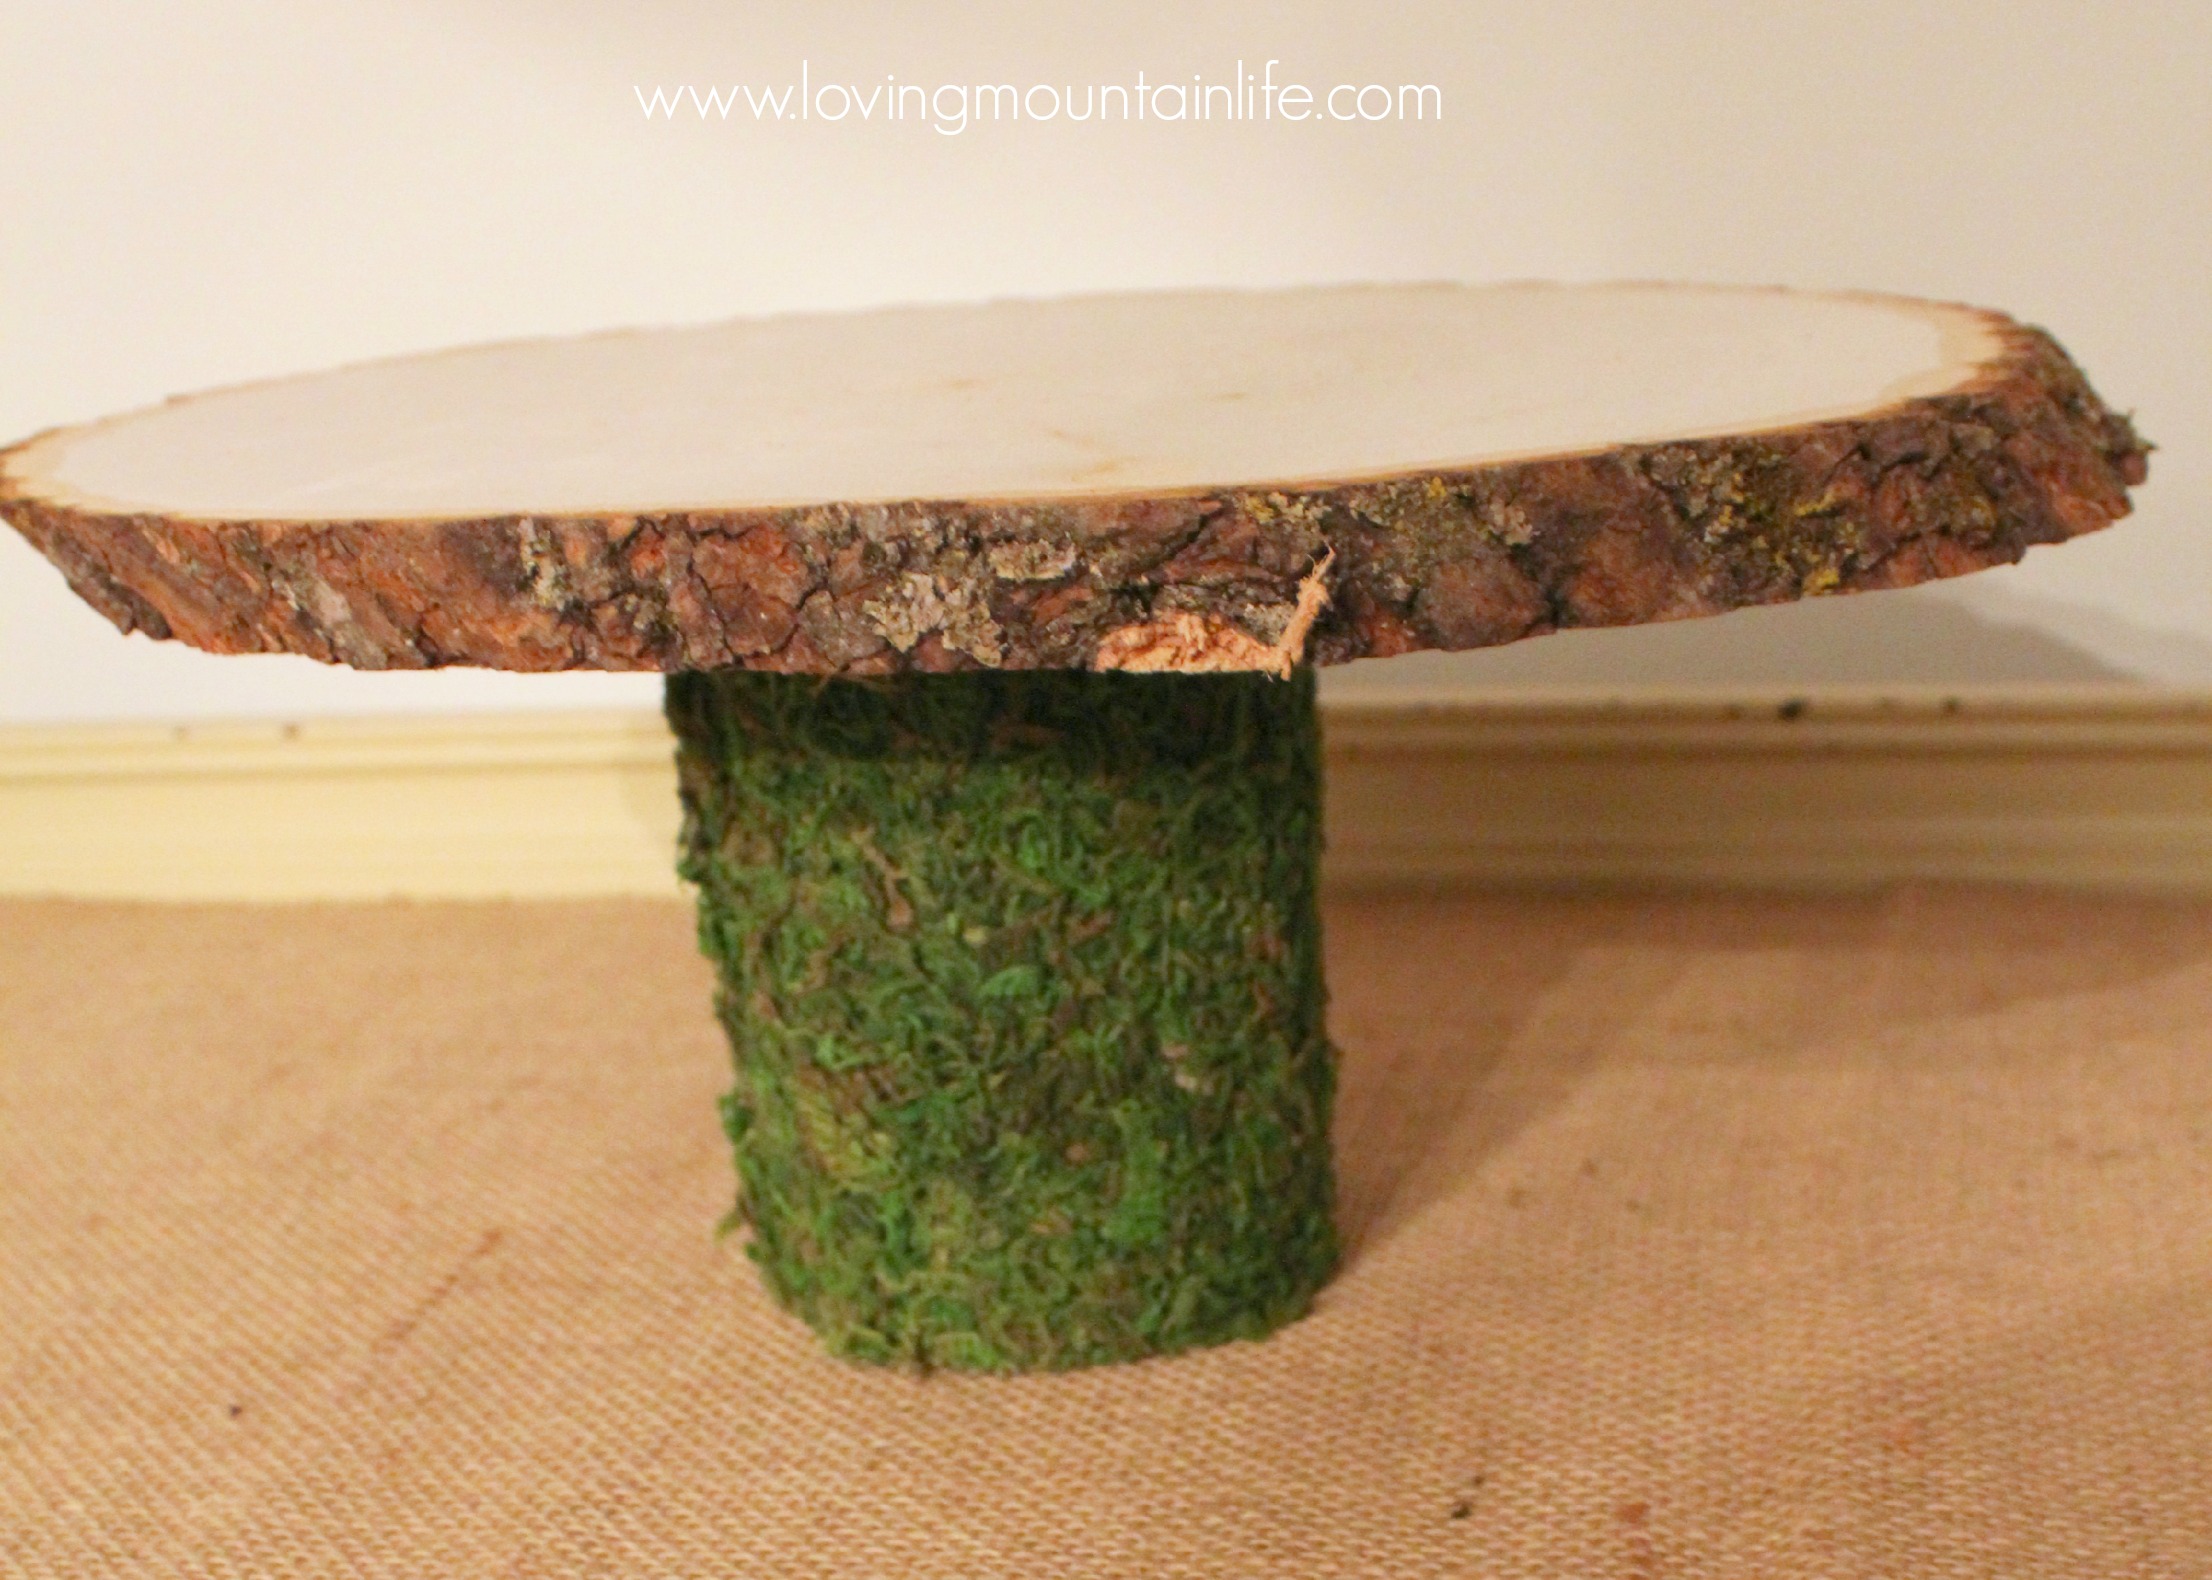
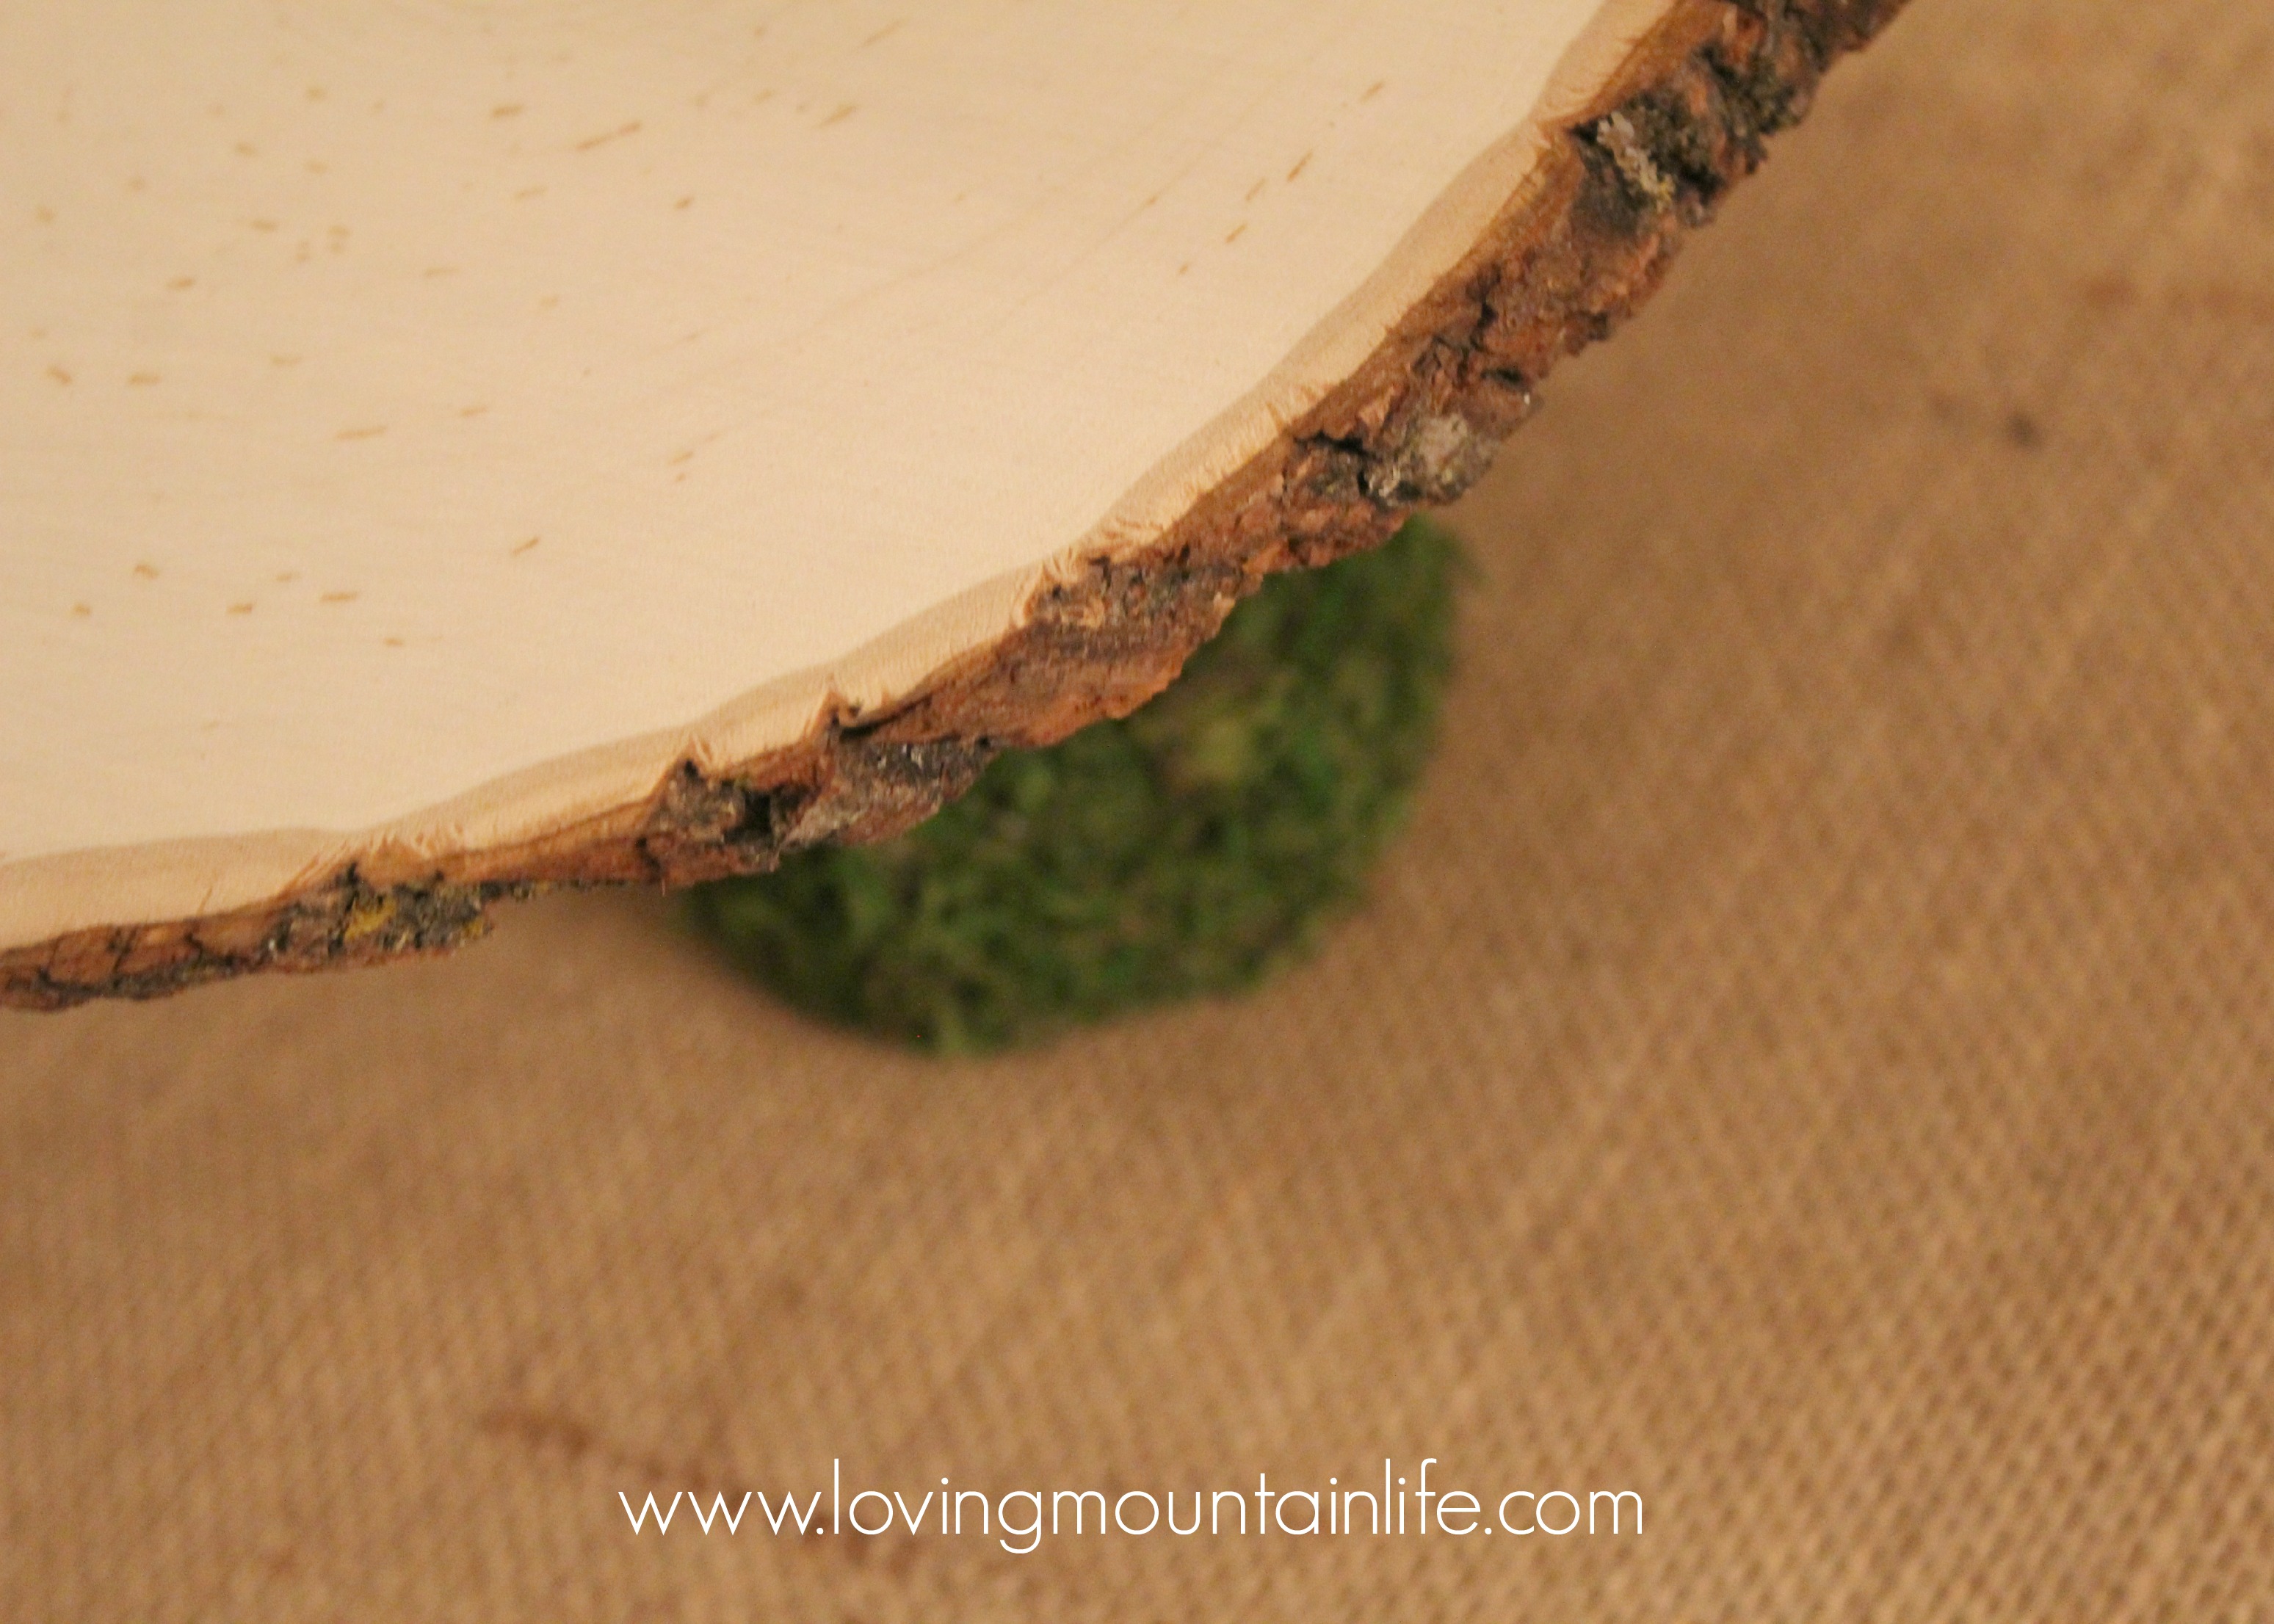
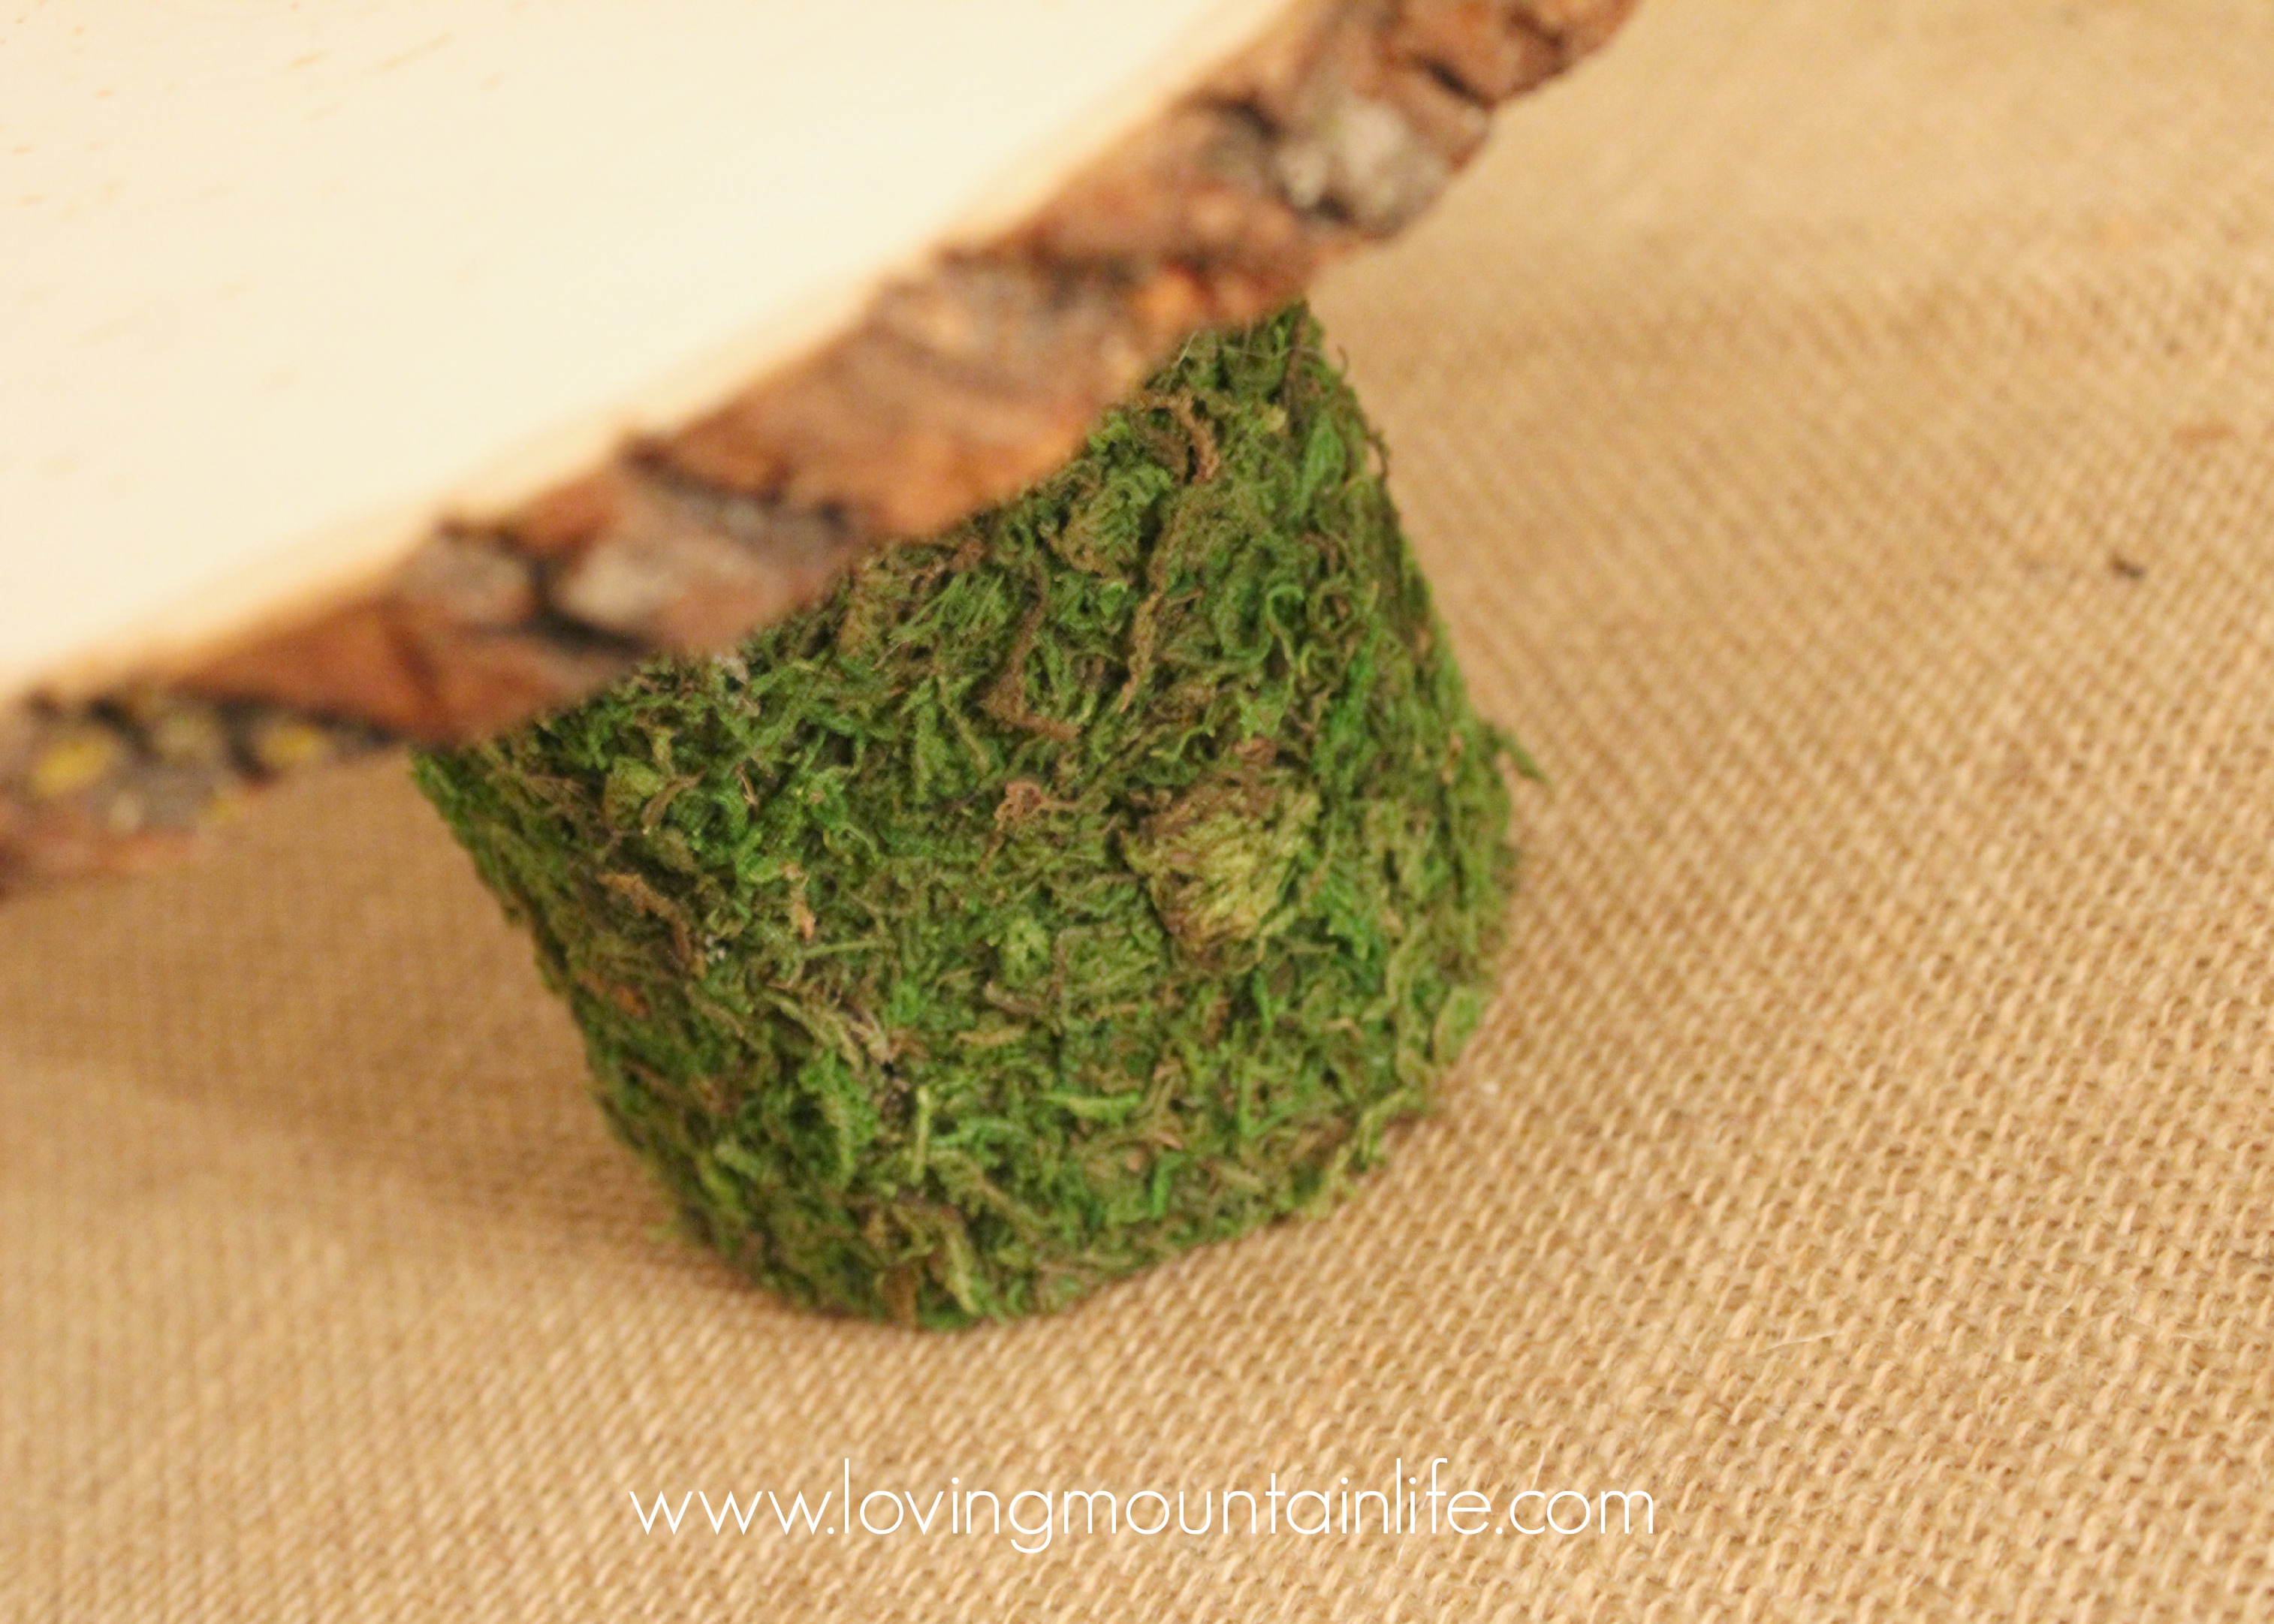
I am seriously in love with this DIY project. It was inexpensive, quick, and has major versatility. Obviously, I used it at my son’s “Woodland One-derland” party but I can also use it on the buffet at Thanksgiving with some pumpkins surrounding it or at Christmas amidst pine cones and greenery. I can add some butterflies and use it at a fairy party for my girls or at an outdoor picnic this summer. It could even be part of a s’mores bar or a camping themed party…I could go on for days! But for now, I’ll leave you with one last peek-a-boo.
I hope you fall in love with your woodland cakestand, too! Happy DIY-ing, friends!
xoxo,
Meg
Note: Because I’m not sure the wood round is food-safe, I kept a piece of parchment paper between it and my cake. Also, I think a 28 oz can would work really well as a base, too!


Cute!
You have a wonderfully creative blog! 🙂
Thank you so much! I’m so glad you stopped by 🙂