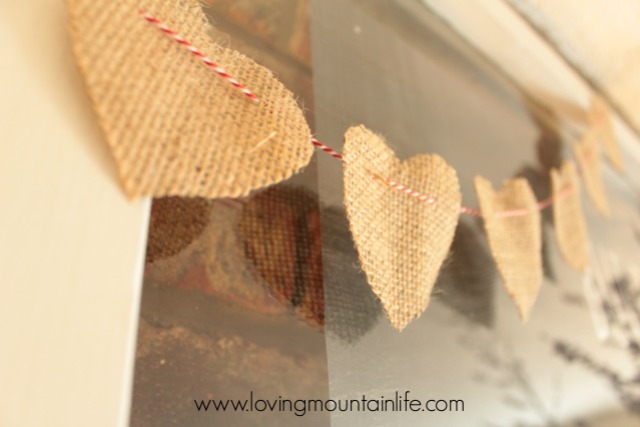
Remember back in February when I told you I’d be posting soon about how to make this cute heart-shaped burlap banner?
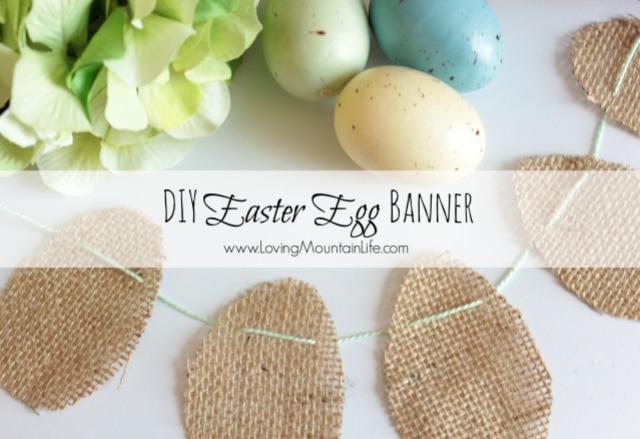
And then I didn’t? Oops! Sorry about that, friends! But good news – since I waited until spring, now you get an Easter tutorial! Boy am I happy that spring has finally sprung in Pittsburgh. Anyone else have a long, hard winter? That’s why making this sweet Easter egg banner was so fun – it meant it was finally time to put away all the winter decorations and break out the pastels! Here’s a look at how some burlap & baker’s twine made spring come alive at my house.
First let me just say that burlap + baker’s twine = a match made in rustic, crafty heaven. Amiright? Both are inexpensive, versatile, and oh-so-charming! When I was looking for a little something to spruce up my Easter decor, these two supplies were at the top of my list {especially since baker’s twine is available in every color imaginable including this mint color that I snagged at Target in the Dollar Spot}.
Then there’s burlap which is about $.50 a yard. I have oodles of it hanging around the house {if something sits still long enough, I cover it in burlap}. 😉 Therefore it was an easy decision to use burlap and baker’s twine in my own version of the little garlands that have been floating around Pinterest.
Here’s what you’ll need {everything is available at your local craft store}:
Burlap – you could probably get away with buying 1/16 a yard, no joke. Or just stop by – I have plenty of extra!
Baker’s Twine – 2 yards
Large-eyed needle
Cardstock
Marker
Scissors
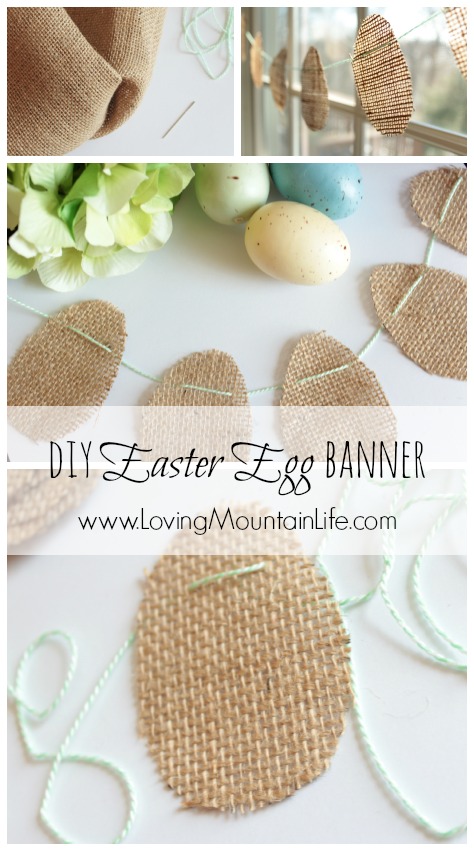
I started with this egg. I printed it on cardstock then cut it out to be used as a “tracer” – at least that’s what my Kindergartener called it. With her by my side, I traced 14 eggs onto a piece burlap then cut them out. Tip: if your burlap is creased from being folded, I recommend ironing it a bit before starting to trace.
Now it was time to put it all together. I used about 2 yards of mint baker’s twine to string my eggs along. It reminded me a lot of my days spent wiggling cross-stitching beside my grandmother.
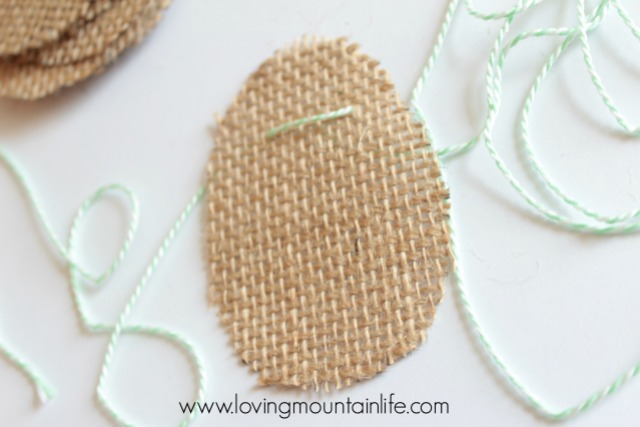
Up through one “square” and then back down through another.
Repeat, repeat, repeat and here you have it! Sweet little eggs, all in a row.
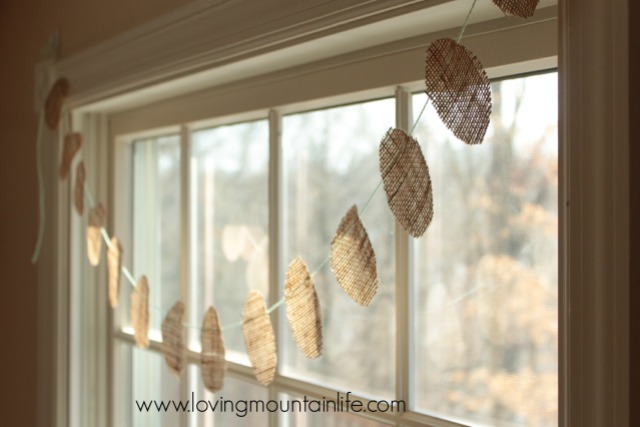
The eggs are quite easily arranged however you would like them to be on the baker’s twine. It’s such a simple project to embellish a window, a mantel, or stairwell with some Easter cheer. It’s the best way you can spend 15 minutes! Happy spring and happy crafting!
