A Dave Ramsey Inspired Craft – with FREE Printables!
Hello friends! So this post is all about the Benjamins baby. Not my favorite subject by a long shot. Can I tell you how uncomfortable I am talking about money? It makes me itchy. Money was never something my family discussed growing up. Then a few summers ago we took Dave Ramsey’s Financial Peace University. Taking this no-nonsense, high-energy, get-your-butt-out-of-debt-and-plan-for-your-future series was one of the best things we’ve ever done. BOOM {drop the mic} – our life was turned upside down.
Sometimes I wonder what took us so long to figure some of this stuff out. Neither one of us ever had to take a finance class in undergrad but still – duh Meg, making minimum payments on a college education that I’m not even currently using is pretty dumb. All you financial wizards reading this are probably shaking your heads right now because yes, some of the information we gained from Dave Ramsey’s class was common sense. But some of it we just really didn’t know – like how to prioritize (i.e. put away a small emergency fund then attack debt and invest later) or how to choose a life insurance policy.
We also learned how important it is to pass this information on to our children. We learned how to change a generation. That is where this project was born.
We want proper money management to be second nature to our kids. In an attempt to teach them that 1. Everything costs money (yes Eva, even the Princess and the Popstar Veggie Tales video you want so stop bugging me about it already) and that 2. You have to work to earn money, we are openly discussing money as a family and trying to implement some simple routines at home. In FPU Dave Ramsey talked briefly about teaching his own children about the economy and earning money through what he called “commissions”. In his house commissions were essentially chores &/or other household tasks done in exchange for payment. Note: He’s got a ton of kid and teen curriculum that probably explores all of these ideas in greater depth but we haven’t gotten that far yet. Dave’s all about baby steps, right? 🙂
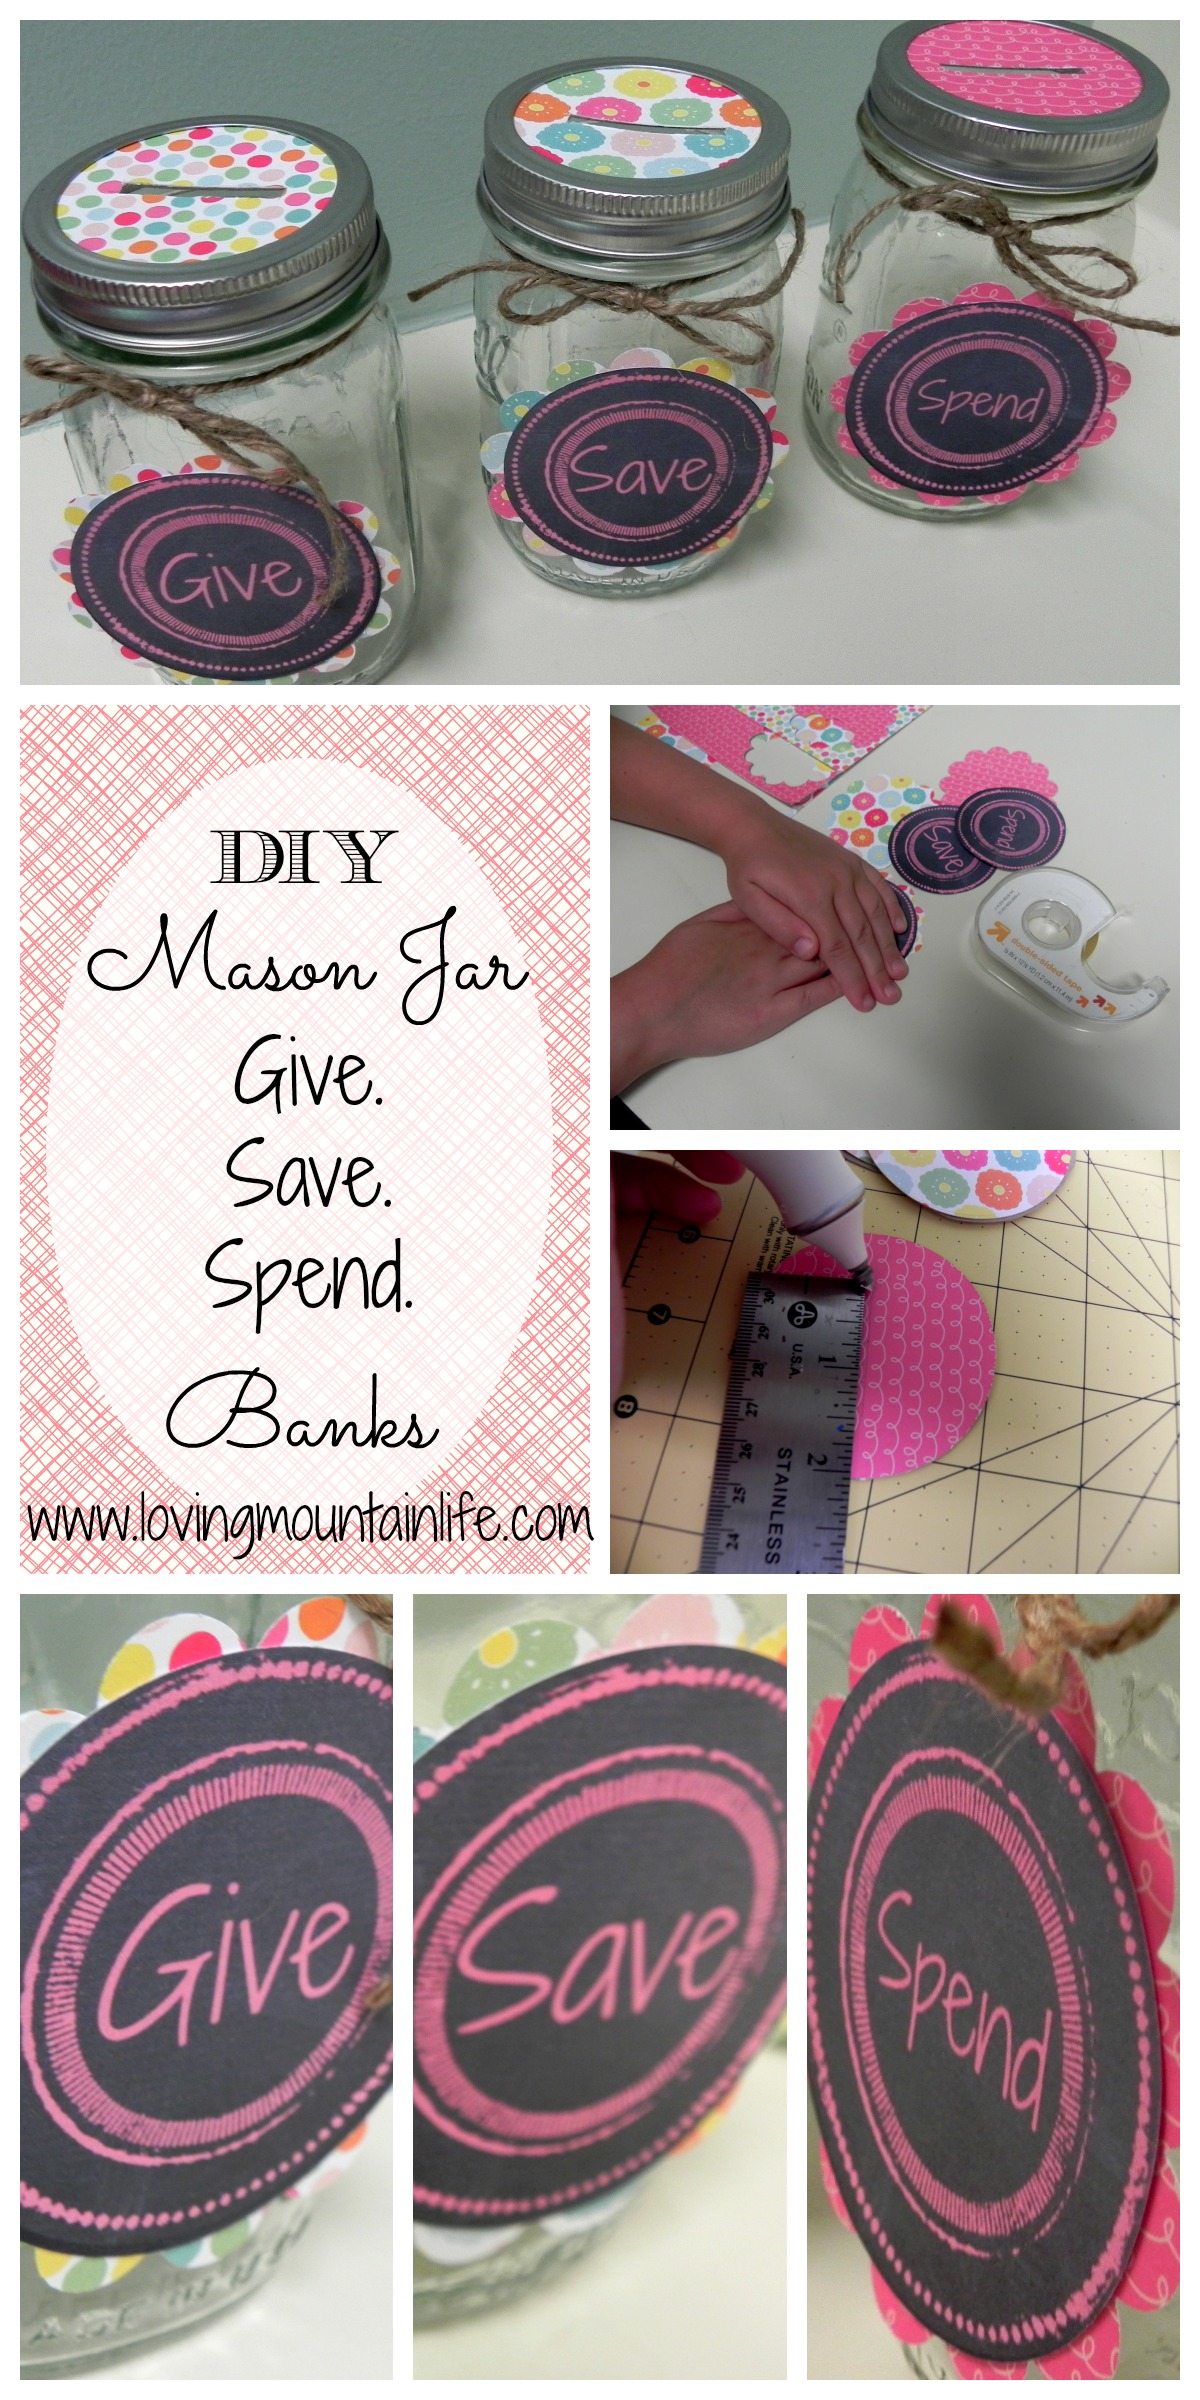
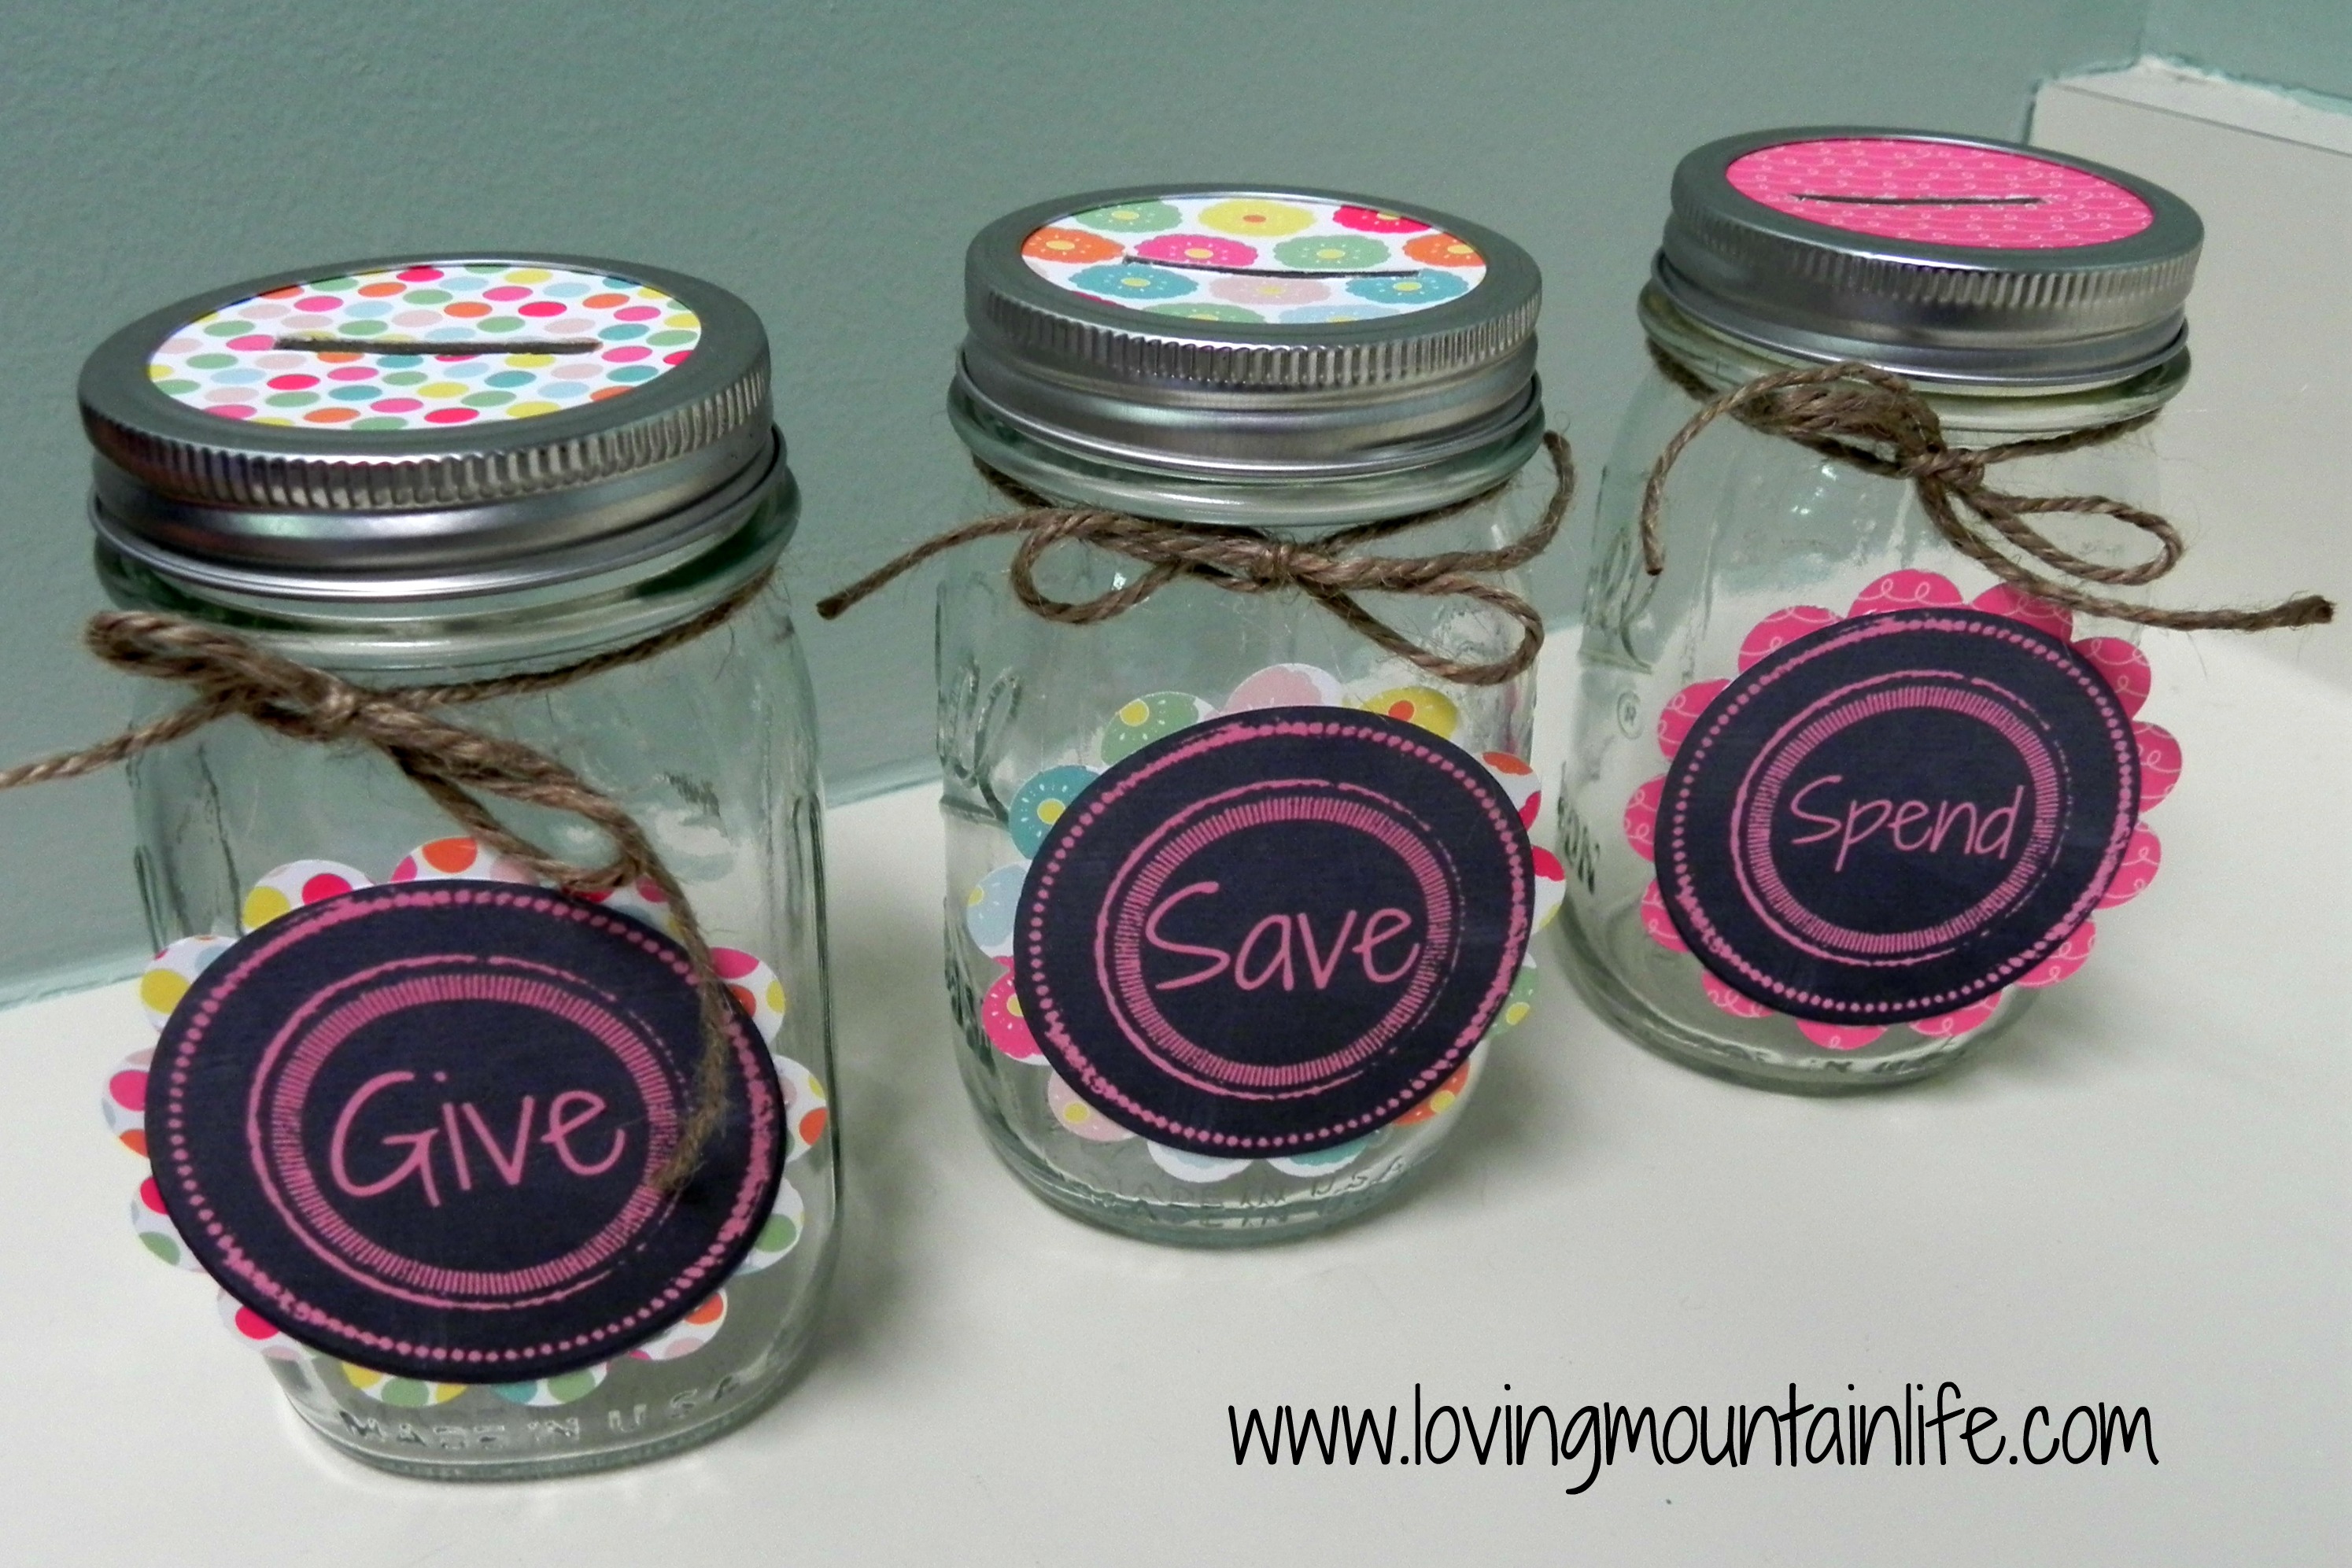
Well here’s our Baby Step #1: Set up three piggy banks – one for giving, one for saving, and one for spending. Then start a mini-economy at home (read: the kids can do chores for cash money). Dave’s give-save-spend idea is one that is Biblically based and we love that. Give of your first fruits, save for the future, and then spend CASH (not accumulate debt) on things you need and want. Our oldest just started Kindergarten so we figured back-to-school is as good a time as any to implement the give-save-spend banks and get started on commissions. Except I think that instead of commissions we’ll call them “Bonus Bucks” (thanks to my MIL for that term). With no further ado, here are the banks we made!
Supplies you’ll need:
-3 Mason jars + lids
-FREE Loving Mountain Life Give, Save, Spend printables {you’ll find them below}
-White cardstock
-Scrapbooking paper
-Decorative 3″ punch {optional – you can always just use the printable labels}
-Double-sided tape
-Sharp scissors or an X-acto knife
-Straight edge
-Thin cardboard
-Pencil
-Twine
We chose to use Mason Jars because 1. they’re fabulous, 2. they’re easy to open and clear (we wanted the visual of money actually accumulating to drive these lessons home), and 3. I had some extras from my SIL’s wedding shower.
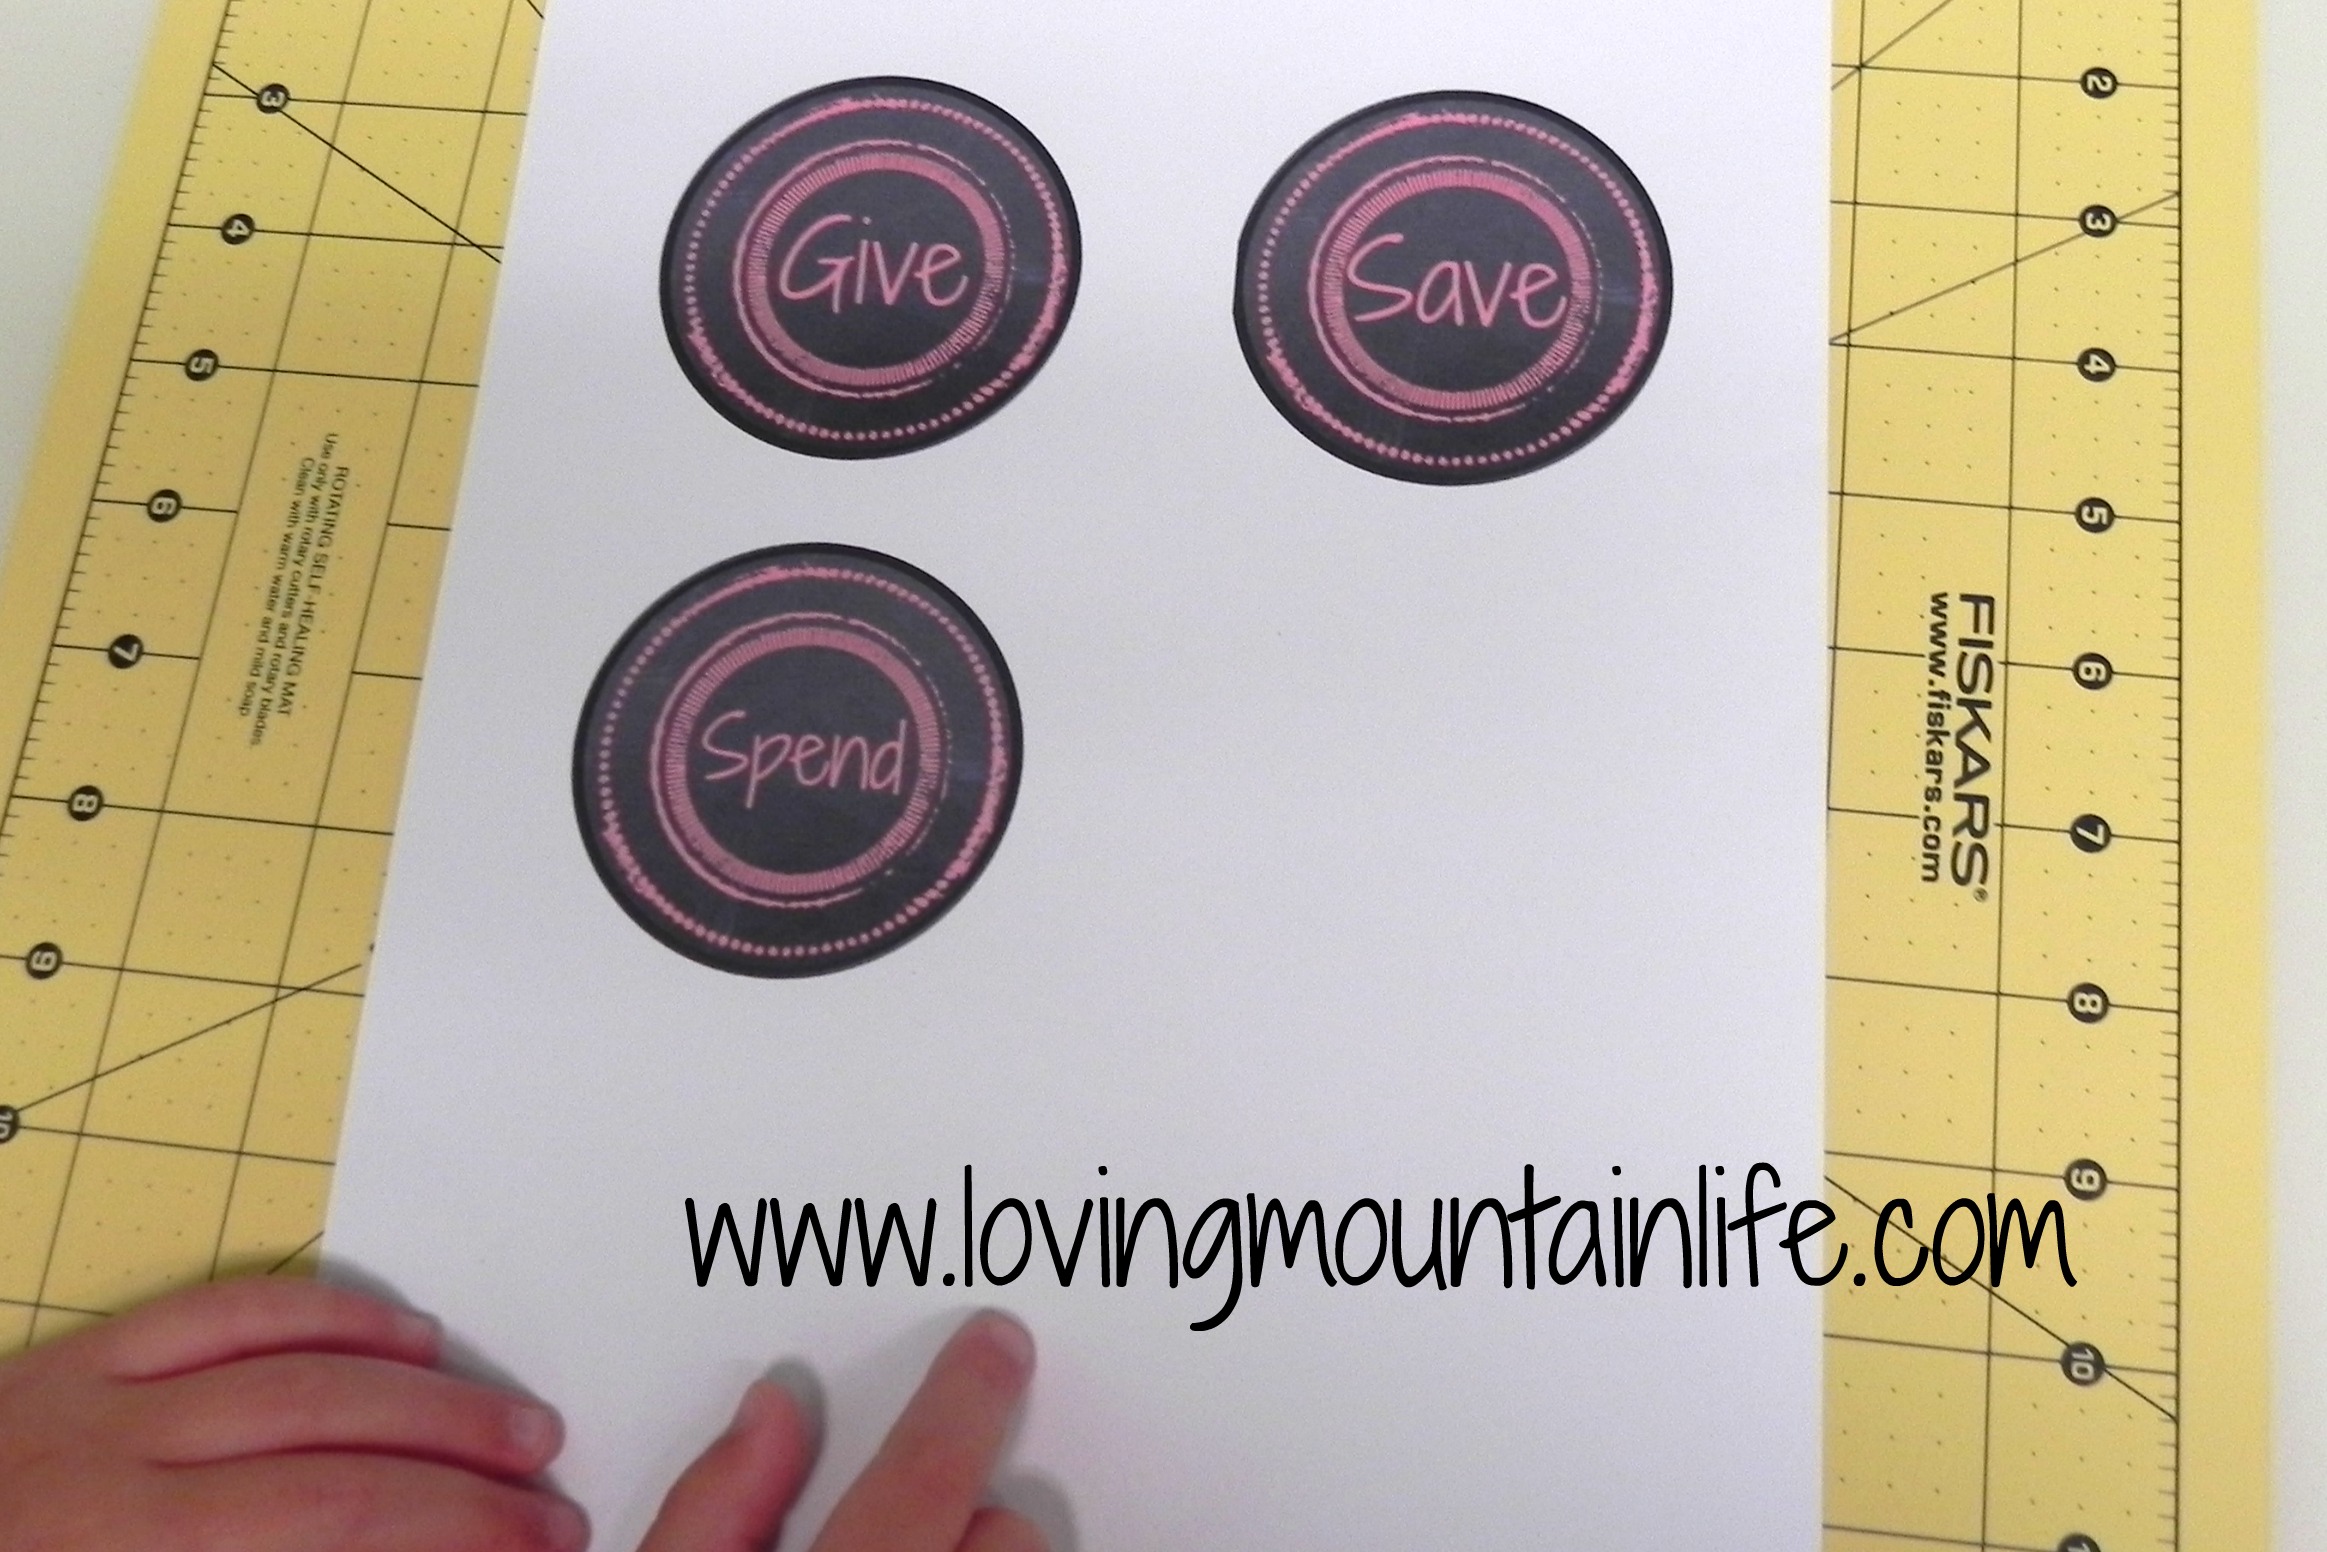
I made a label for each jar using PicMonkey. Eva was adamant about having PINK labels for her banks. I figure Micah will be just as adamant about BLUE ones when his turn comes so alas, I made them in multiple colors. Here they are in all sorts of options depending on the tastes of your littles!
Give Save Spend Labels in Pink
Give Save Spend Labels in Blue
Give Save Spend Labels in White
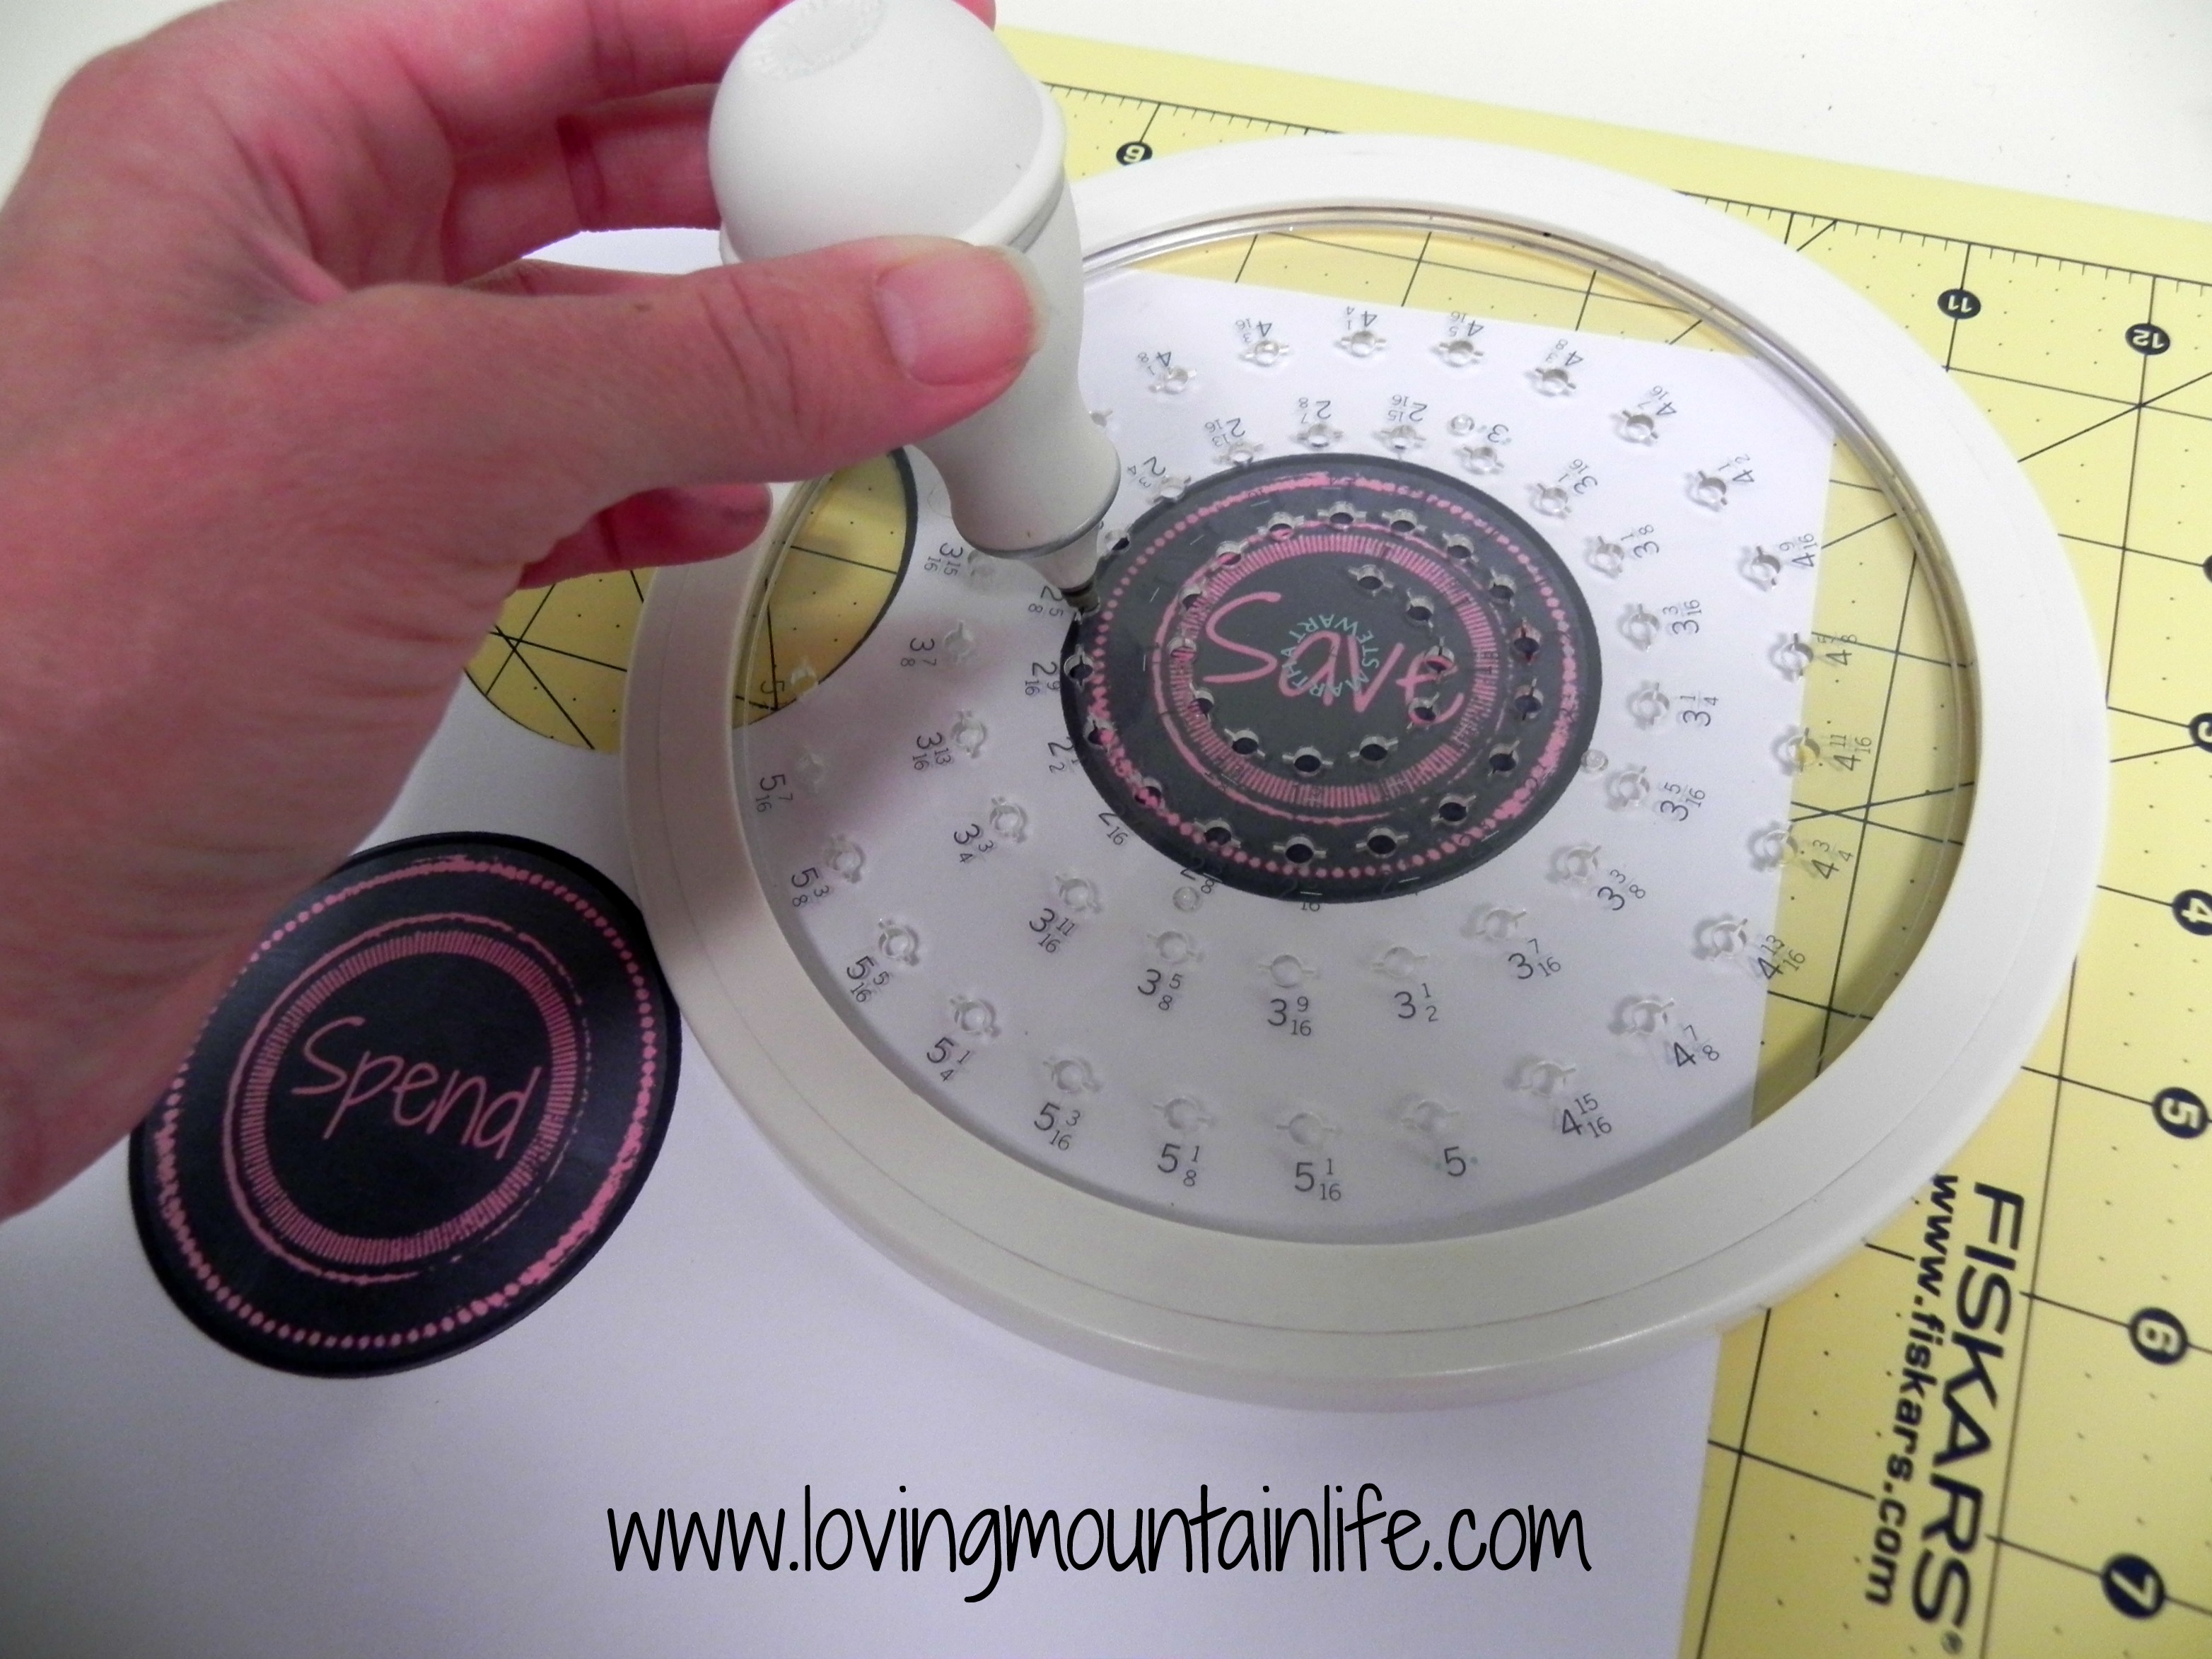
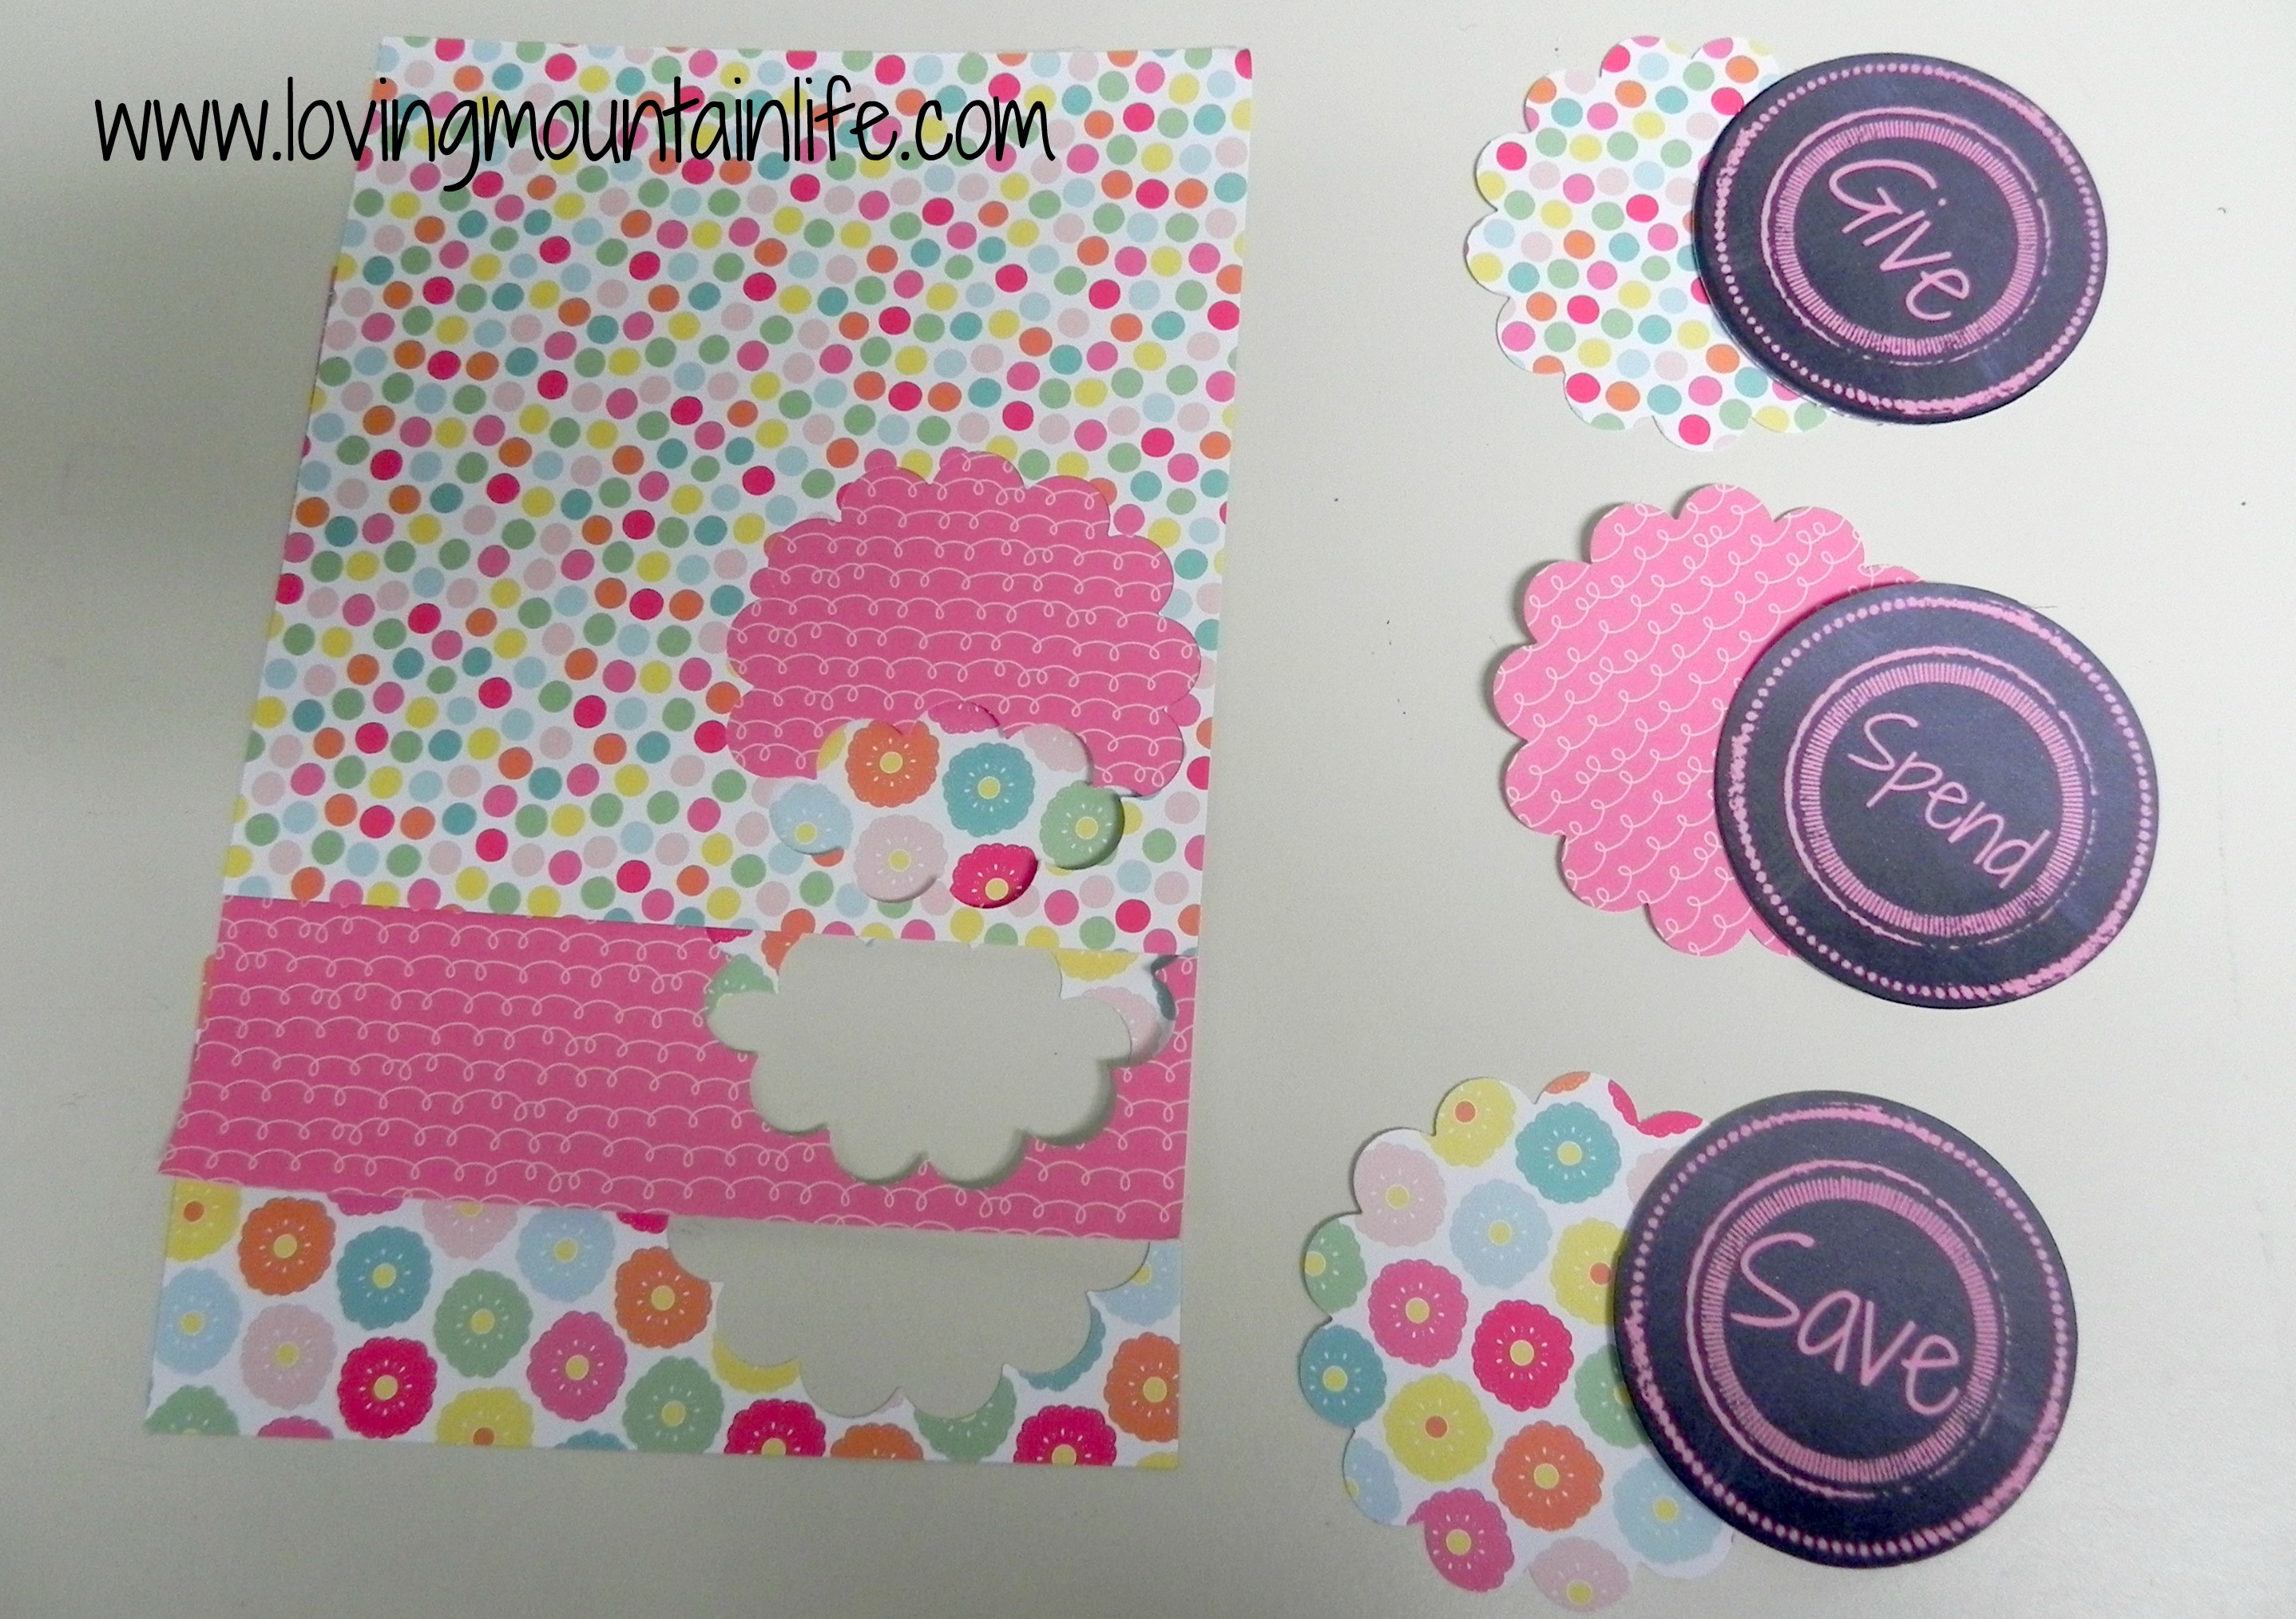
I printed the labels on cardstock then cut them out. I used my nifty Martha Stewart Crafts Simple Circle Cutter on the 2 5/8″ setting.
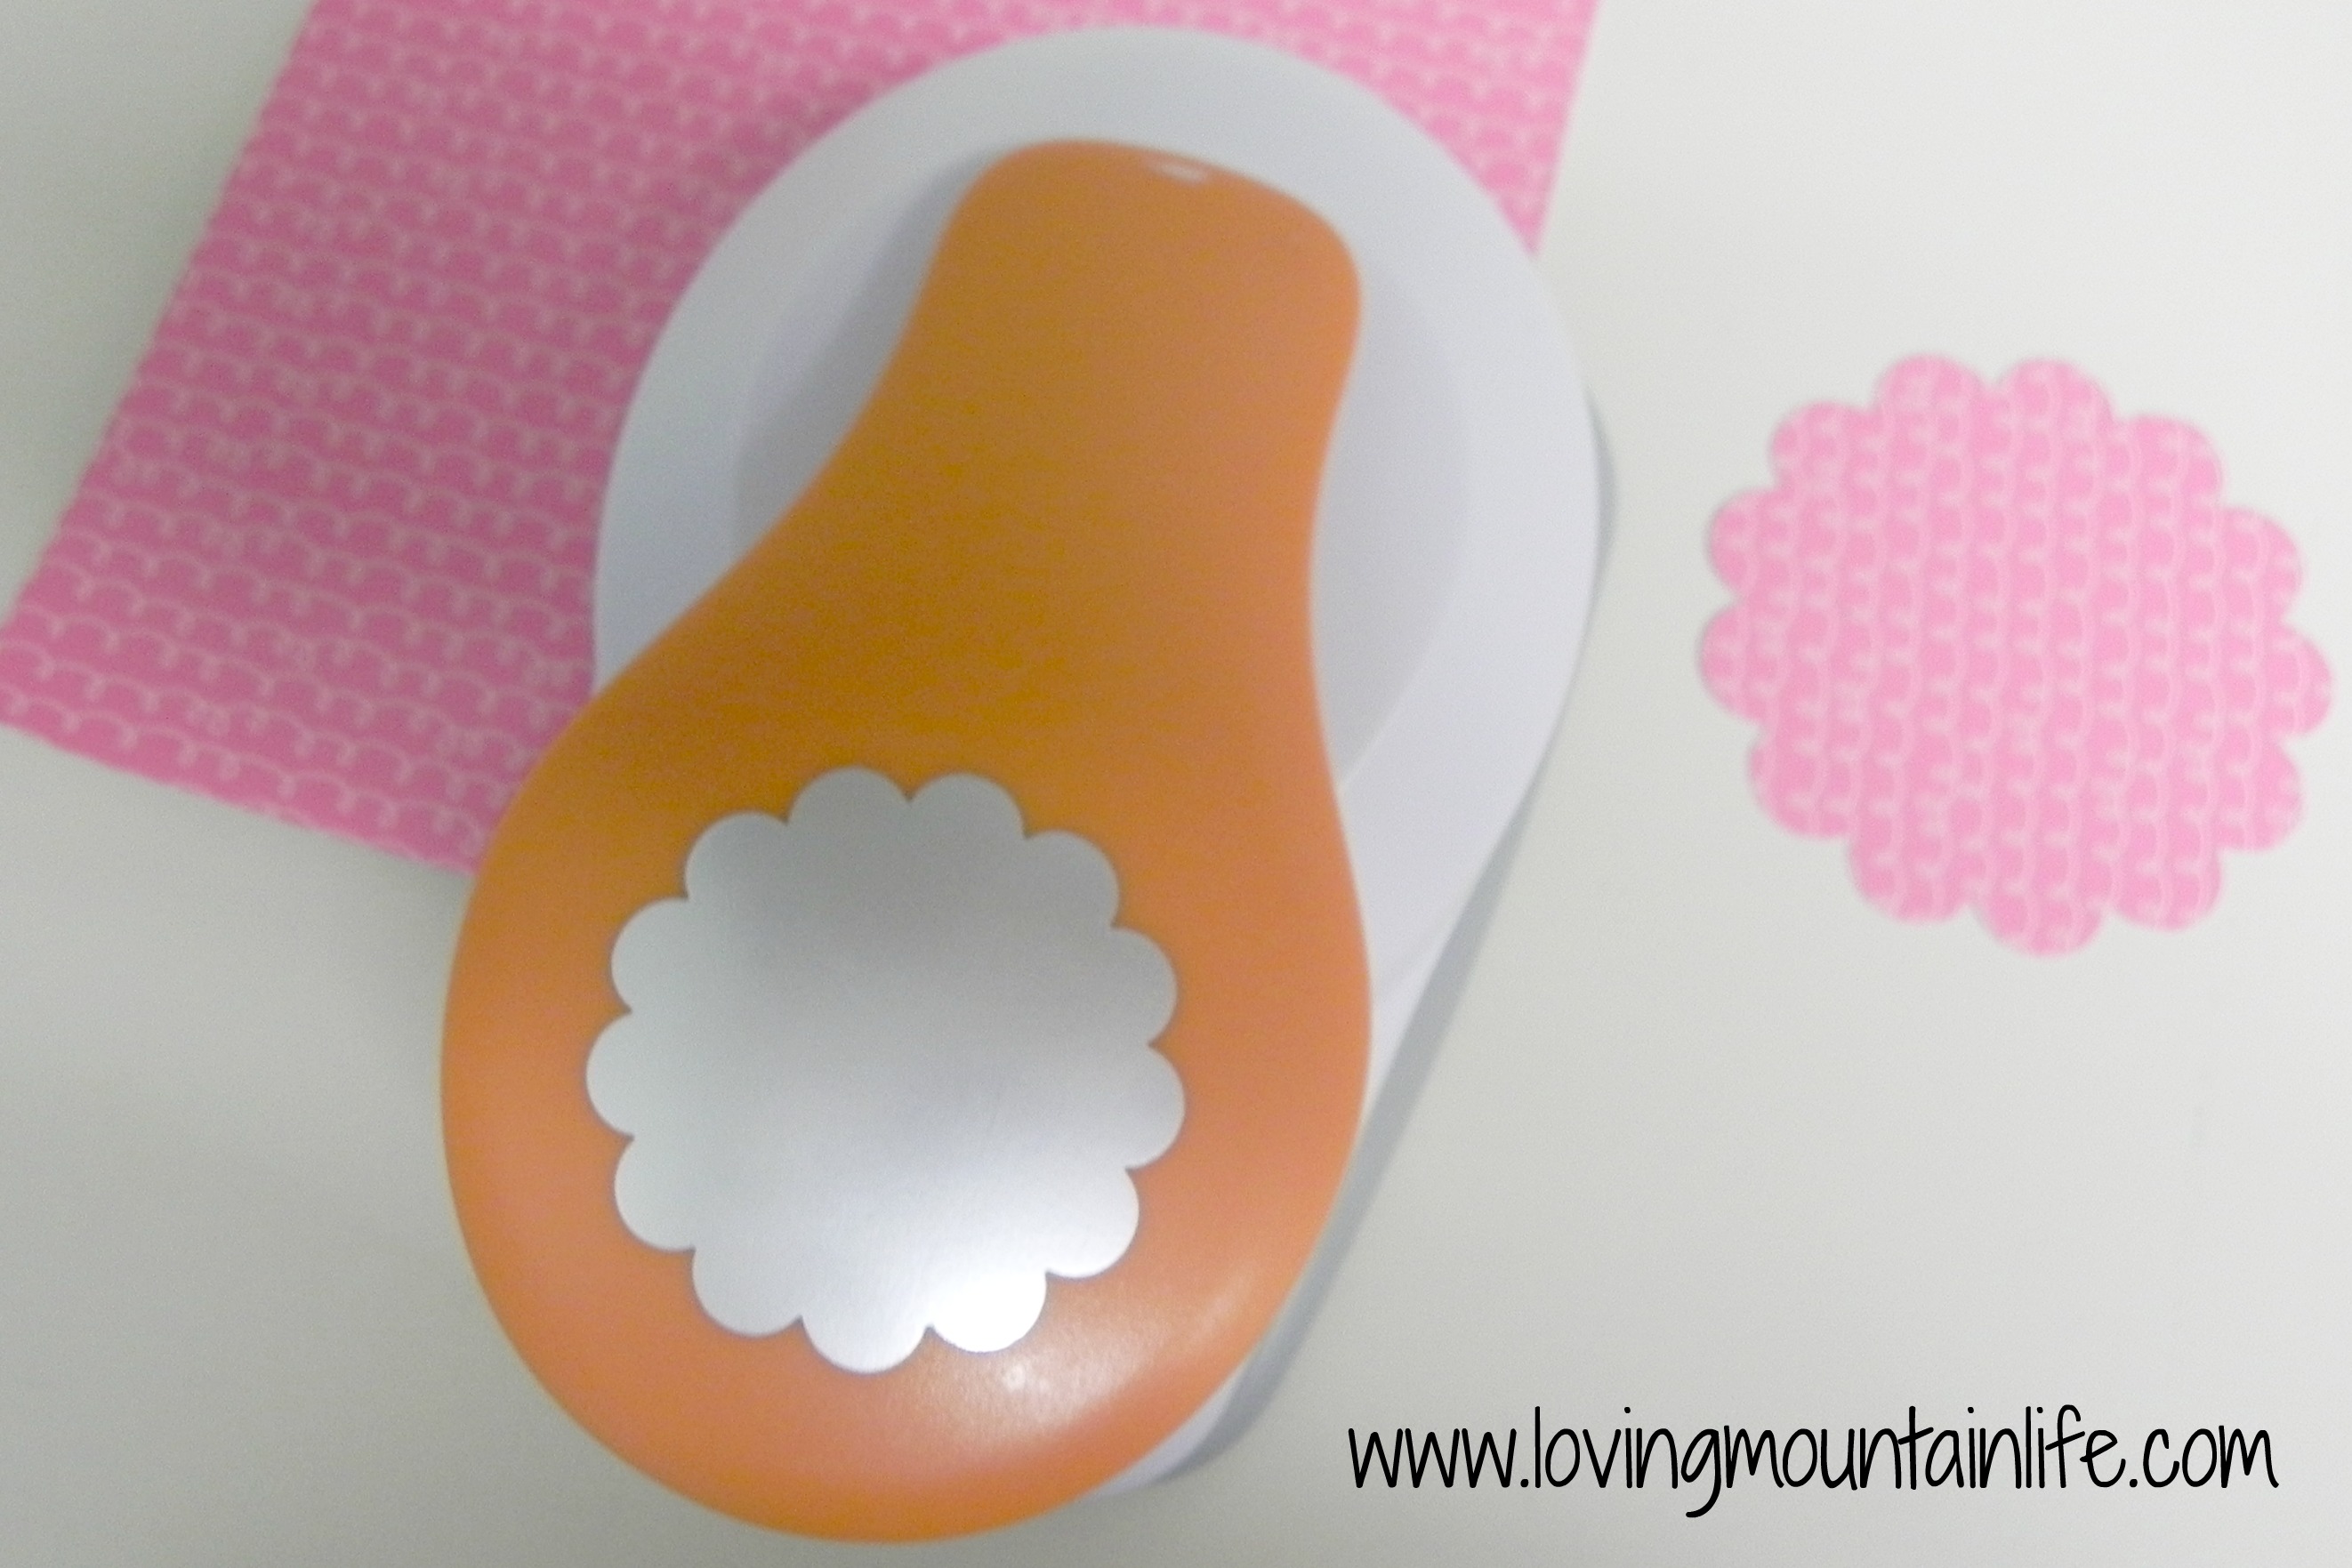
Next I used some scrapbooking paper and my Fiskars 3XL Pretty Scallops Lever Punch to make a background for the label.
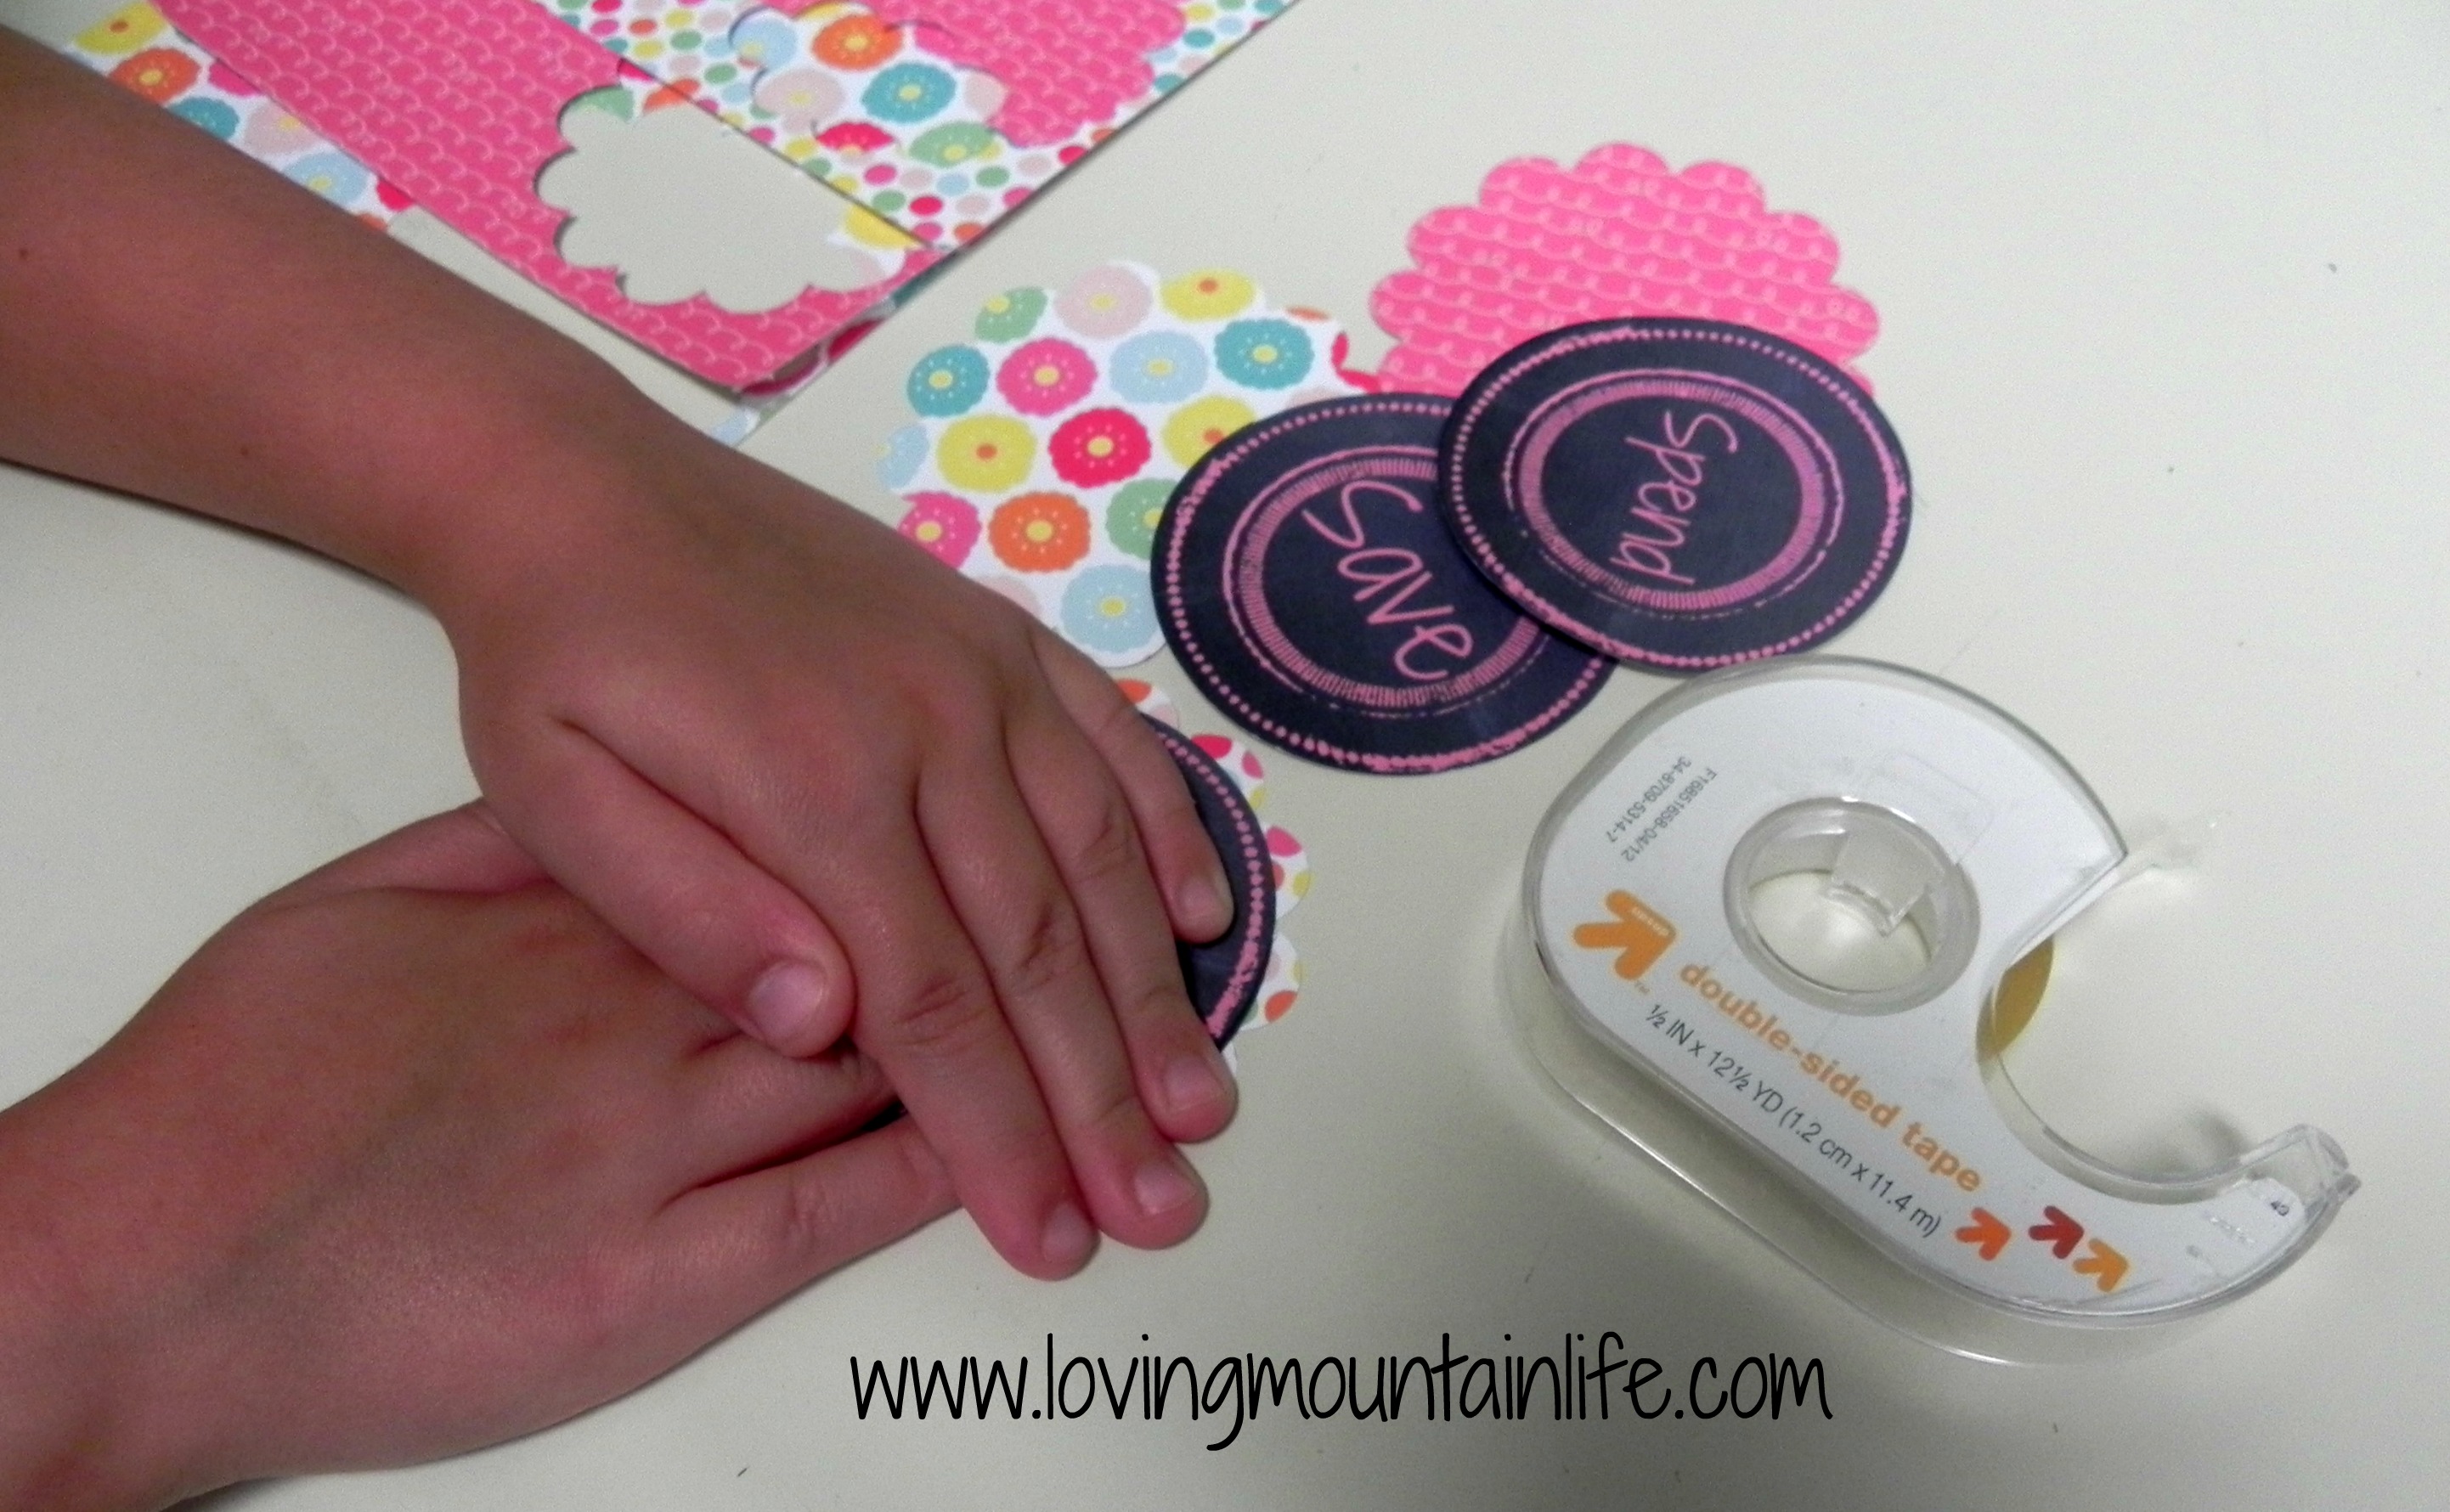
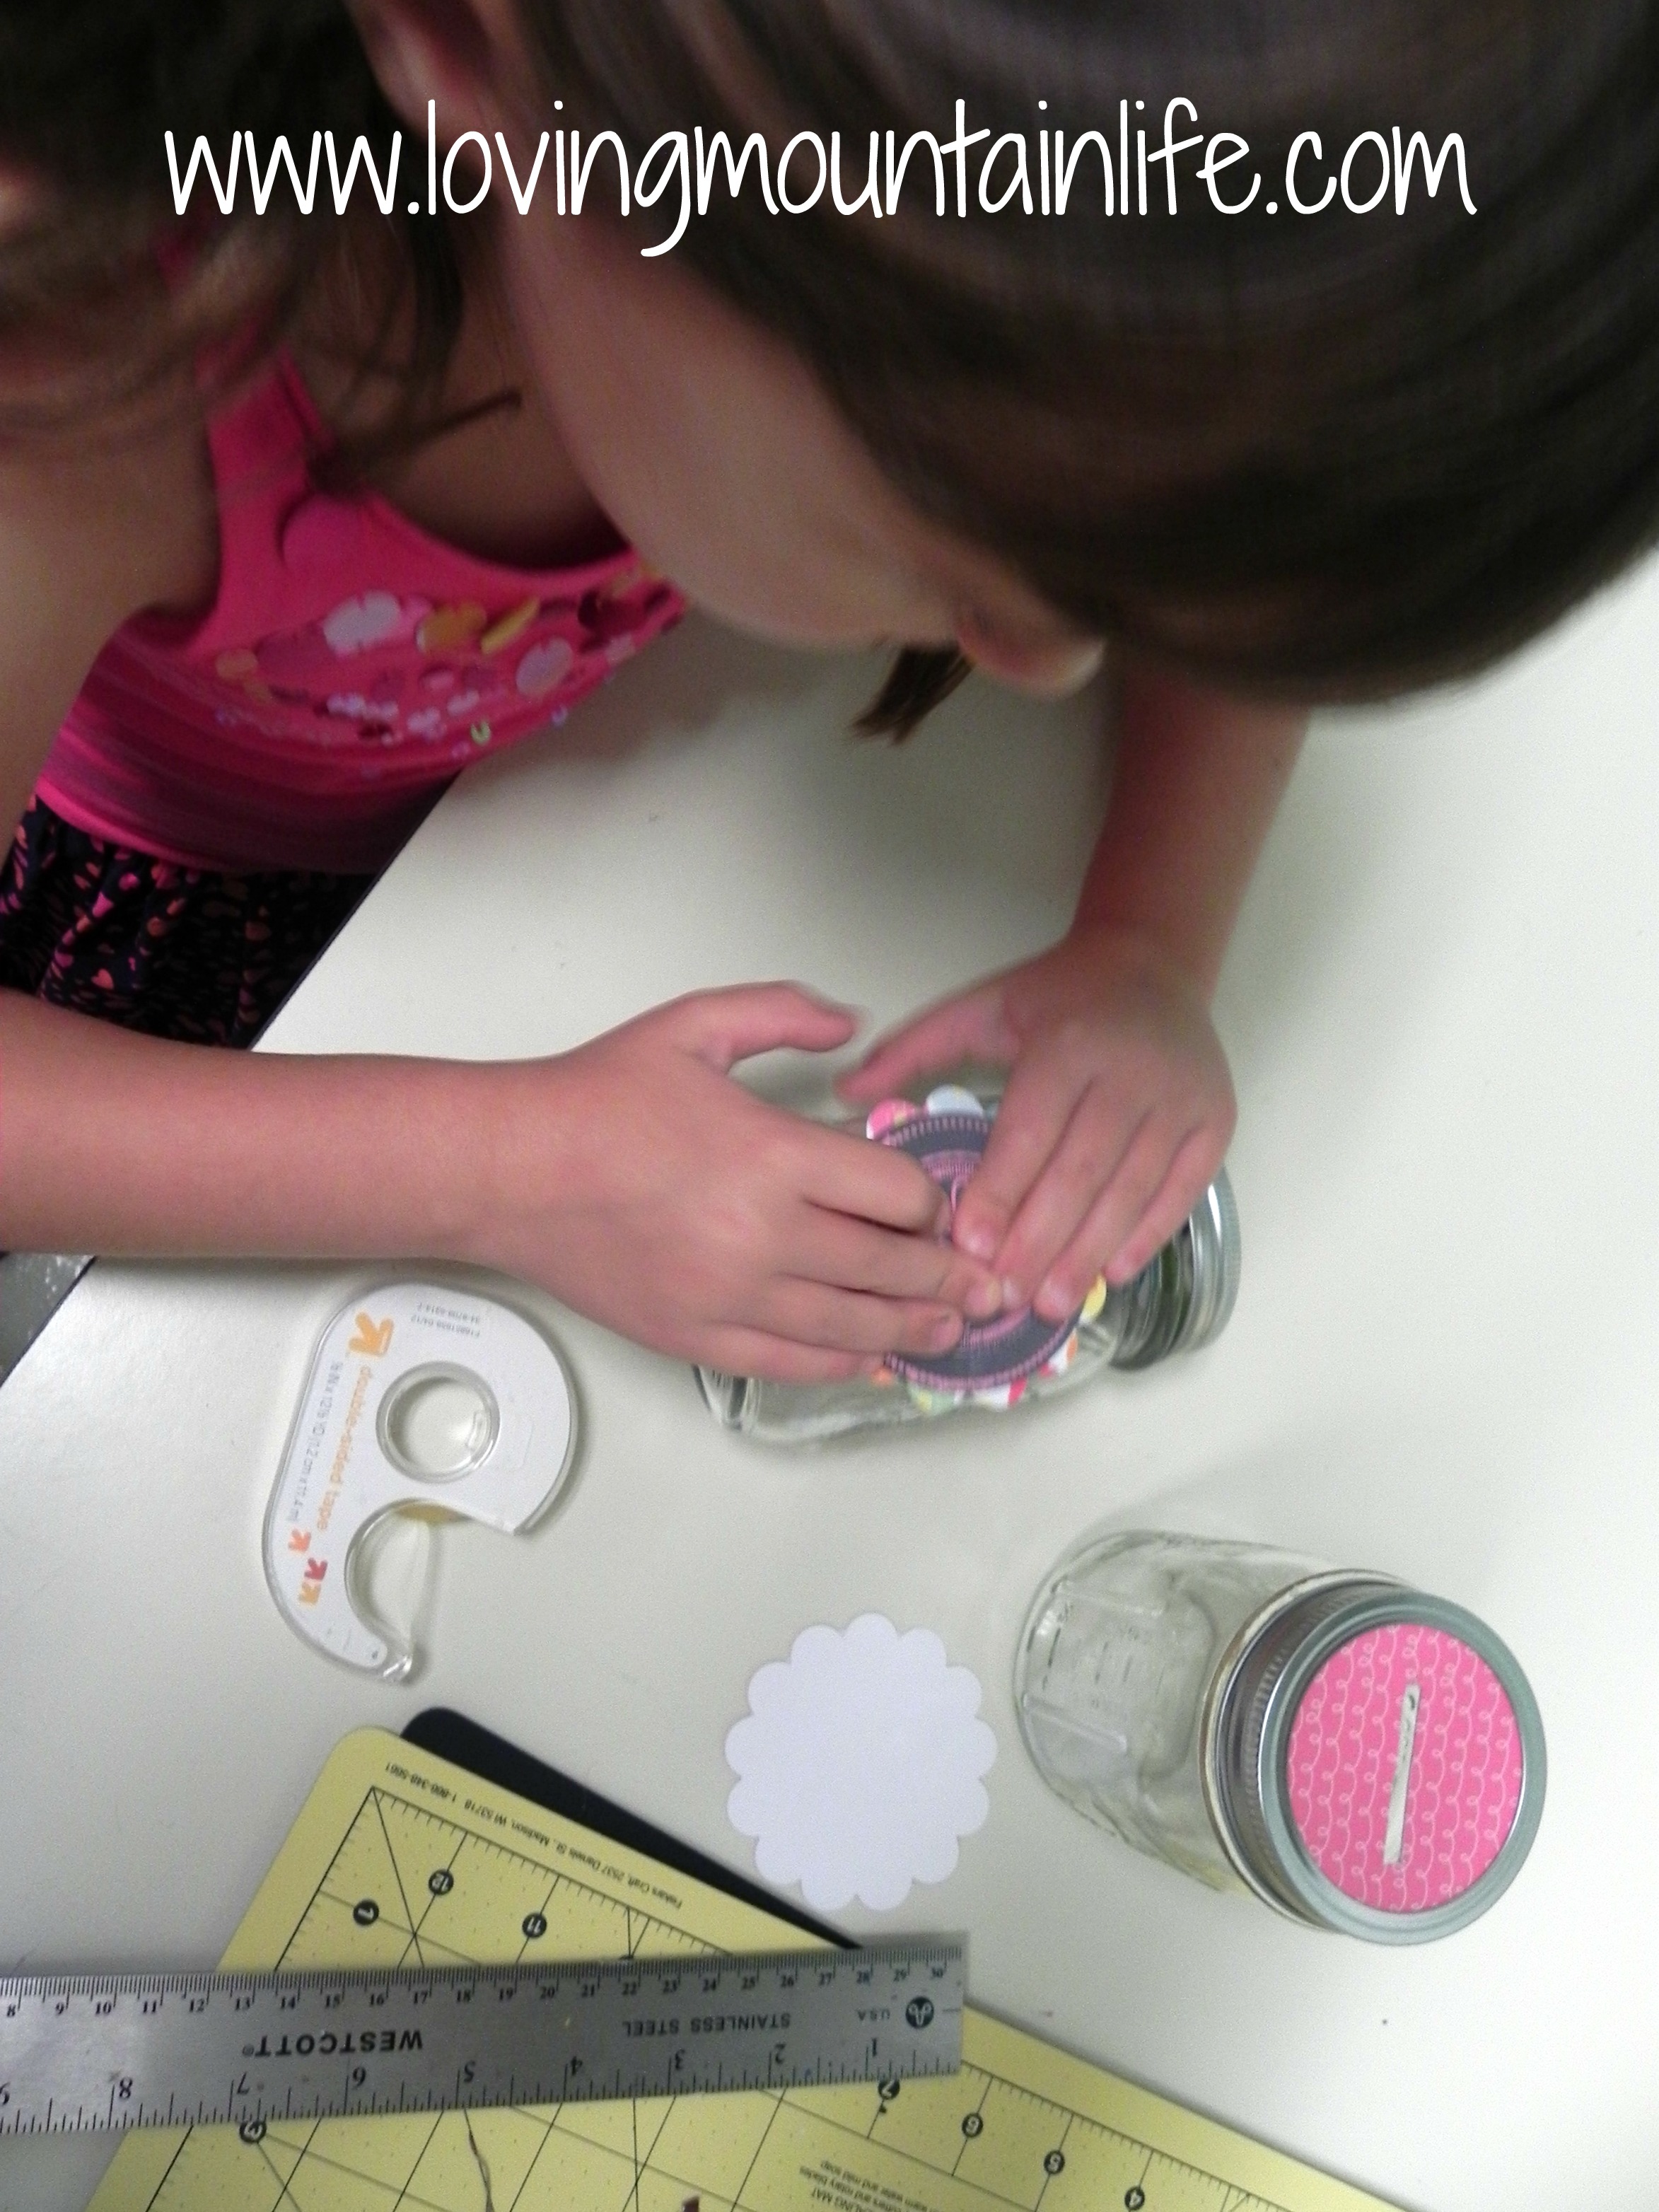
My little helper used double sided tape to adhere the two pieces of paper together.
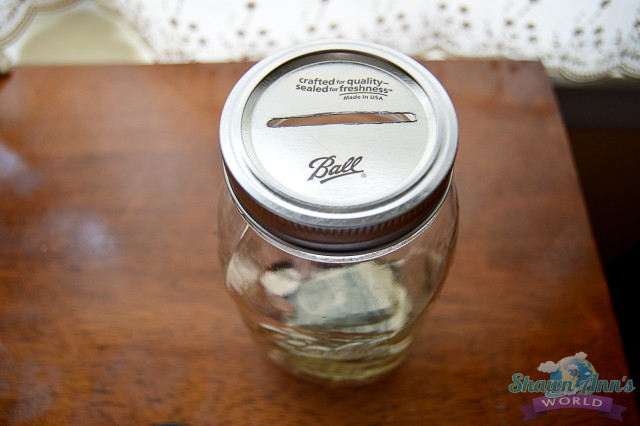
Onto the lid. I had visions of cutting a money slot into that little metal insert thingy of the Mason Jar lid like this jar from Shawn Ann:
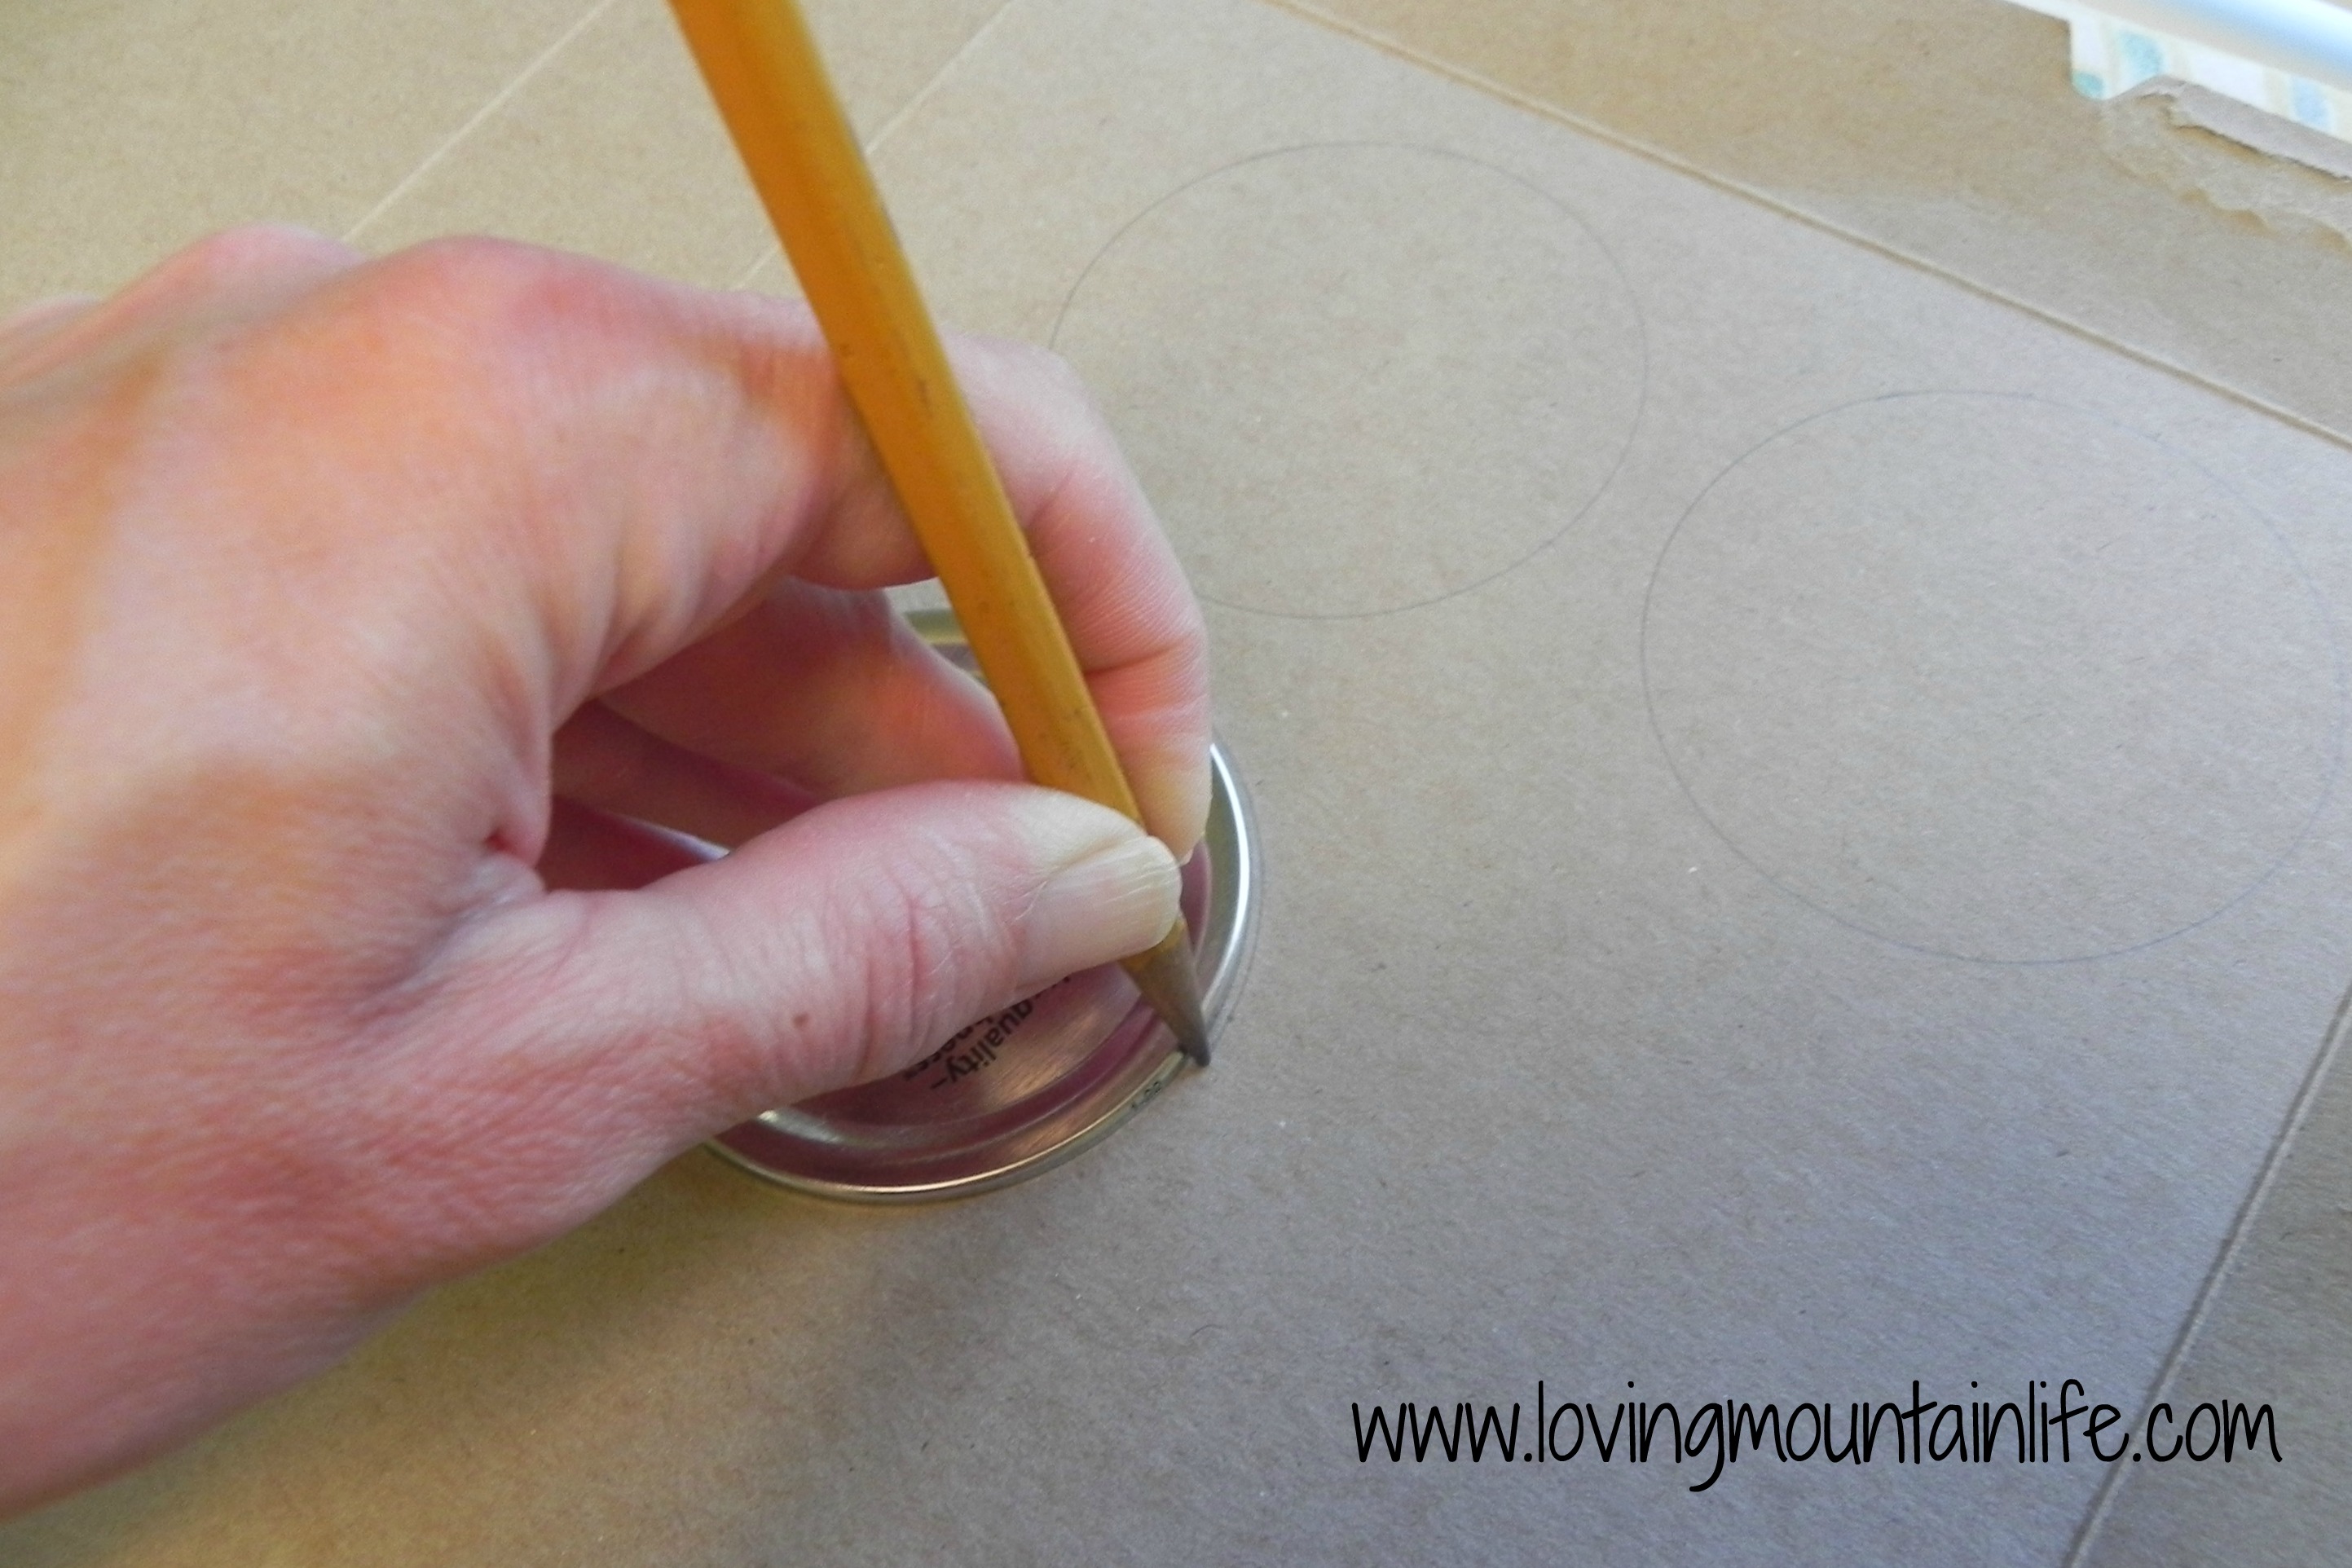
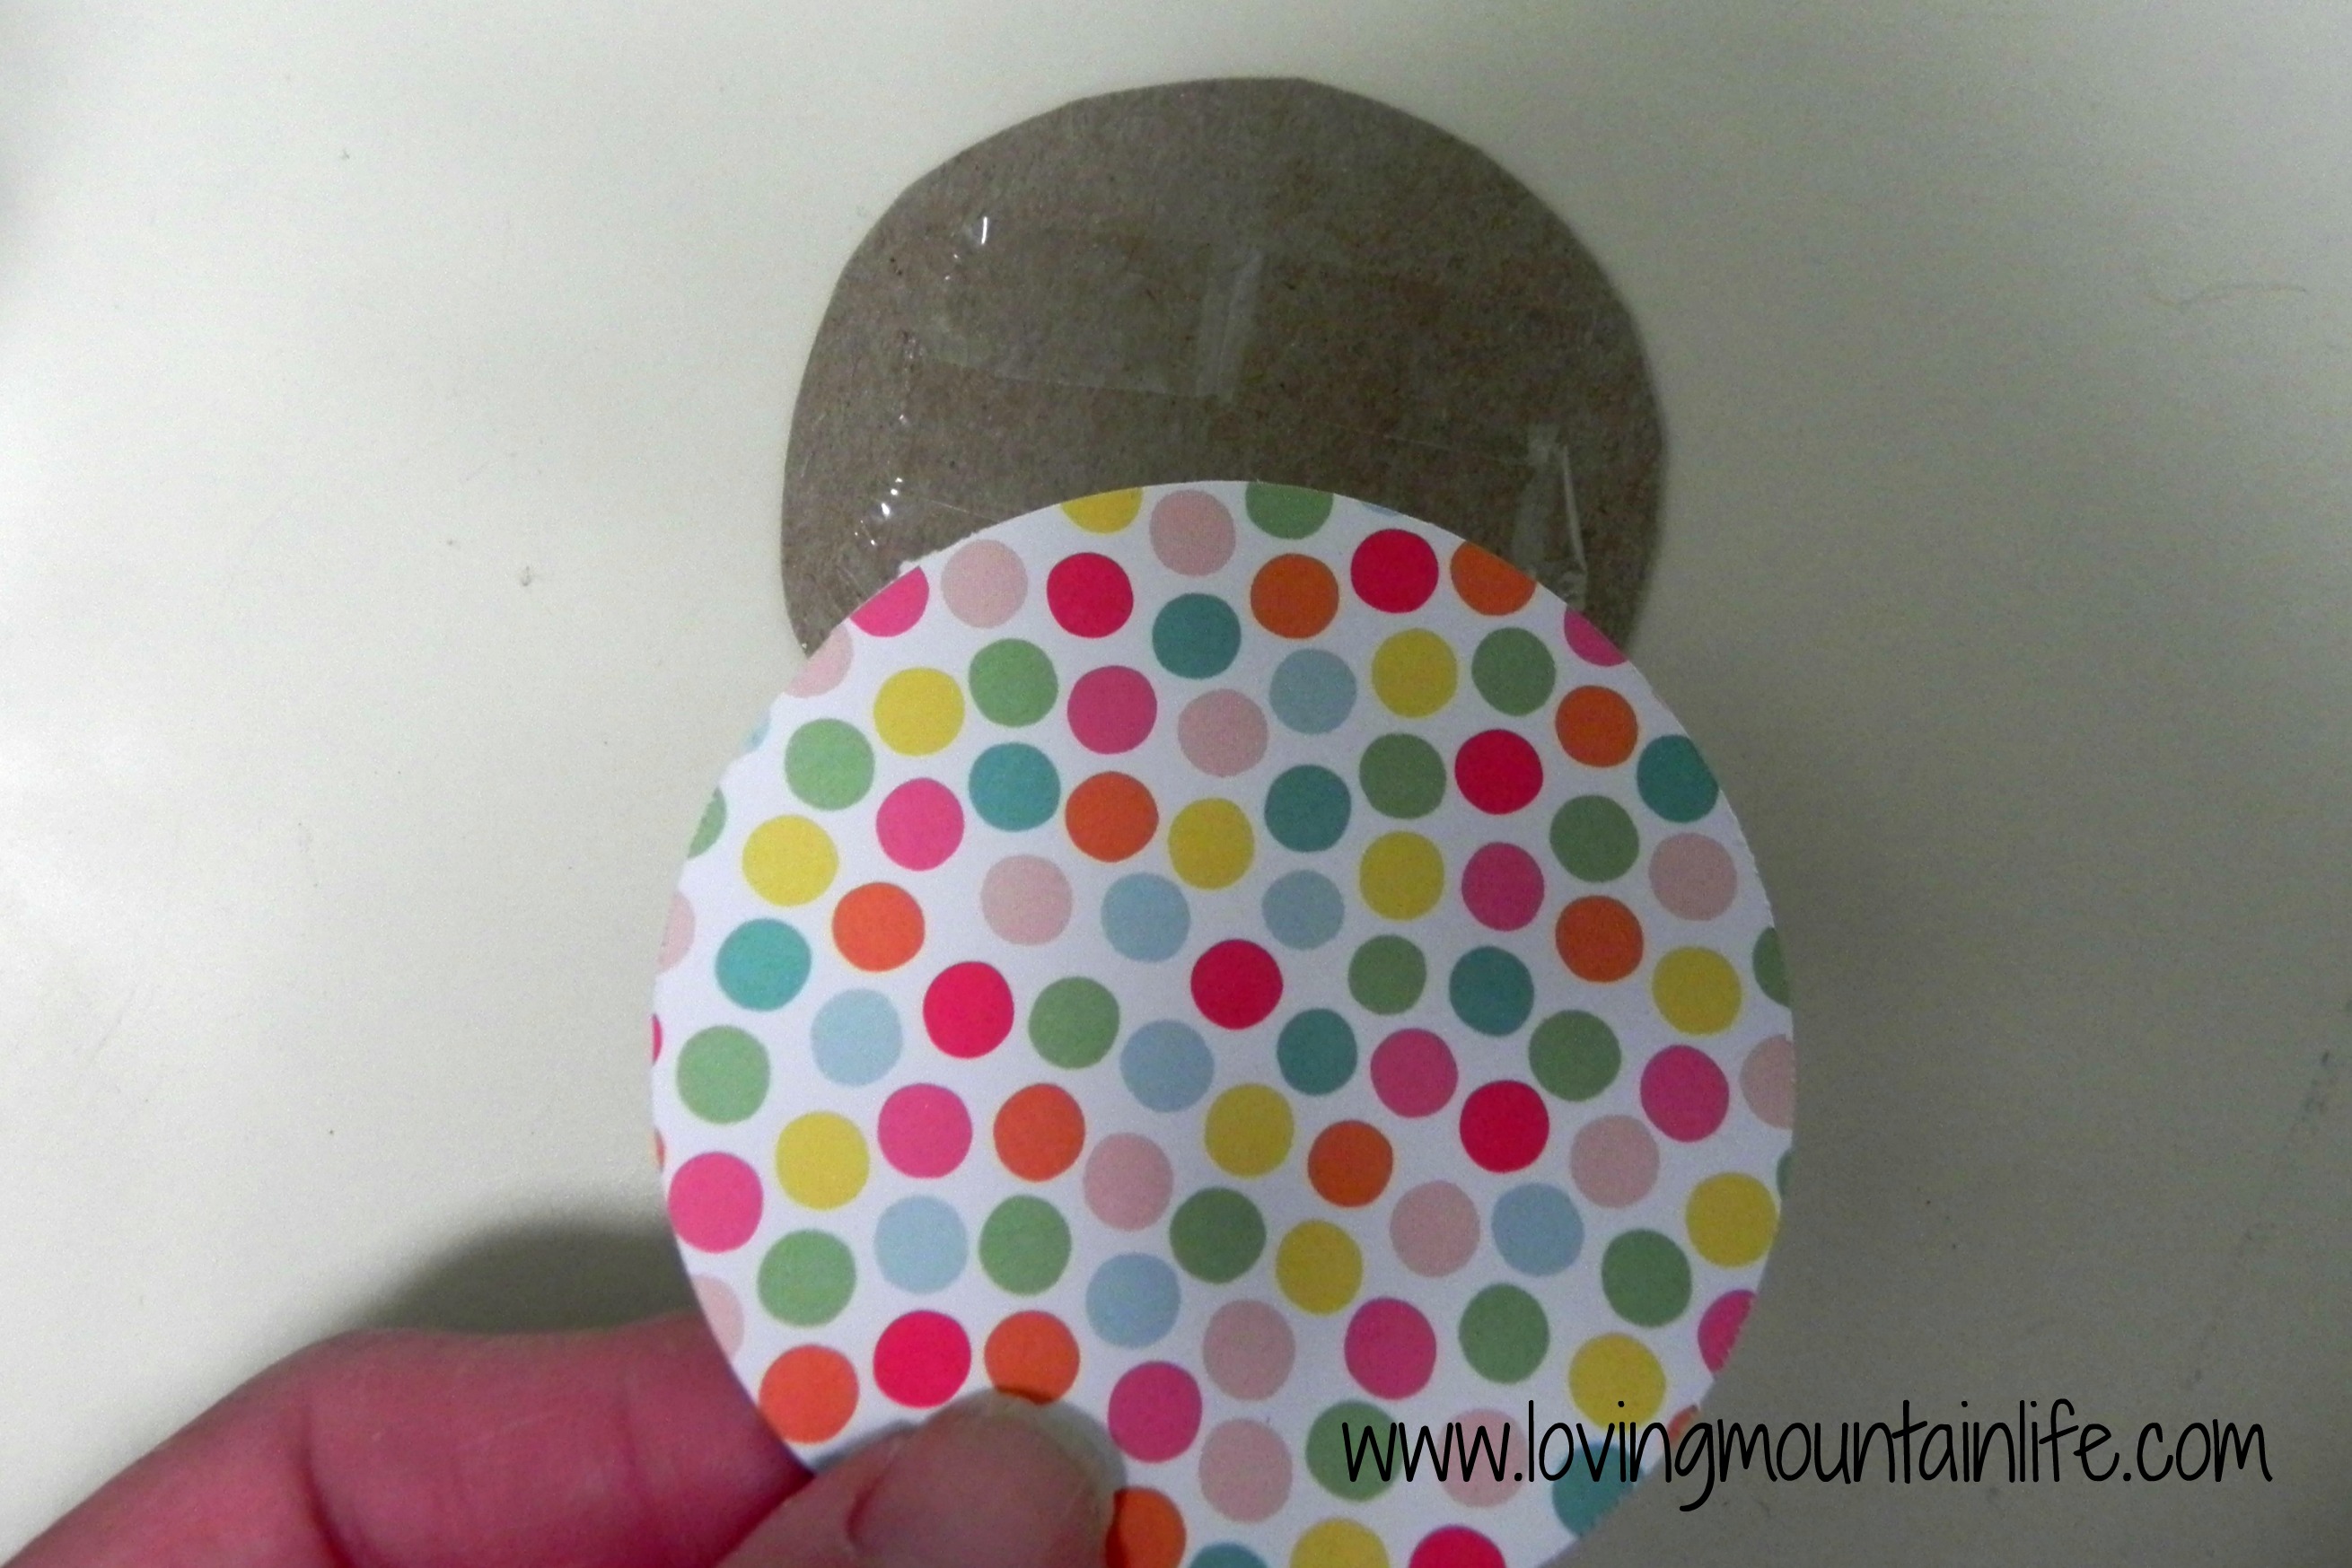
Then I had visions of cutting my own finger off while doing so. How does one cut metal? I opted to trace the metal insert onto cardboard and make a slot in that instead. The cardboard I used was just an old cereal box. Reduce, reuse, recycle at its best!
I covered the cardboard with more coordinating scrapbooking paper, attaching it with double sided tape.
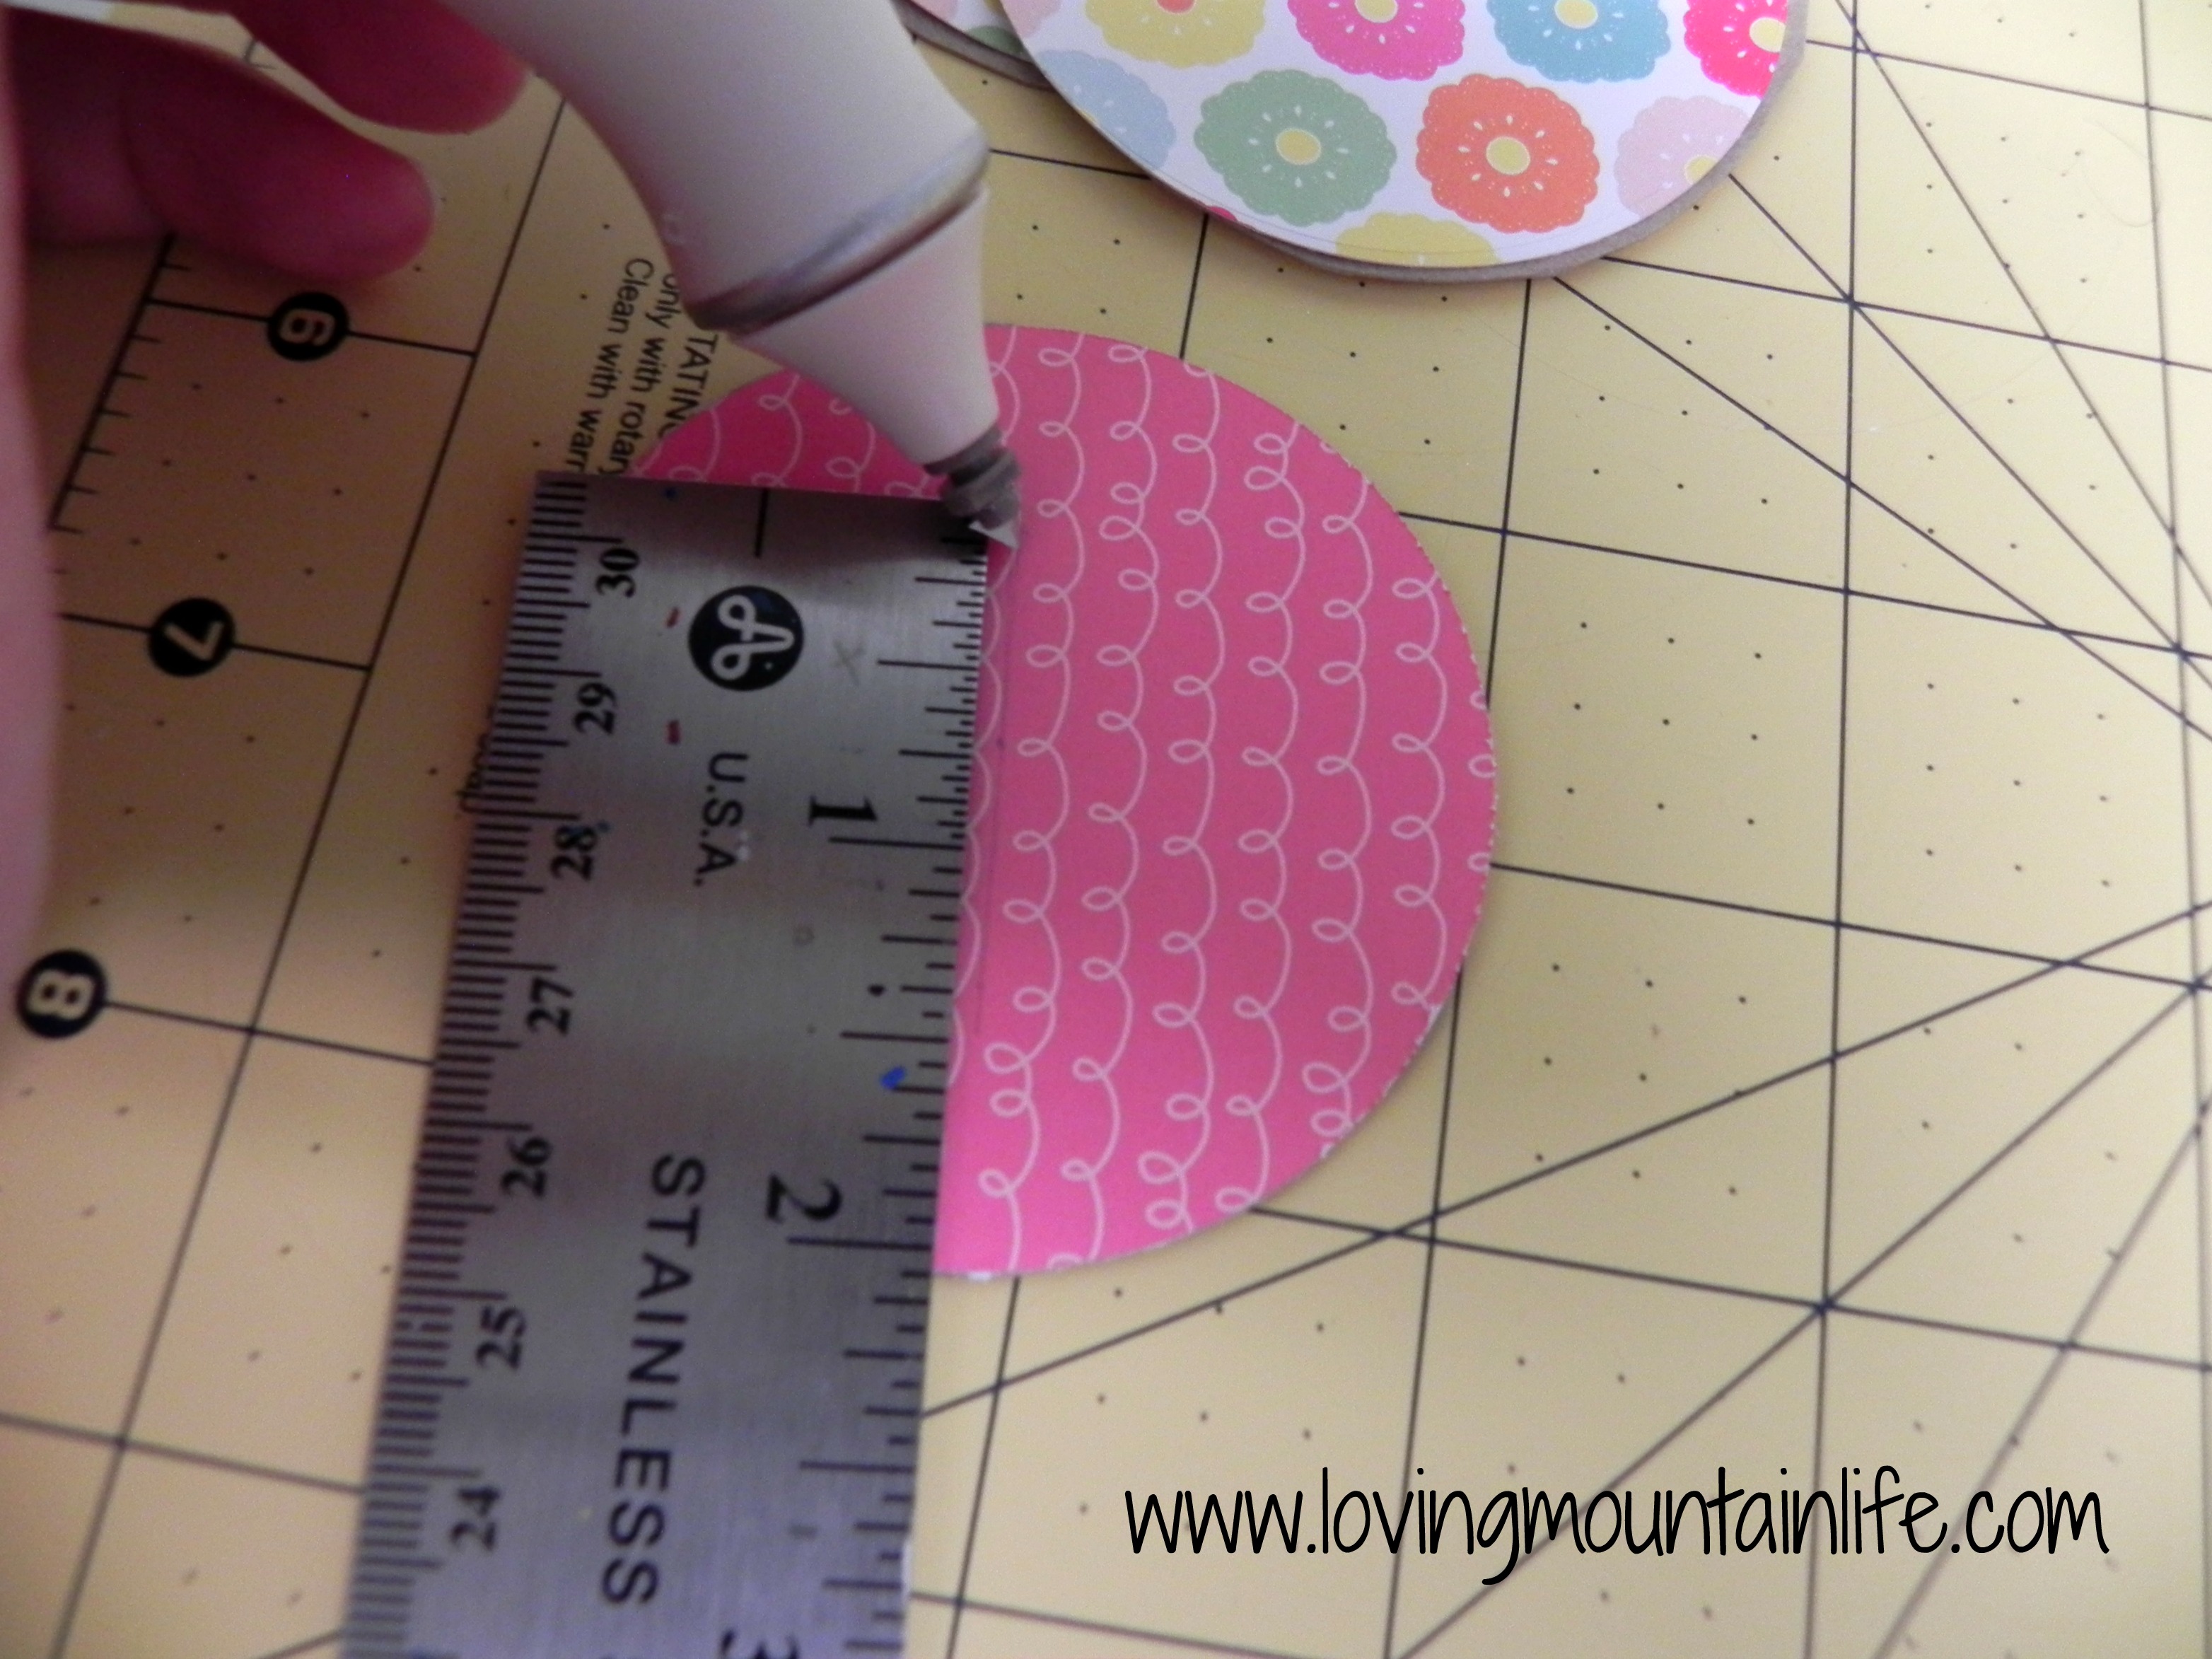
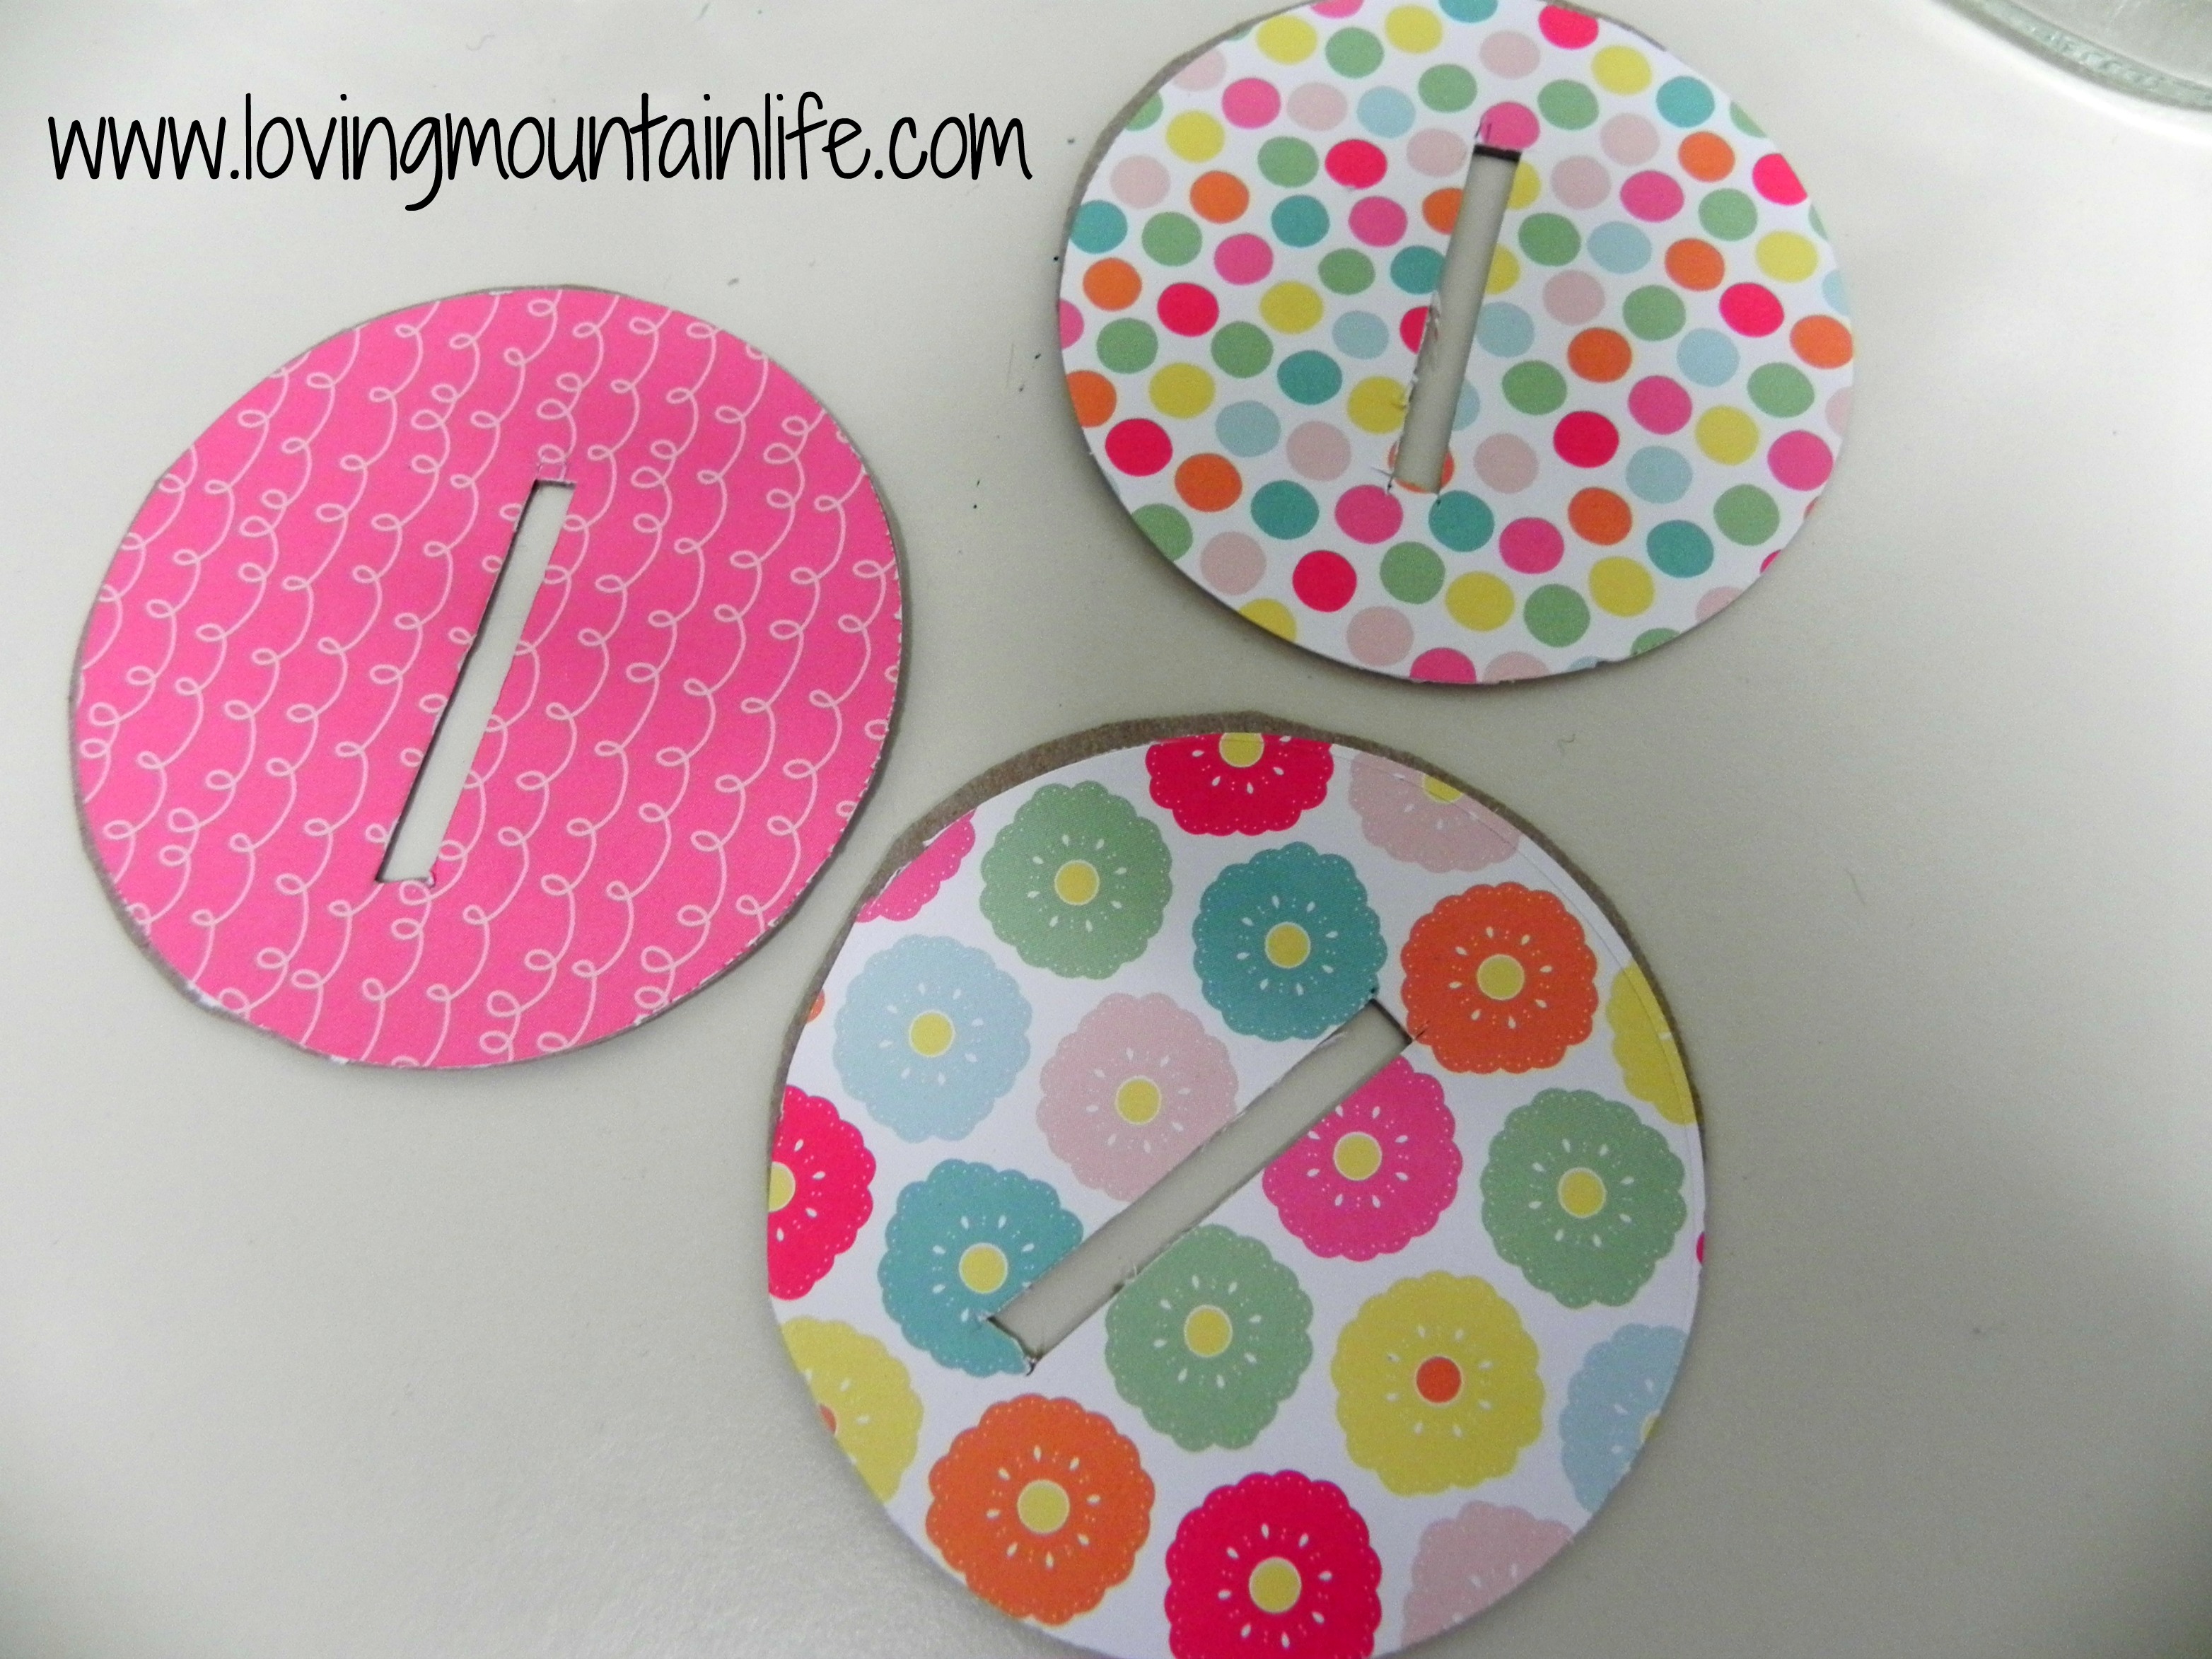
Now to make a slot for the money now. A straight edge and sharp scissors or an X-acto knife are ideal for this step! Our money slot is 1 3/4″ long.
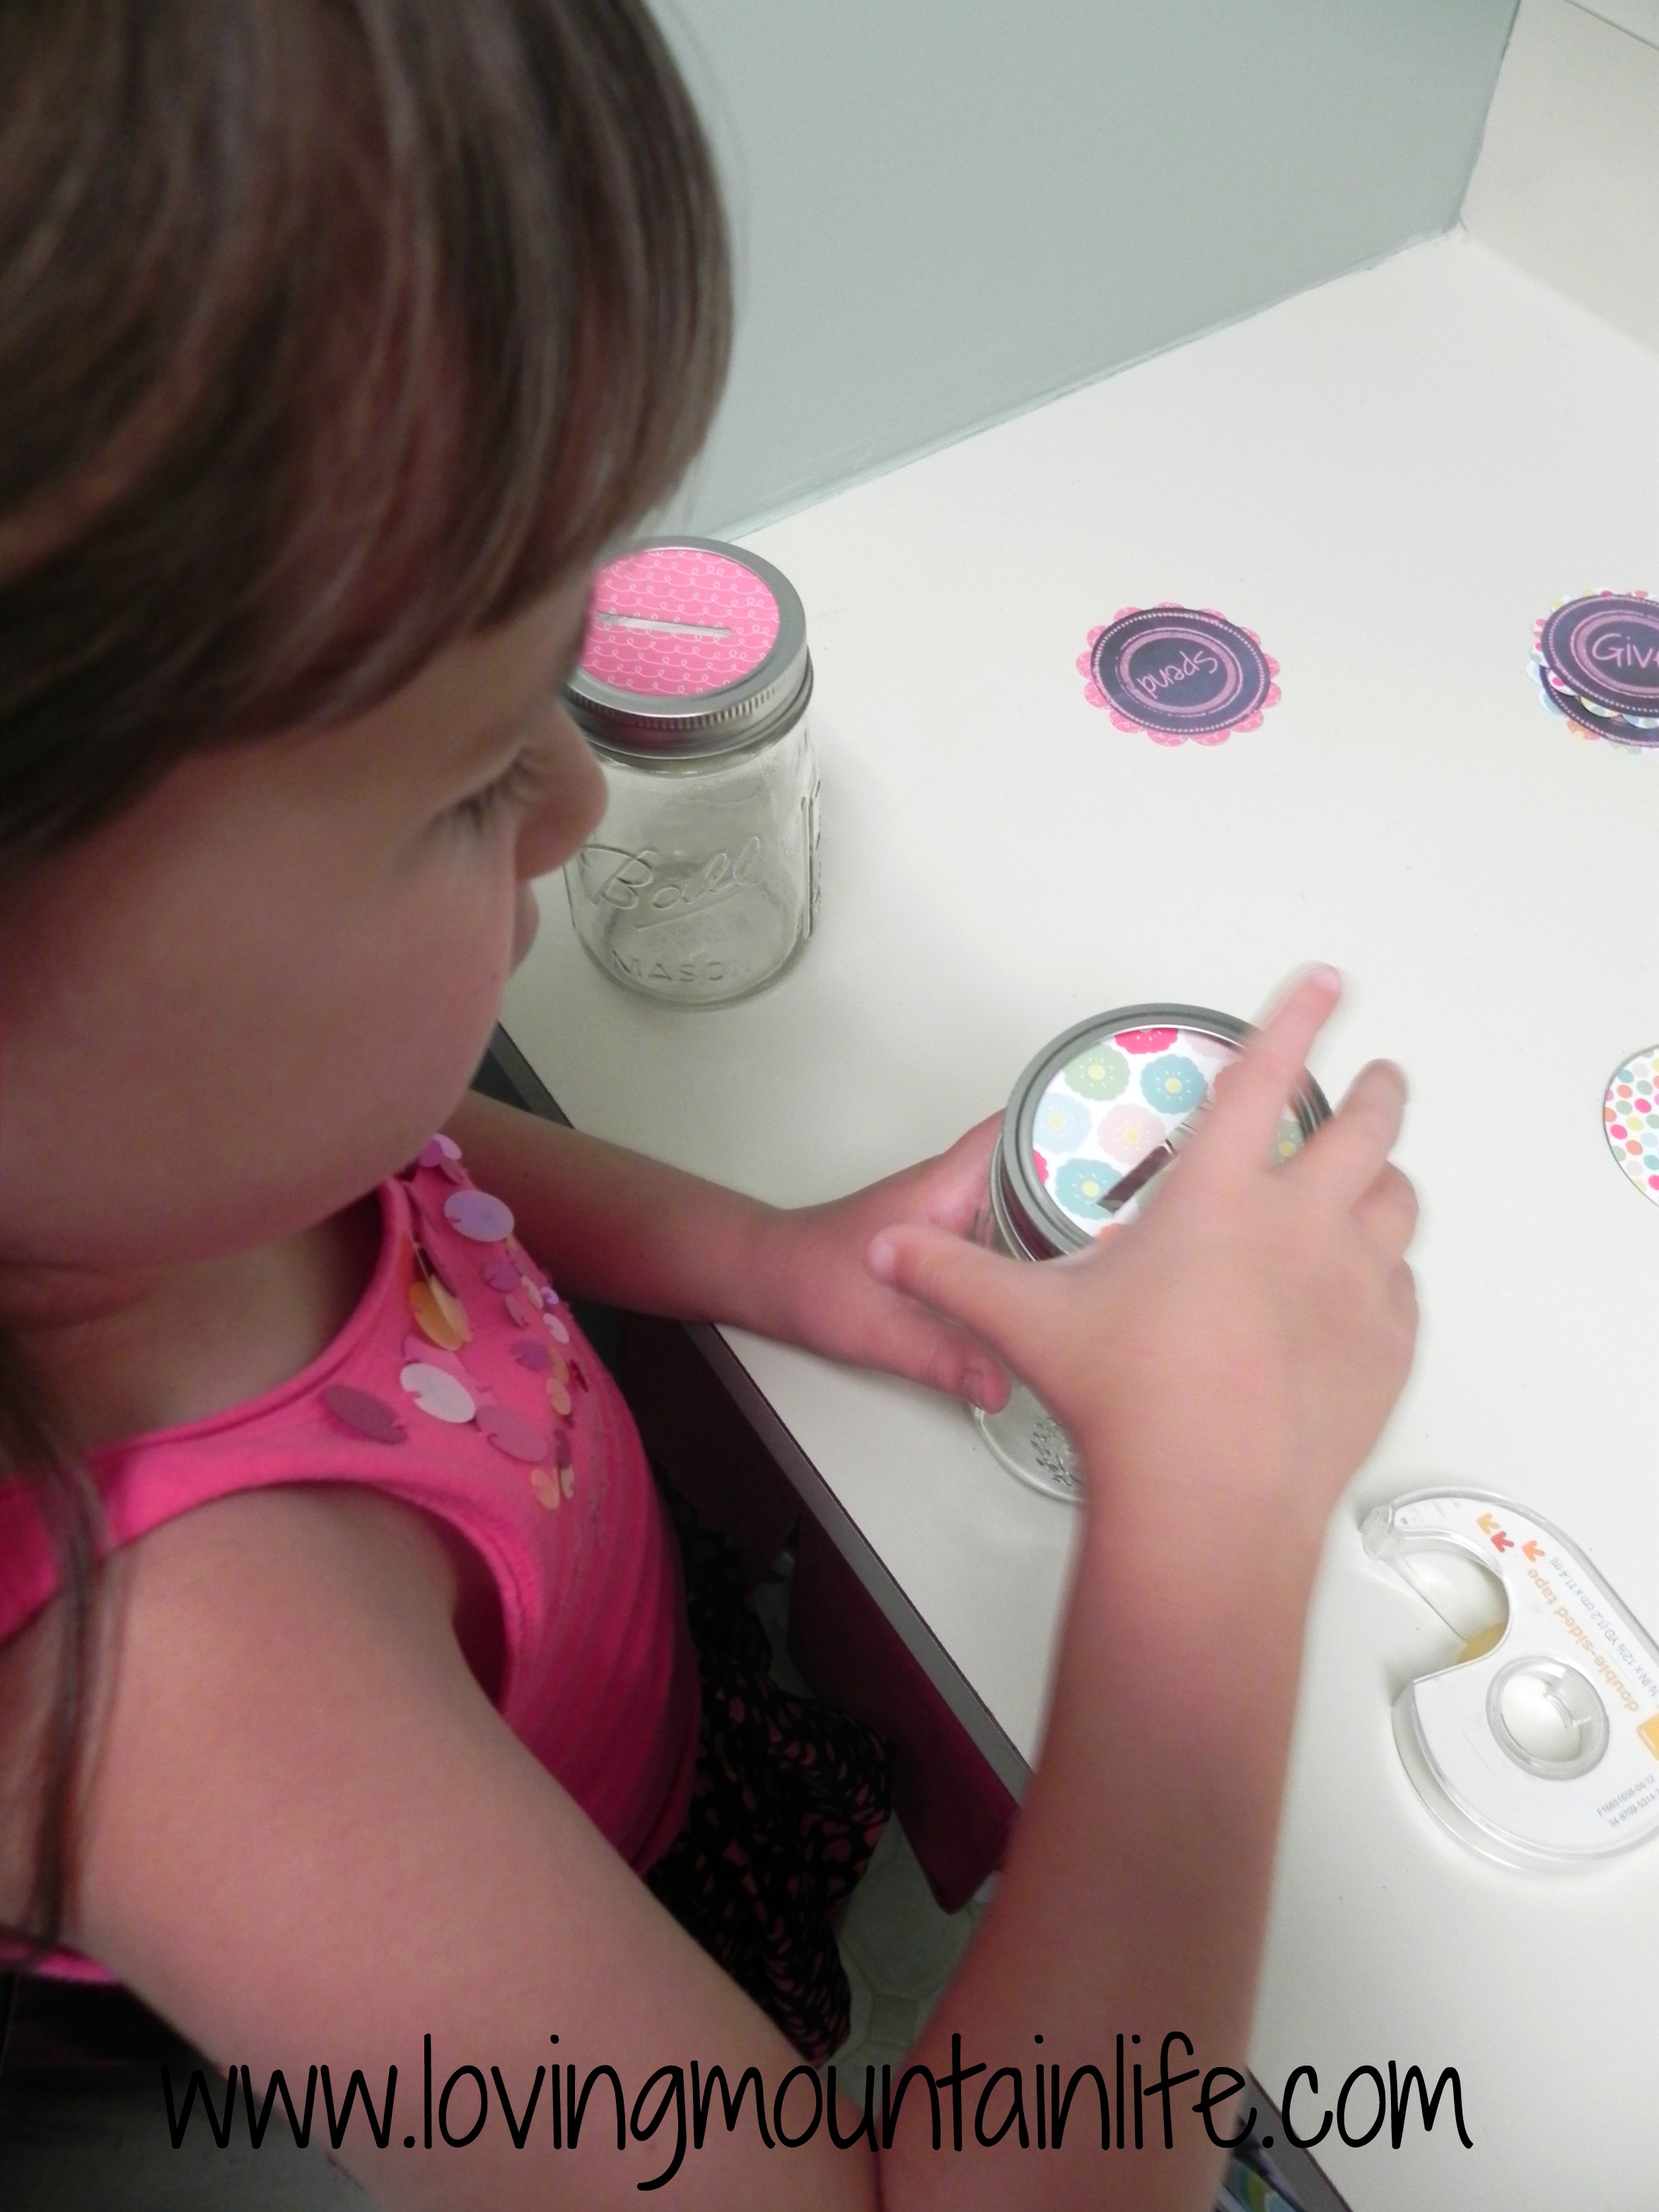
Next my handy helper popped the cardboard lids into place and screwed on the metal ring.
We added some more double sided tape to attach our Give-Save-Spend labels to the jars.
We tied a twine bow and here you have ’em!
Maybe if I get ambitious I’ll spray paint the metal rings to coordinate with the paper. But for now, I’m done!
Now it’s time to assign monetary values to age-appropriate chores. Ugh. I just want to make crafts. Anyone have ideas? I should mention that we want certain things to be done just because we are family – like everyone takes their own plate to the counter after a meal or everyone makes their own bed. But it’s the extras, the “Bonus Bucks”, that I’m trying to brainstorm. Suggestions welcome! A follow-up post about these to come later!
Thanks and happy banking crafting!
